
 | Douglas F4D-1 Skyray Tamiya 1:48 kit no: 61055 build time: January 1 2014 - February 3 2013 |
And on we go. I managed to do a little last week, and yesterday. And frankly, I goofed up both....
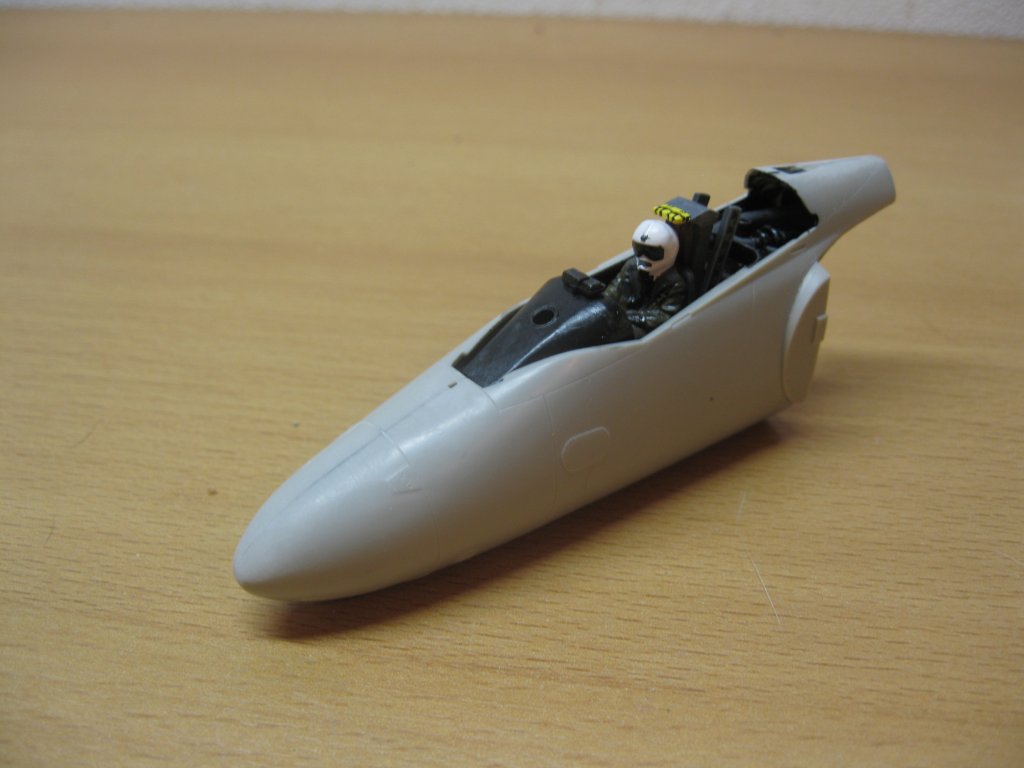
Let's start at the beginning. The cockpit's done. Pilot and seat are in. Yeehaw. Let's glue her up.
I must say, this is the first time I'm trying the Tamiya Extra Thin, and I really do like the way it works. So, cockpit glued into one side, put other side on top, wiggle about for best fit, en glue it together. And then you have this:
And then, a few days later, you're like "What the
Yup.
I forgot the flippin noseweight.....
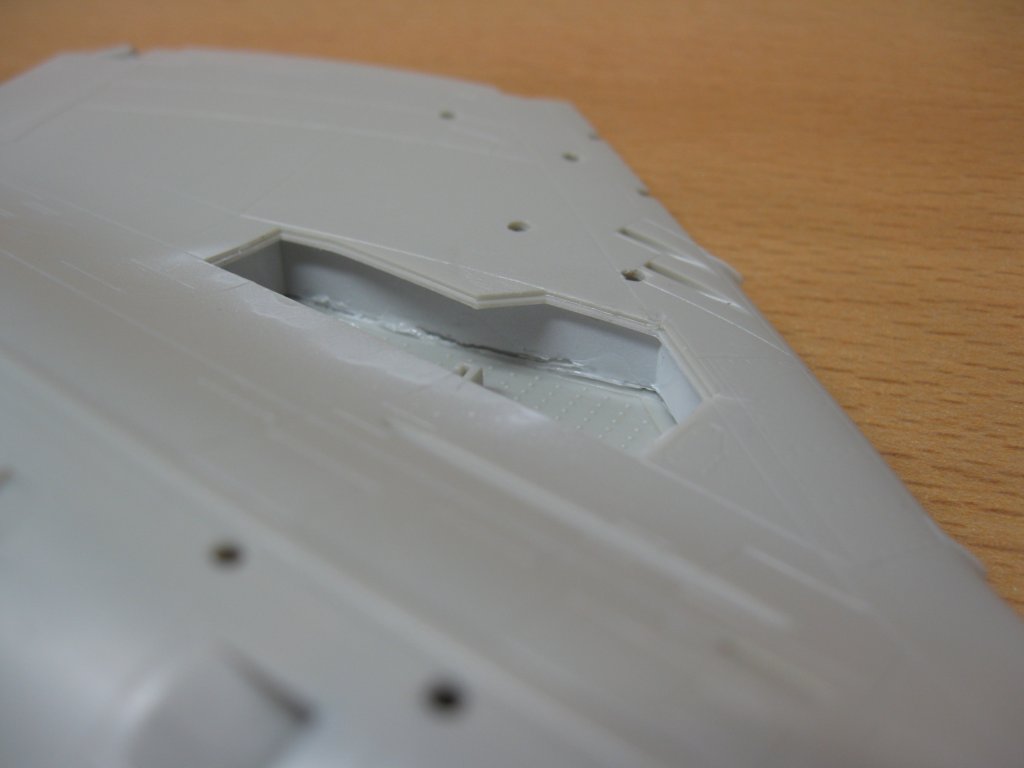
Well, if there was ever a time to screw that one up, this was it, because look what happens when you put the fuselage together:
That's a might big hole there, just aft of where the cockpit tub is gonna sit. So I grabbed a bag of nuts, threw in as many as would fit, and yey. Enough to keep it down on its gear when the job's done.
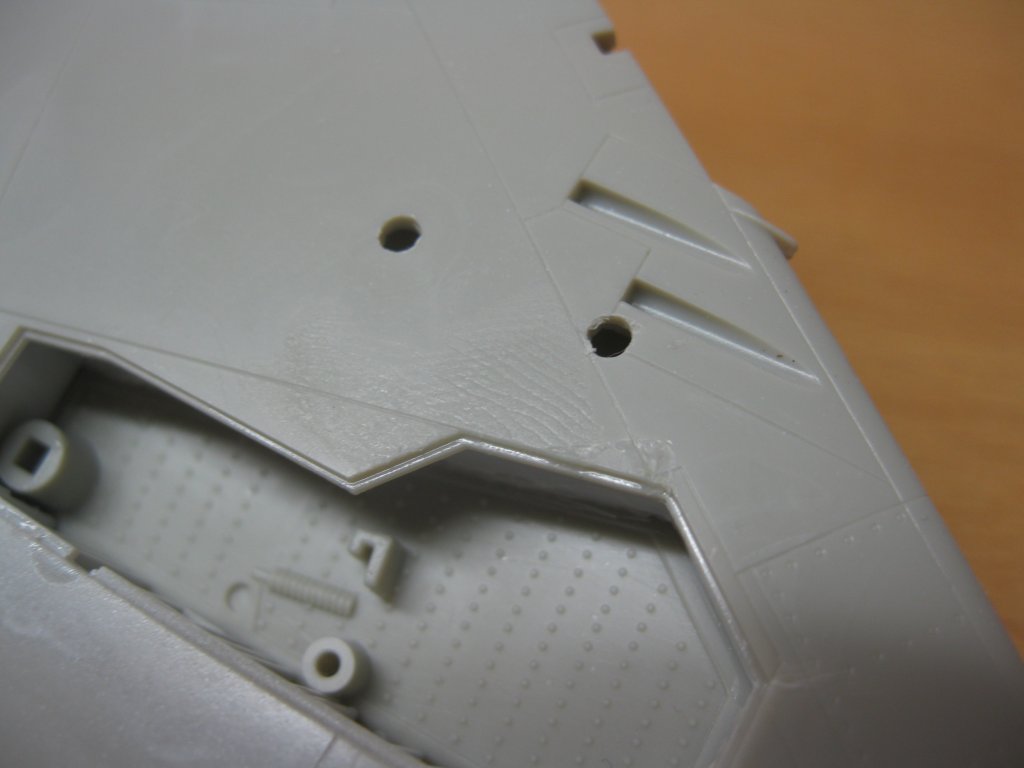
So let's glue this thing together. Which is what I did yesterday. And where I messed up yet again. First off, the fit is great all around except for one spot. Which is the fuselage side right here:
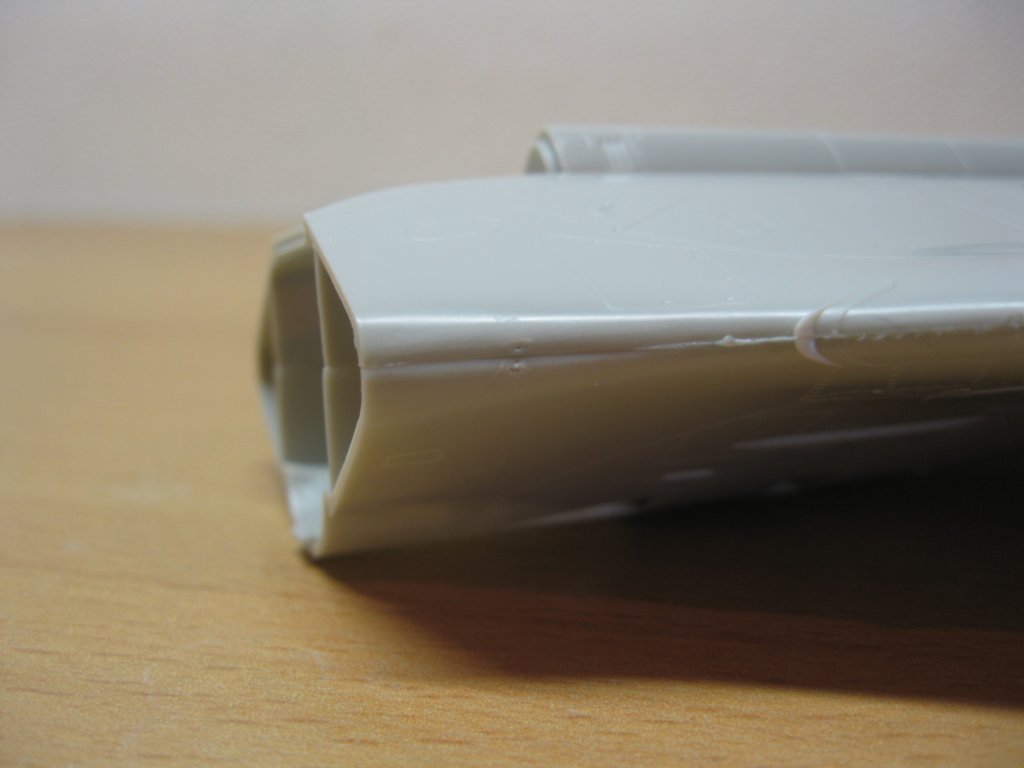
But that's easily fixed with some filler.
Afer this was done, I decided to glue the wheel well sides to the upper fuselage so it was actually closed. This didn't work out quite as well as I planned as it kept coming loose. In the end, I just clamped it up and let it dry overnight.
A big dab of white glue and some paint should conceal that crack. And either way you're never going to see it, so I can live with it. What's worse is this:
I just love giving myself extra work. Can't really build a kit that just falls together without any problems, what's the fun in that, so let's just add some problems....
Oh well, that too is fixable.
Now let's go back to that missing noseweight.
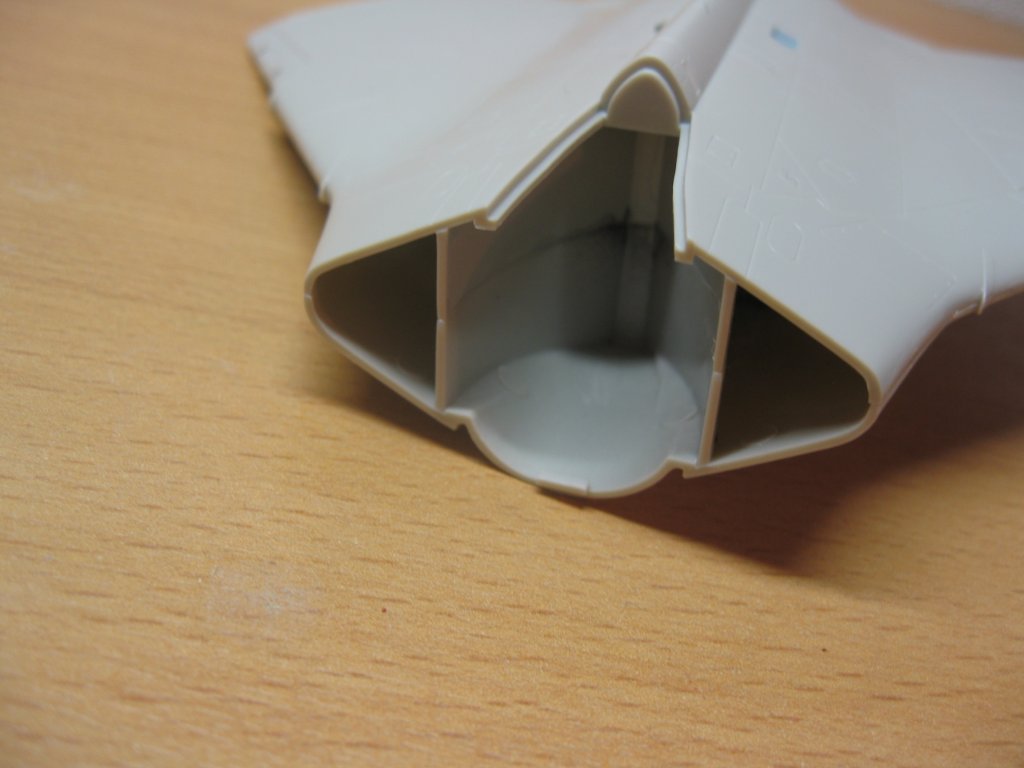
First off, we have a big hole
Then we have a big load of nuts that go in there

Problem is I don't really like gluing them in there like that. It works, but it's messy. Fortunately, I heard a little trick this week from a guy who regularly makes his own noseweights. The ingredients: the nuts in question, and a piece of aluminum foil. With a little effort, you can easily shape it so it is a tight fit in place:
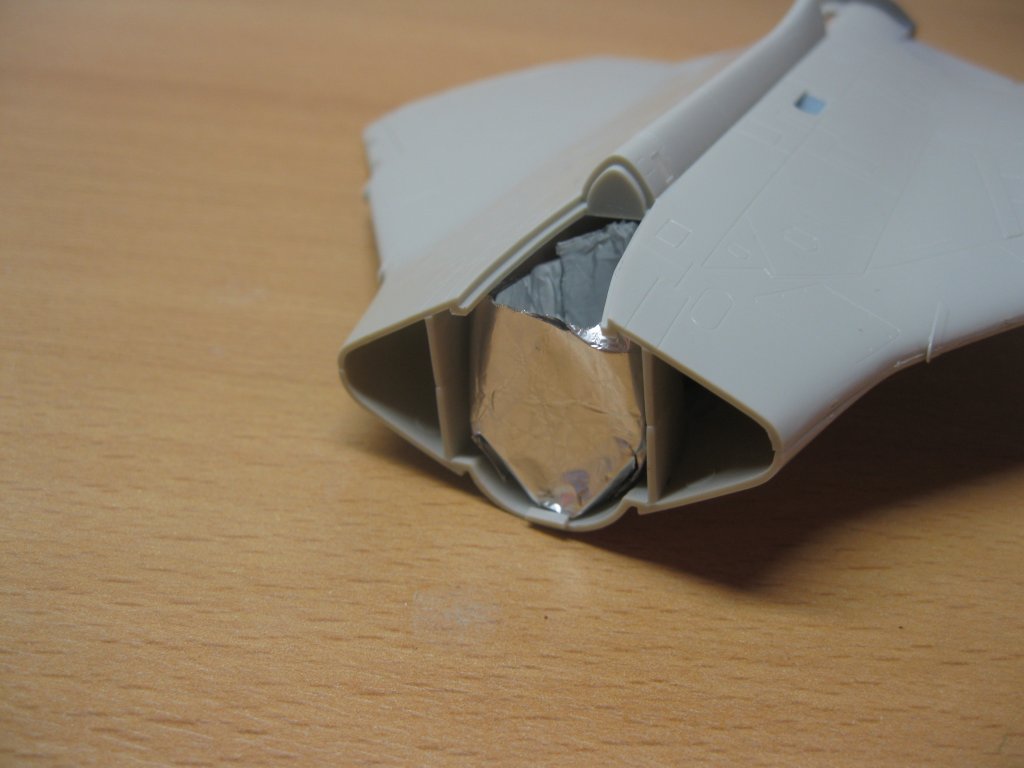
Then one inserts the nuts into the aluminum foil that's now shaped to fit the hole. If you remove it carefully from the fuselage, it will keep its shape. Then one grabs the soldering iron and a heap of soldering wire - heat it up, and fill the voids in the aluminum foil shape with the wire to make it look something like this:
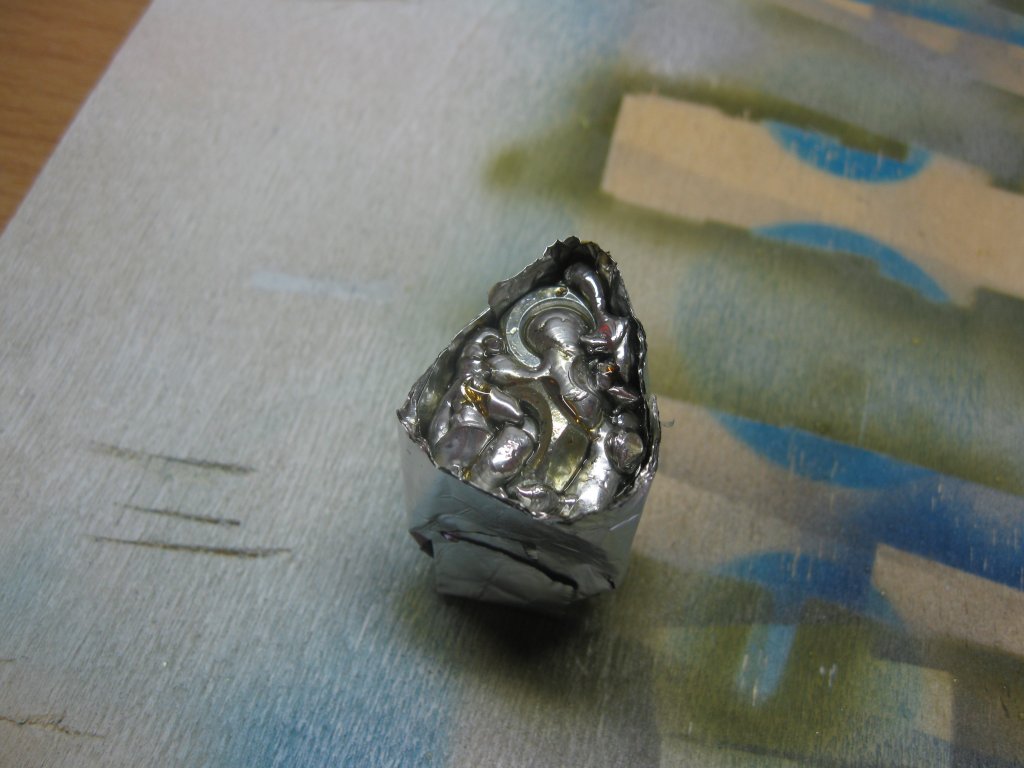
Let it cool completely, and insert back into fuselage:
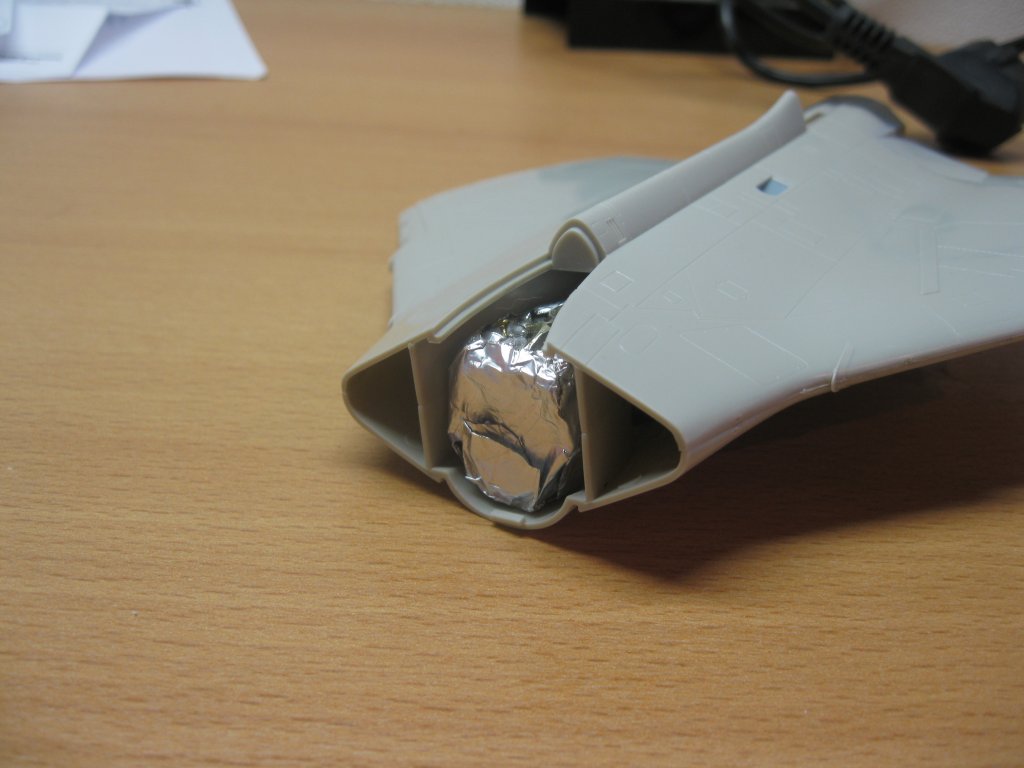
Dryfit the nose section, and yeeehaw, it still fits like a charm, so the aluminum foil did its job: it is in no way impeding the fit of the nose section. Heck - I don't even have to glue my weight into place, it's such a good fit it has almost no room to move around in there. Only a thorough shaking of the model will let you know it's not glued in. And with less than a millimeter of room to wiggle, I'm pretty sure I'm not even gonna glue it in.

So, one problem fixed, onto the next.
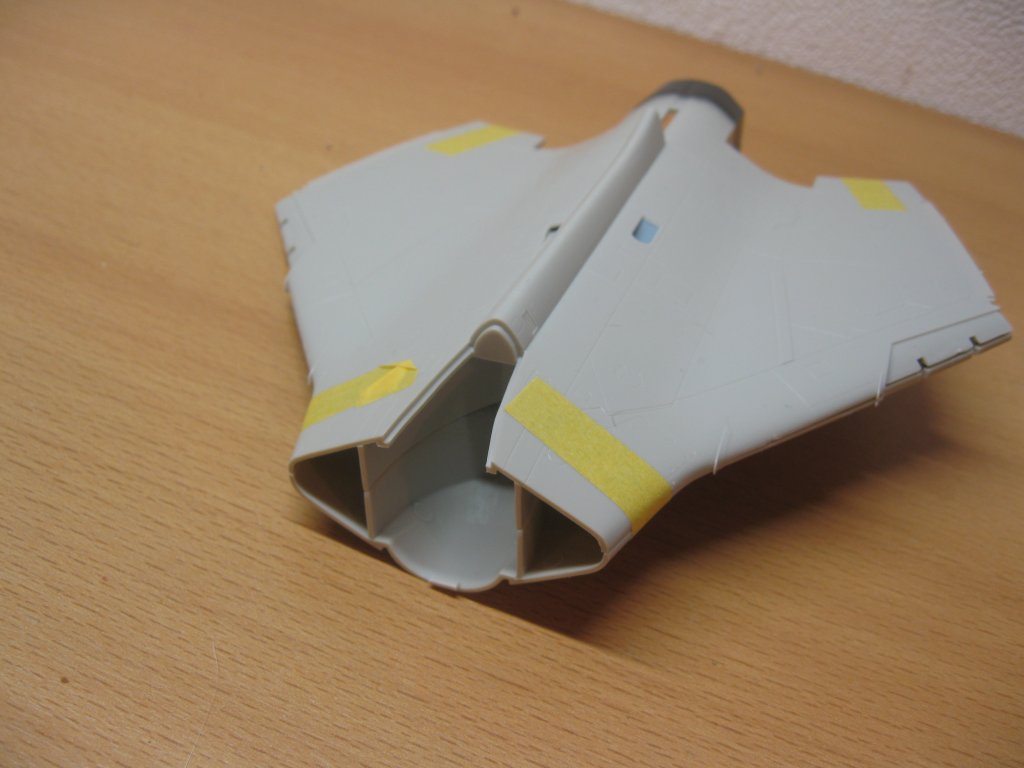
And the last bit of work for today. Glued the intakes, did some filling and sanding, glued on th foldable part of both wings and the tale.
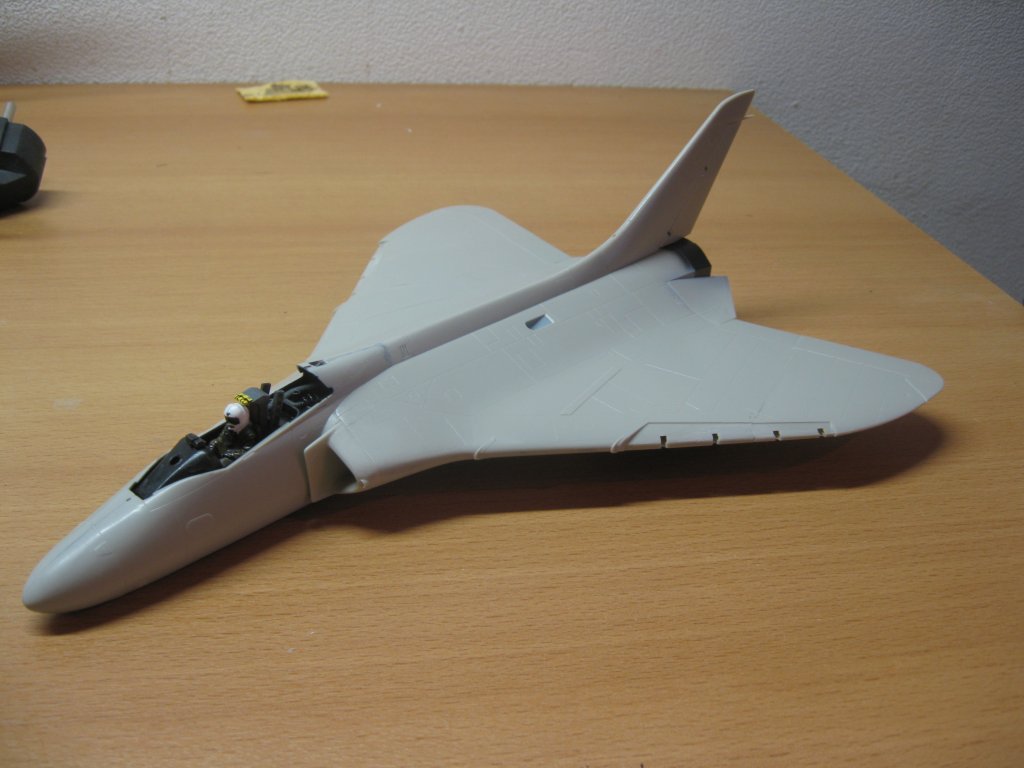
Maybe I'll do the windshield and canopy tonight, perhaps later. The wings weren't a perfect fit, but that's probably my fault. I'm chalking that up to "they're foldable anyway" ...
| previous page | next page |