
 | XB-70 valkyrie Italeri 1:72 kit no: 1282 build start: June 30 2016 |
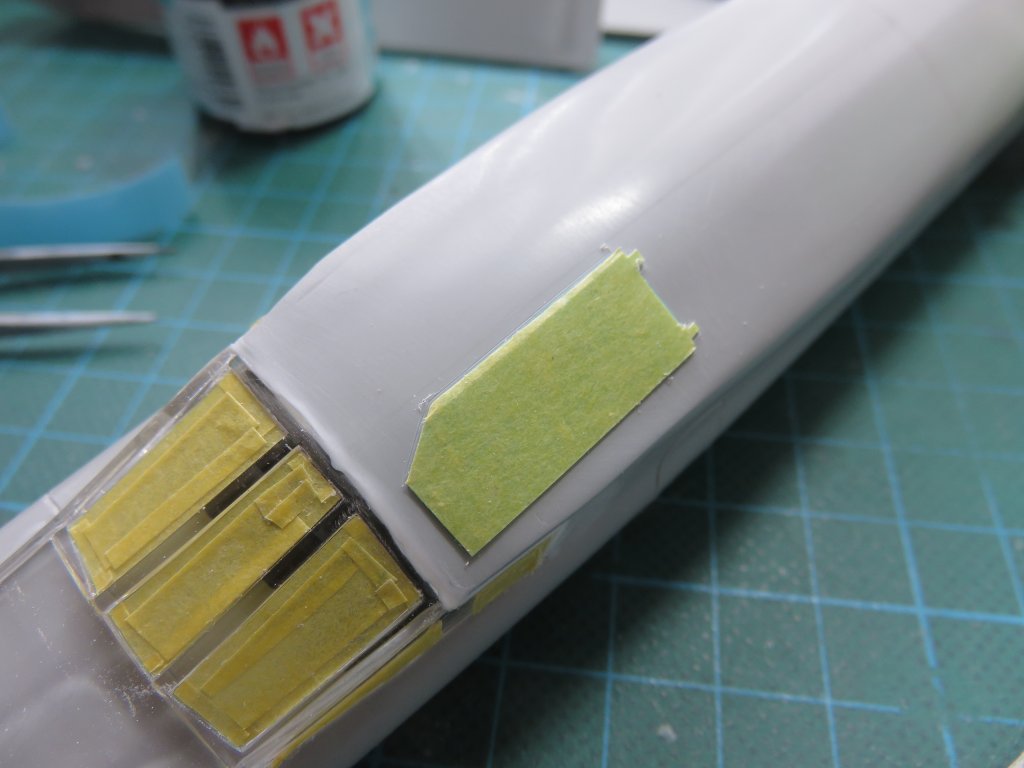
After all the sanding, we lost the panellines for the hatches on top. Those will have to be restored. Fortunately I had transferred the basic outline to masking tape.
Transfer masking tape to dymo tape, attach dymo tape, and here we go.
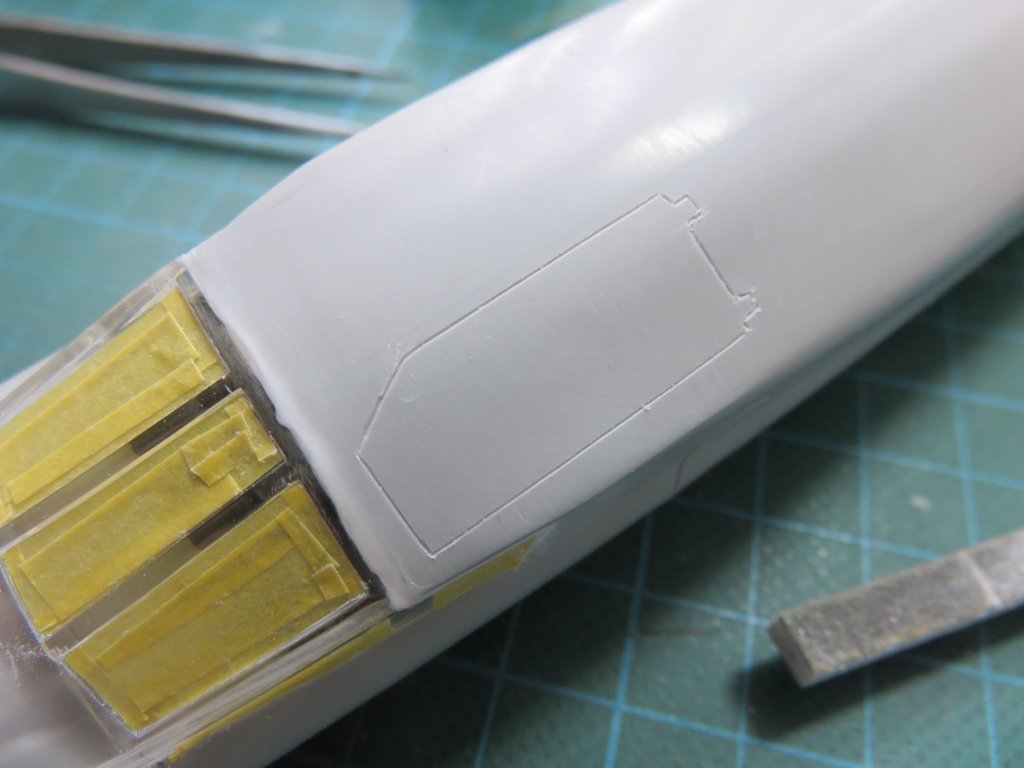
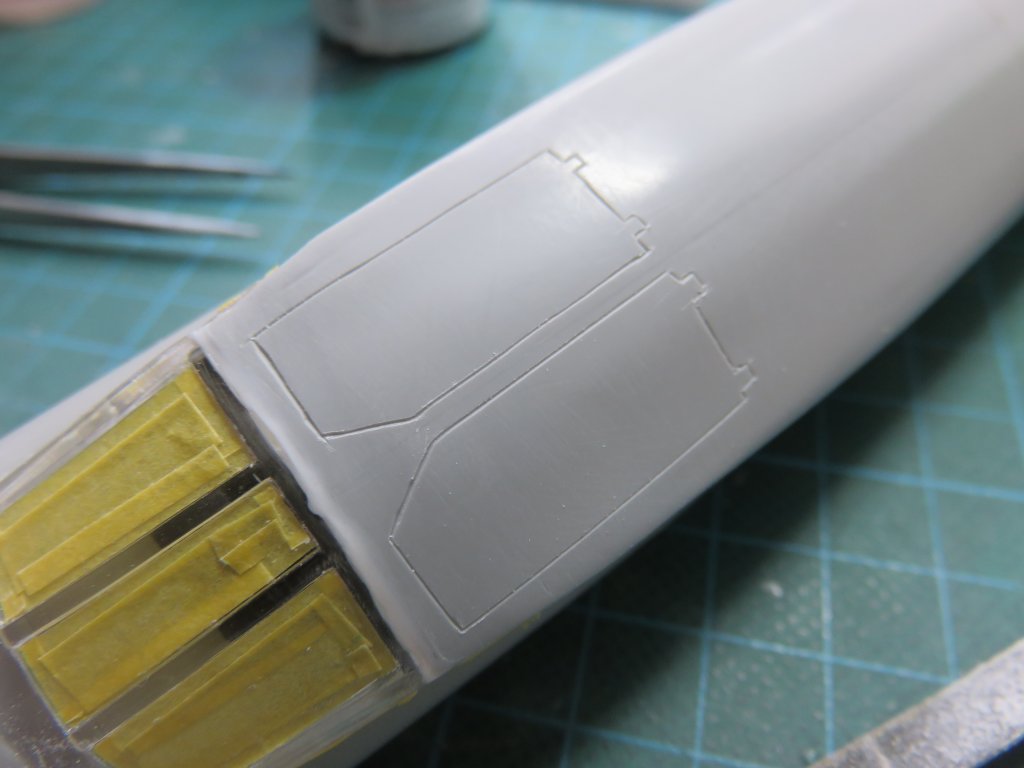

Not perfect, but good enough I think
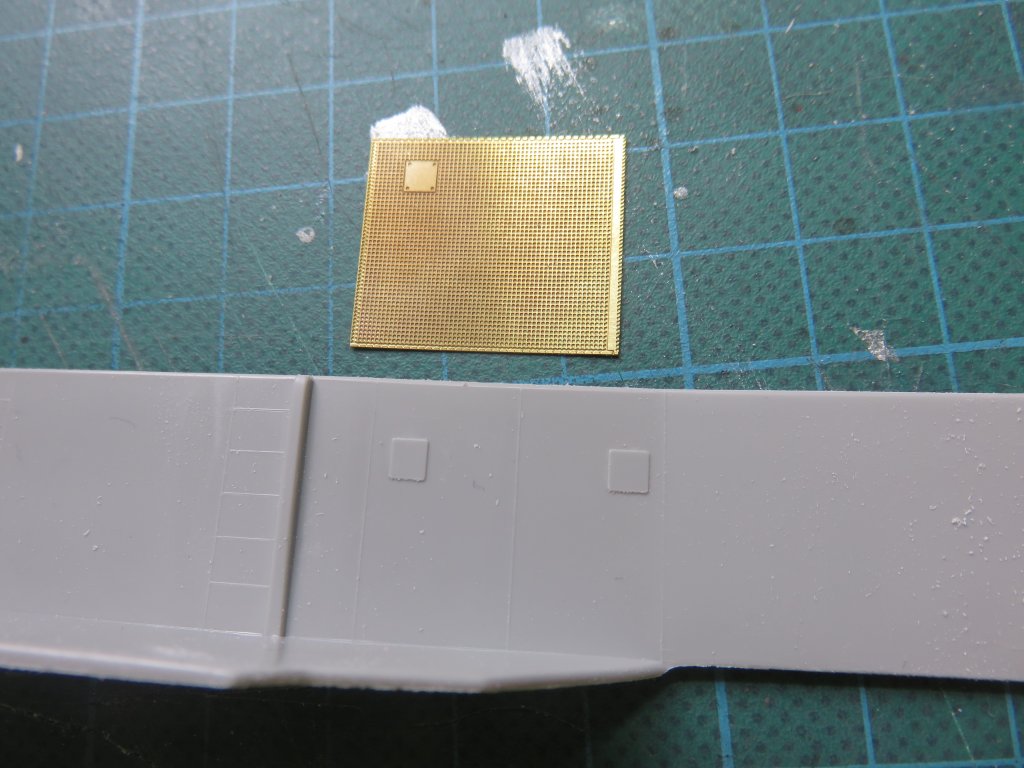
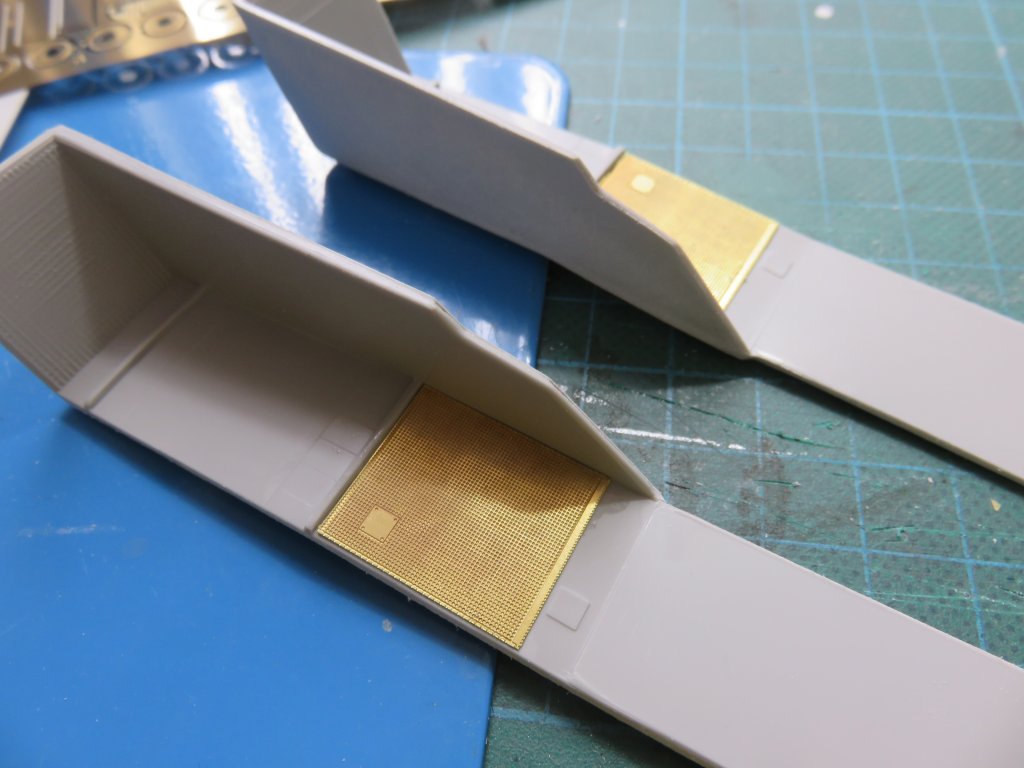
Back to the intakes. Needs some filler, and some PE. And the PE requires the removal of some detail first.
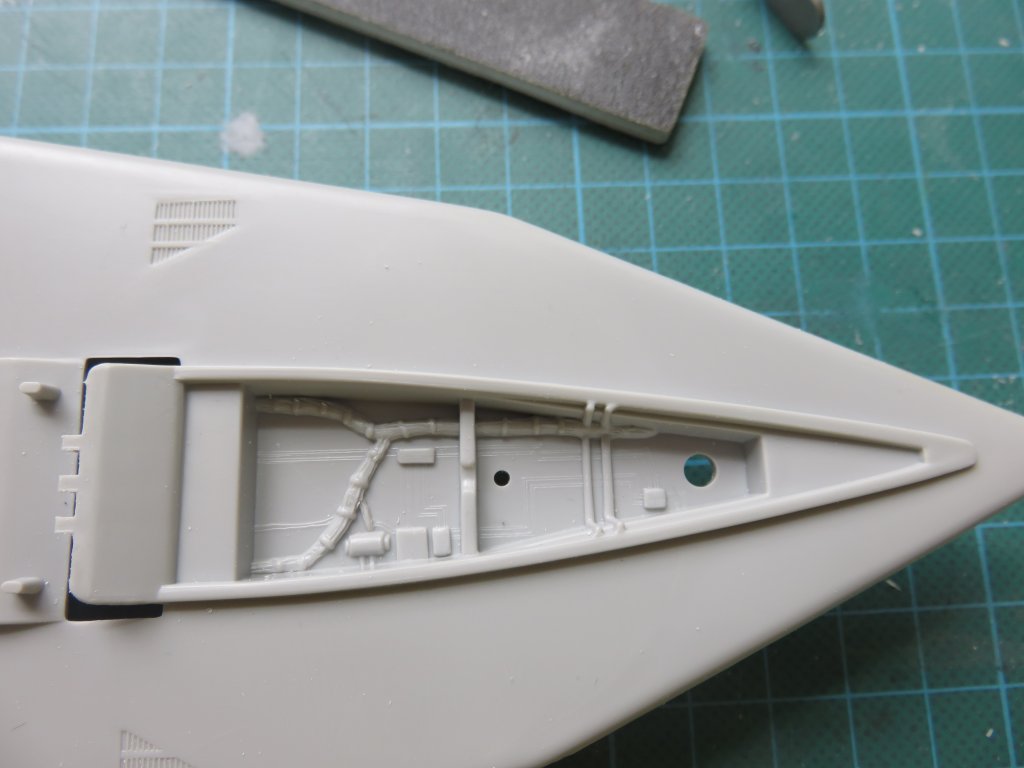
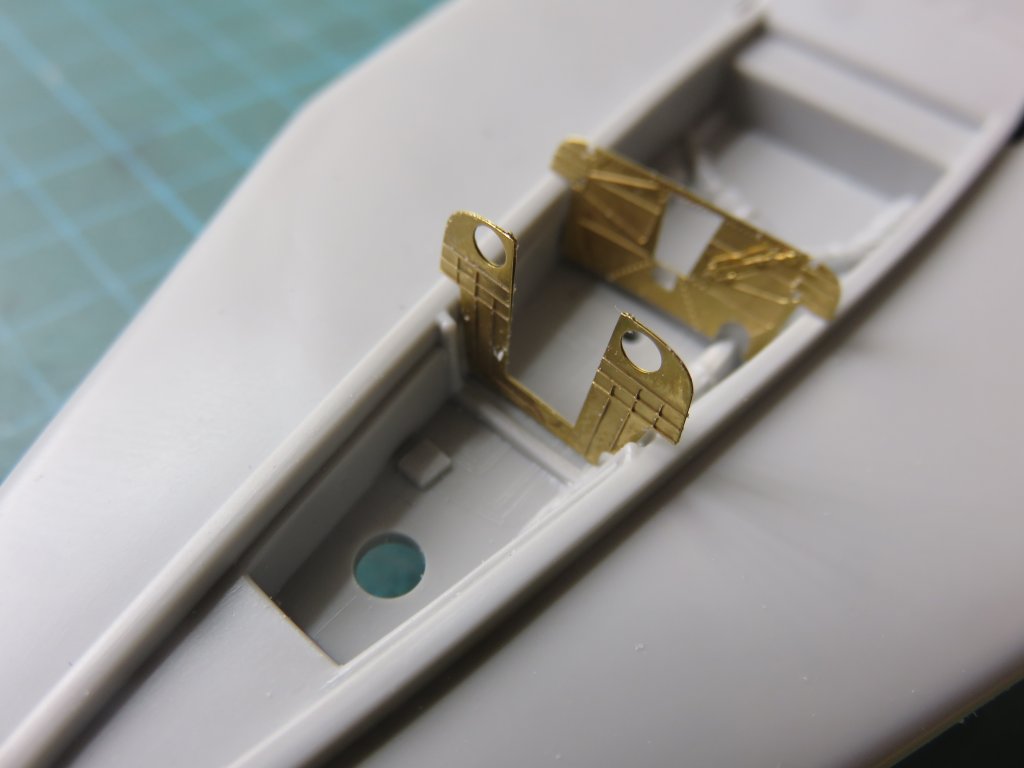
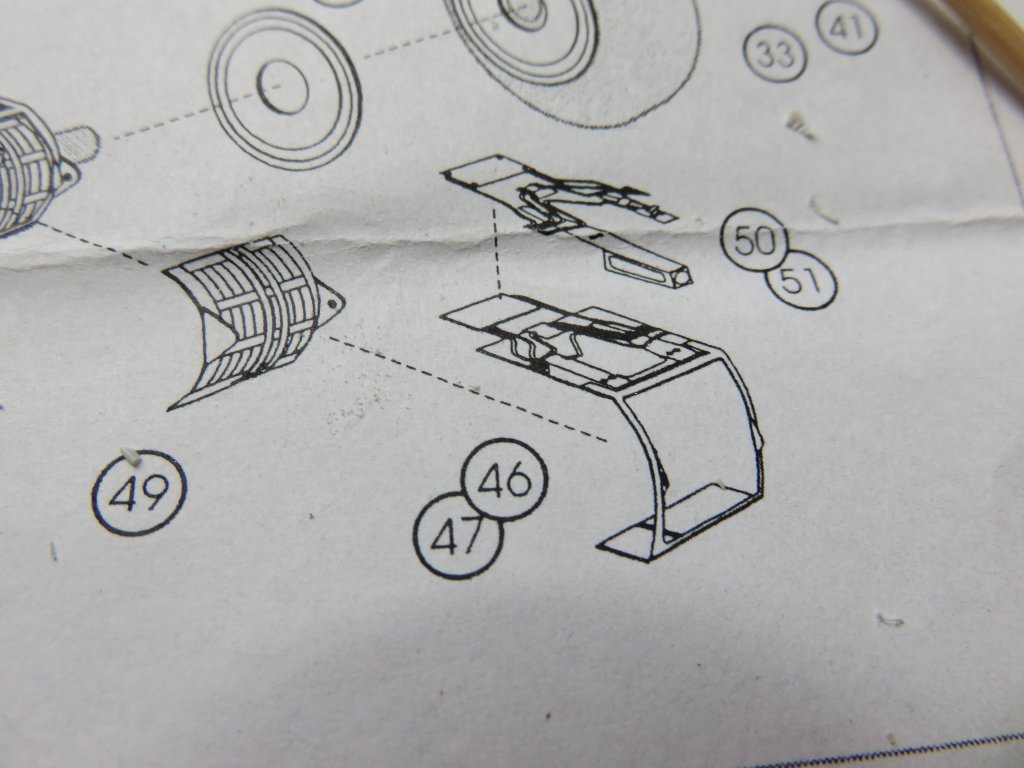
Nose wheel bay
It will take two PE parts. Which sit rather high and don't reach the bottom and prevent the next part from sitting in it's place. Maybe I should remove some of the raised line, although the instructions don't mention that.
Wheel struts. Ouch
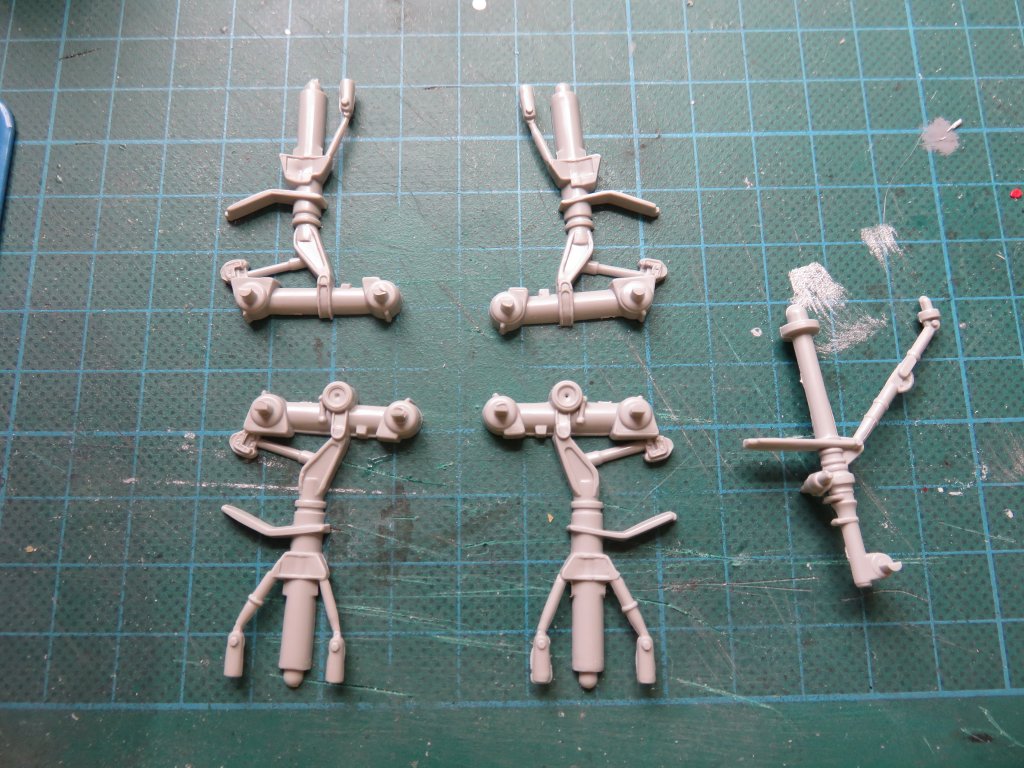
One peg is already broken off but in the box. But somewhere during testfitting I broke a second peg, and that's gone. So now I'm stuck with the white metal parts.
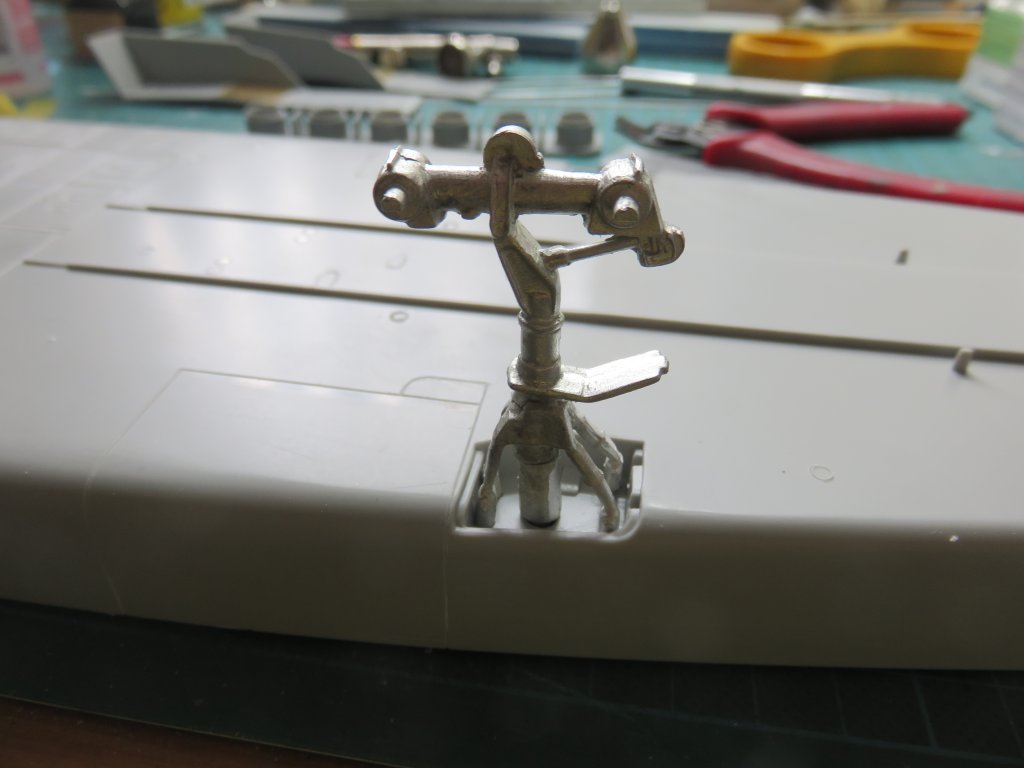
After some bending and testing and cursing, it sort of fits.
But then this problem. The wheel strut has a peg for the wheels. A semicircle, and the kit wheels also have a semi circular hole where the peg fits (right). Too bad the resin wheels have other ideas (left).
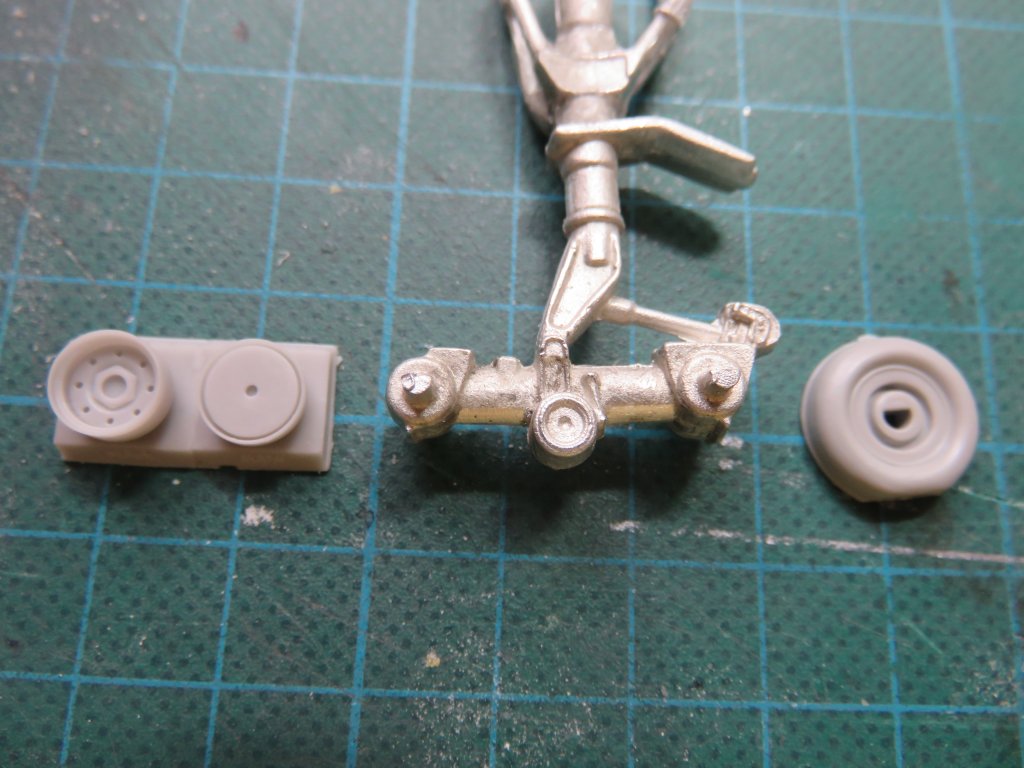
Maybe kitwheels after all?
Lets get one together, add the PE and compare it to the resin hubs.

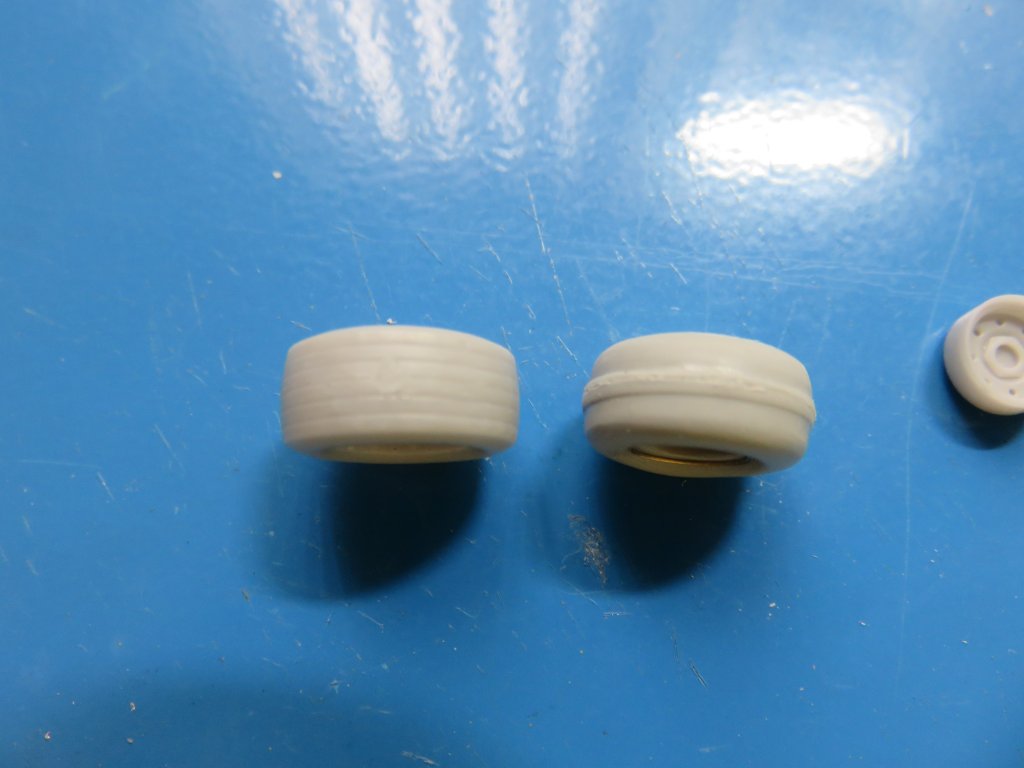
The kitwheels do have the advantage that they are already flattened. Then again, the tire pattern is very different:
So, let's see if we can fit the PE for the wheel struts on the metal struts

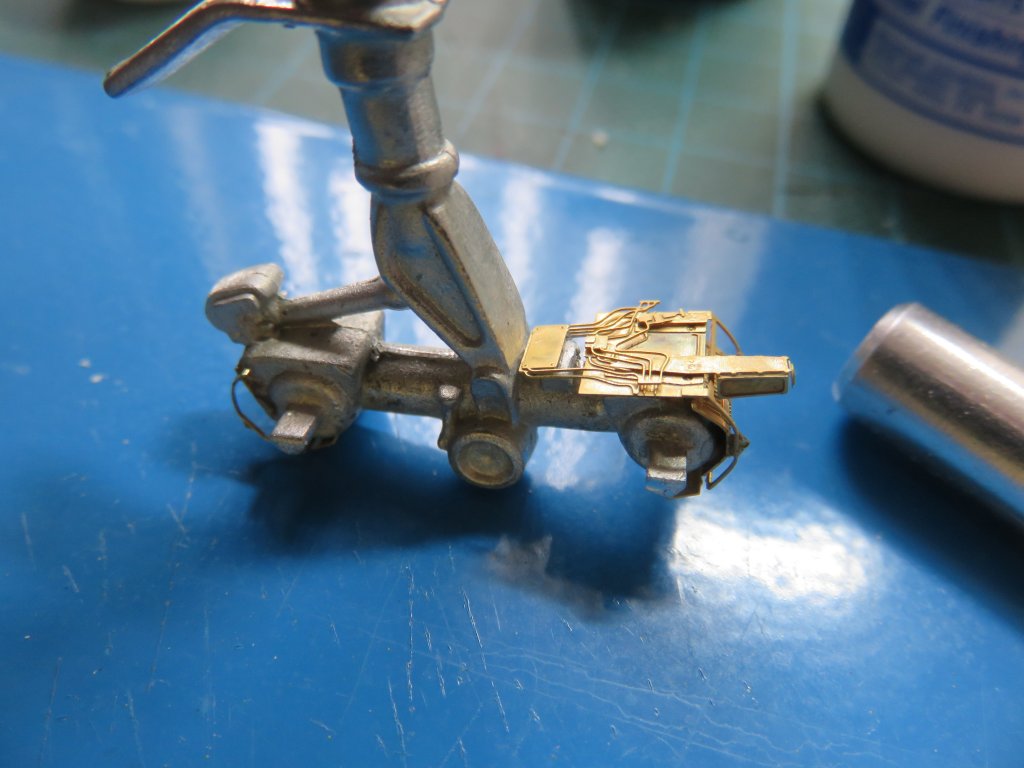
A lot of work, let's hope it stays on.
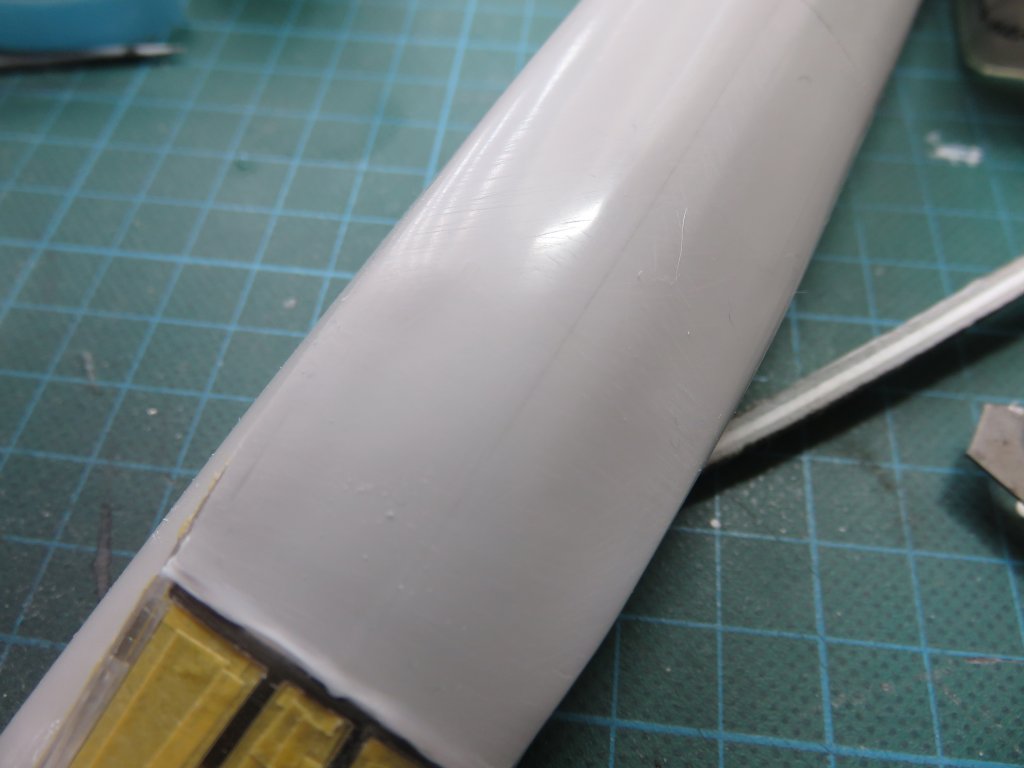
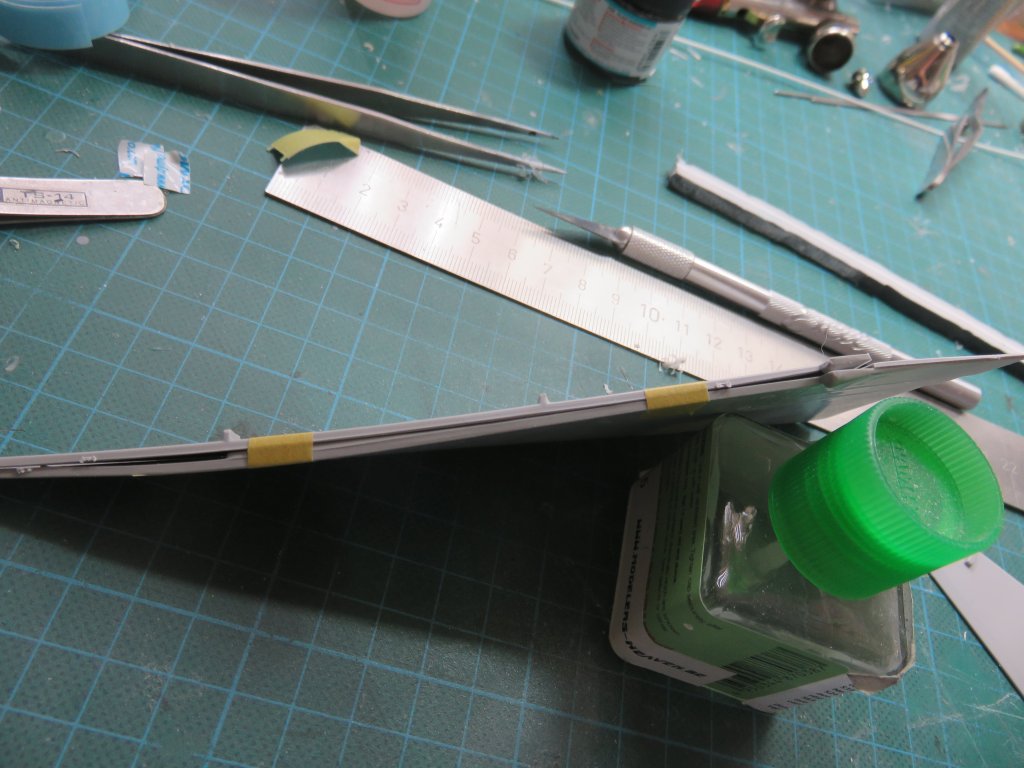
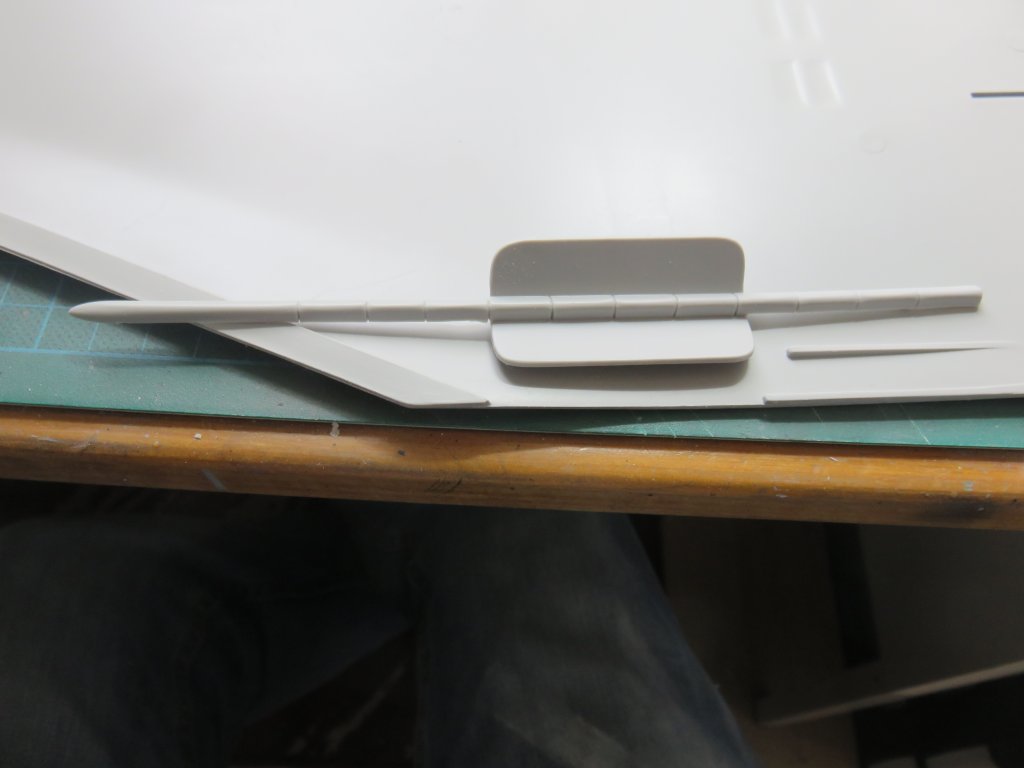
And last for now: the wingtips. Nice ejector pin markings, but raised so easily fixed and no problem.

Then again, big problems.
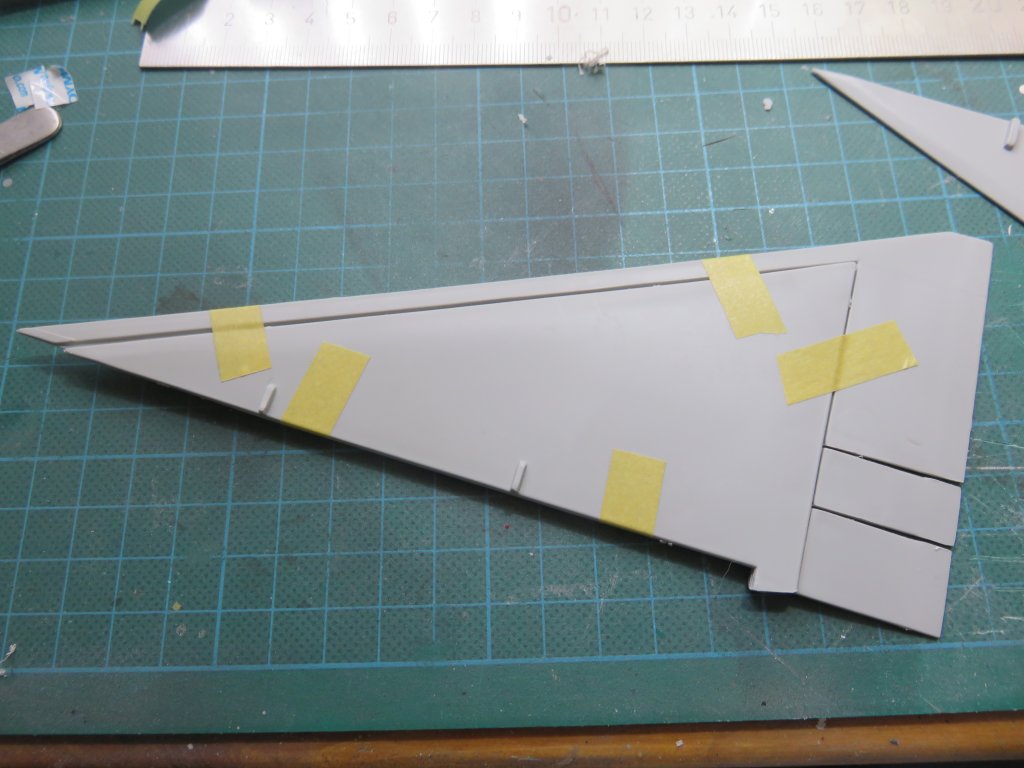
From the side it looks like this:
Now where am I supposed to fit the part that allows the wingtips to fold down....
Same issue on the wings: the wing has a nice big hole where the mechanism fits
It looks a lot though like the hole is in the wrong place - the tip of that mechanism piece should be flush with the leading edge of that wing....
| previous page | next page |