
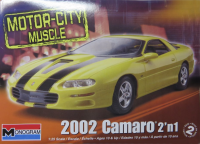
 | 2002 Camaro 2'n 1 Monogram 1:25 kit no: 85-4273 build time: February 19 2016 - February 27 2016 |
Someone on a Dutch forum warned me about this kit, and boy was he right....
Problem 1: the rear bumper needs some decent amount of force exerted on it to fit. Which is something I don't dare to after it's had a paintjob;
Problem 2: the front bumper needs to blend in seamlessly with the body. Well actually, part of the body is attached to the bumper part and that needs to fit seamlessly. Which it doesn't. And that's impossible to fix after the paintjob;
Problem 3: the instructions would have you fit the bumpers last in order to be able to place the bottom plate.
After a dryfit, I'm fairly sure I can wriggle that bottom plate in after the bumpers are on. I hope....
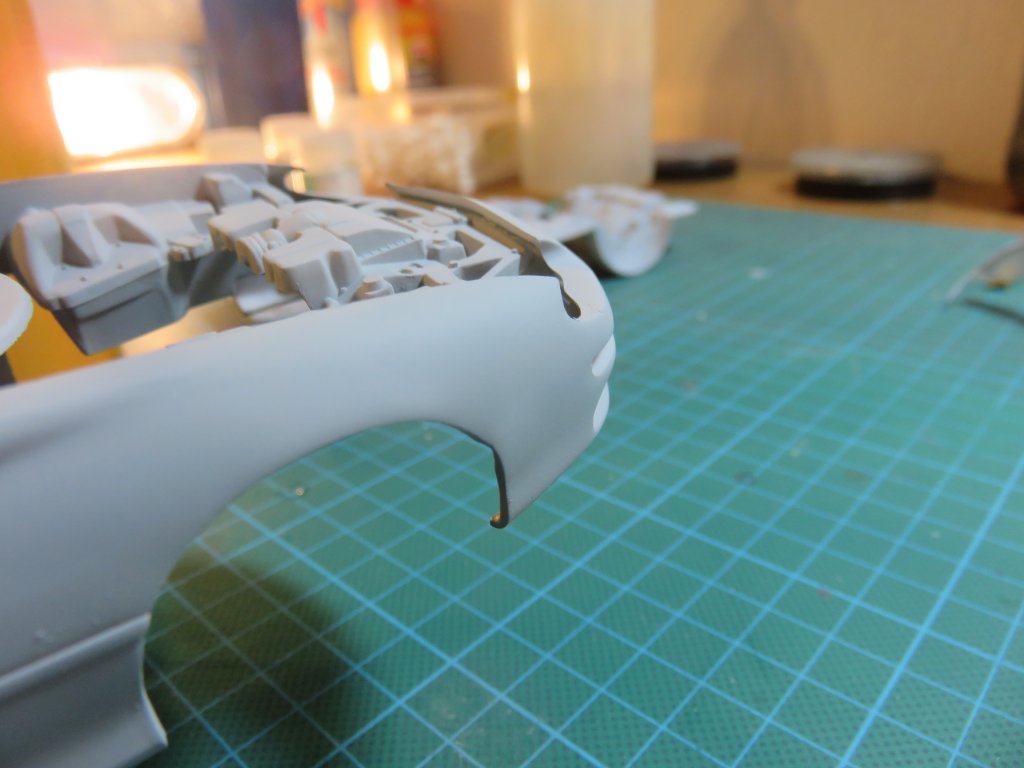
Alas, I forgot to take pictures of the gaping crevices between the parts, so you'll have to make do with these pics which were taken after filling those up. Getting the bumpers to fit properly took a lot of cursing, violence, and copious amounts of superglue and extra thin....
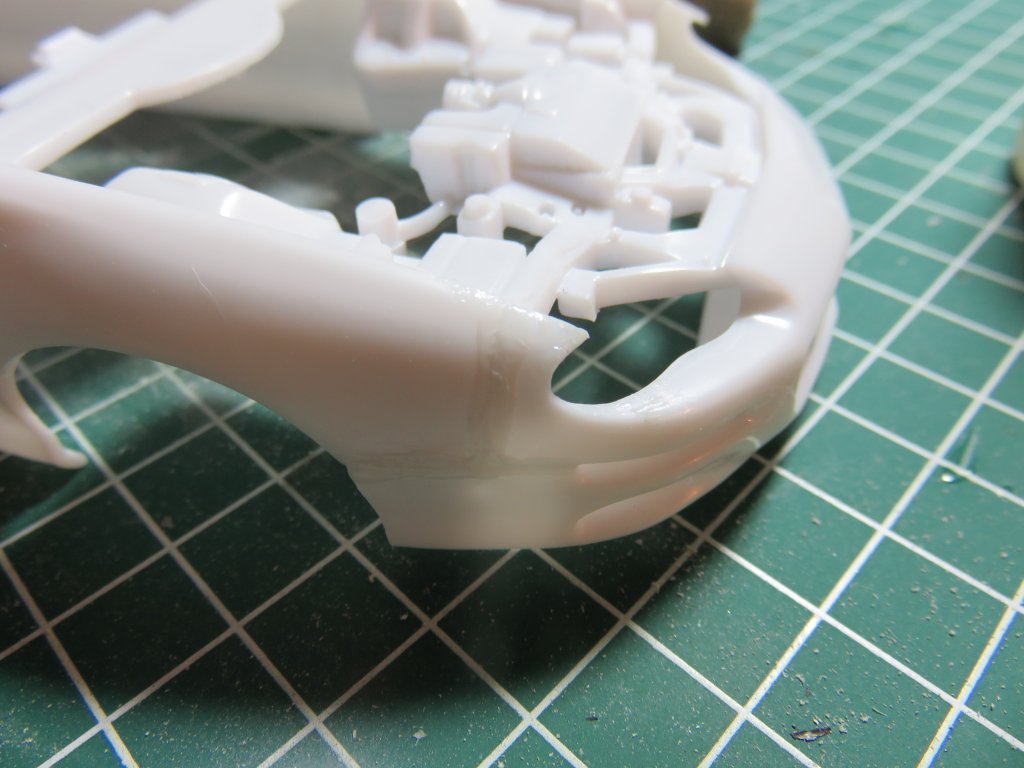
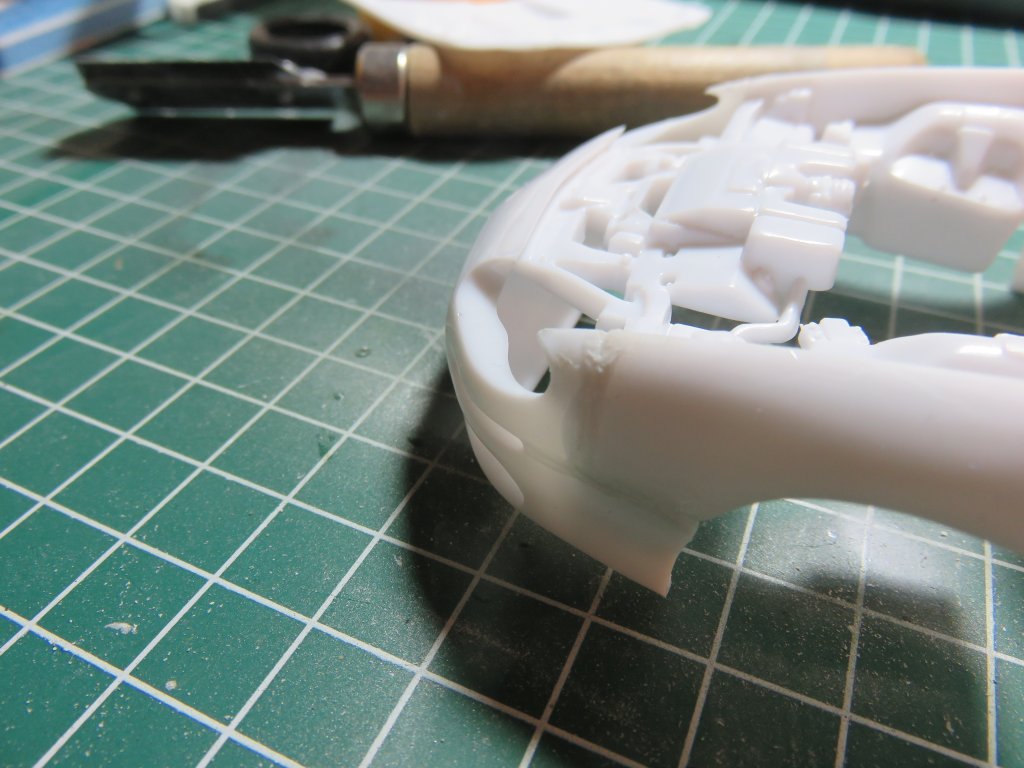
After giving this a day to dry, I grabbed my sanding sticks and hit the bench
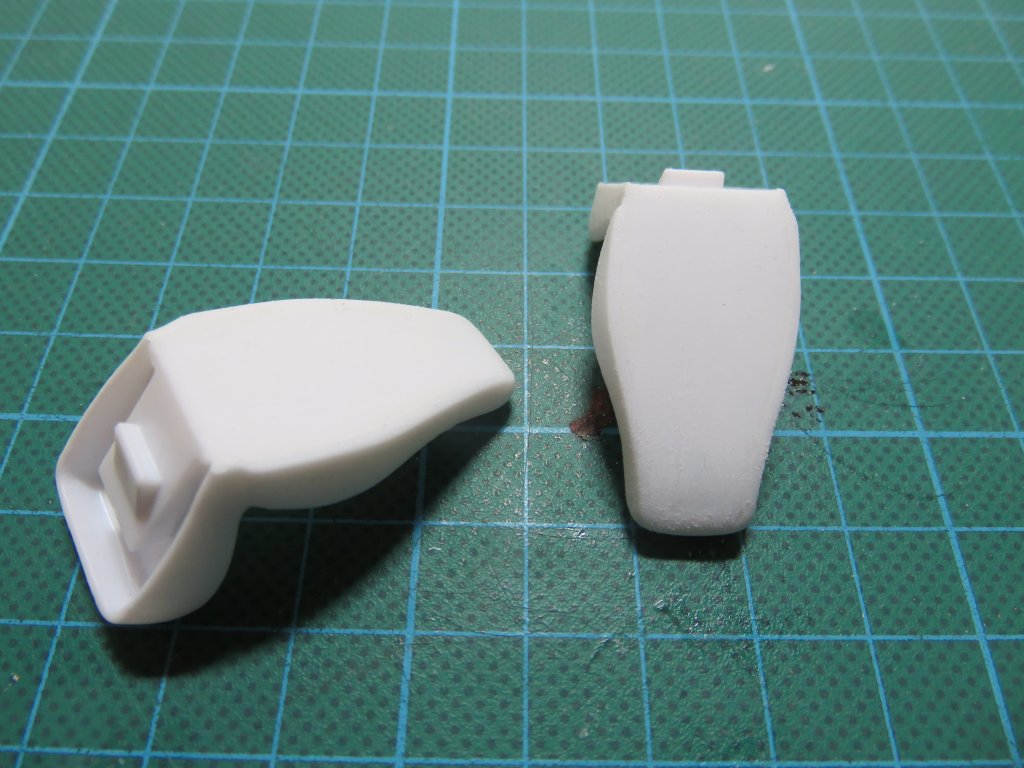
That actually looks pretty good
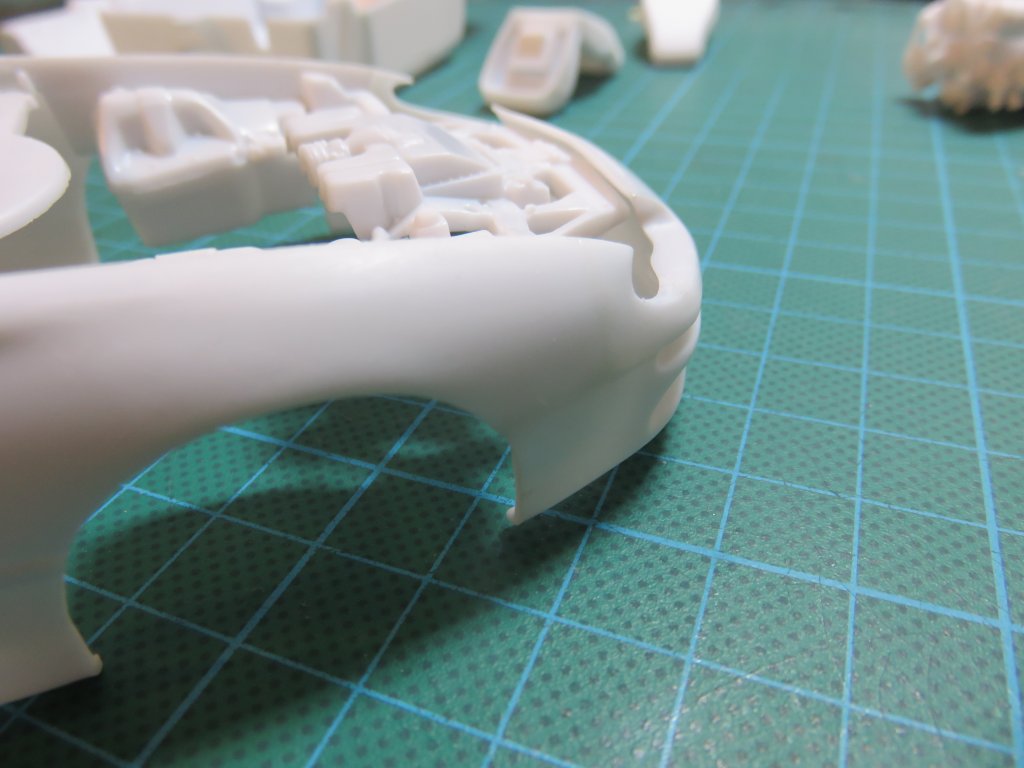
The spoiler on the back. It was also blessed with huge seams that didn't belong there. I can't see them anymore. yay!
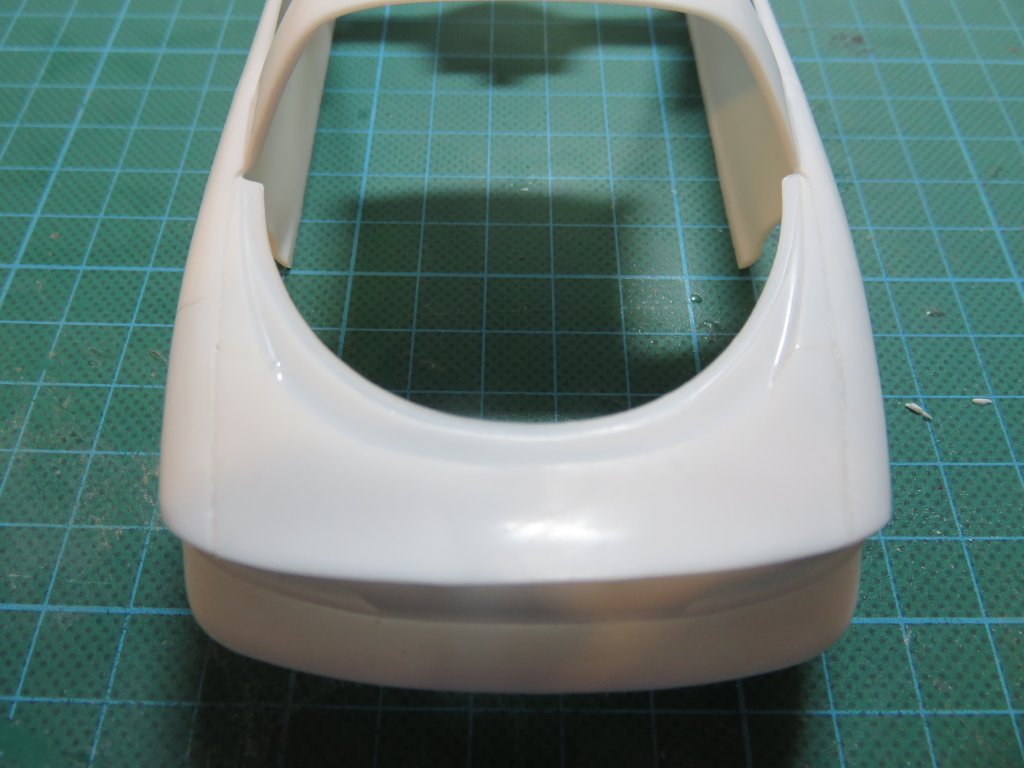
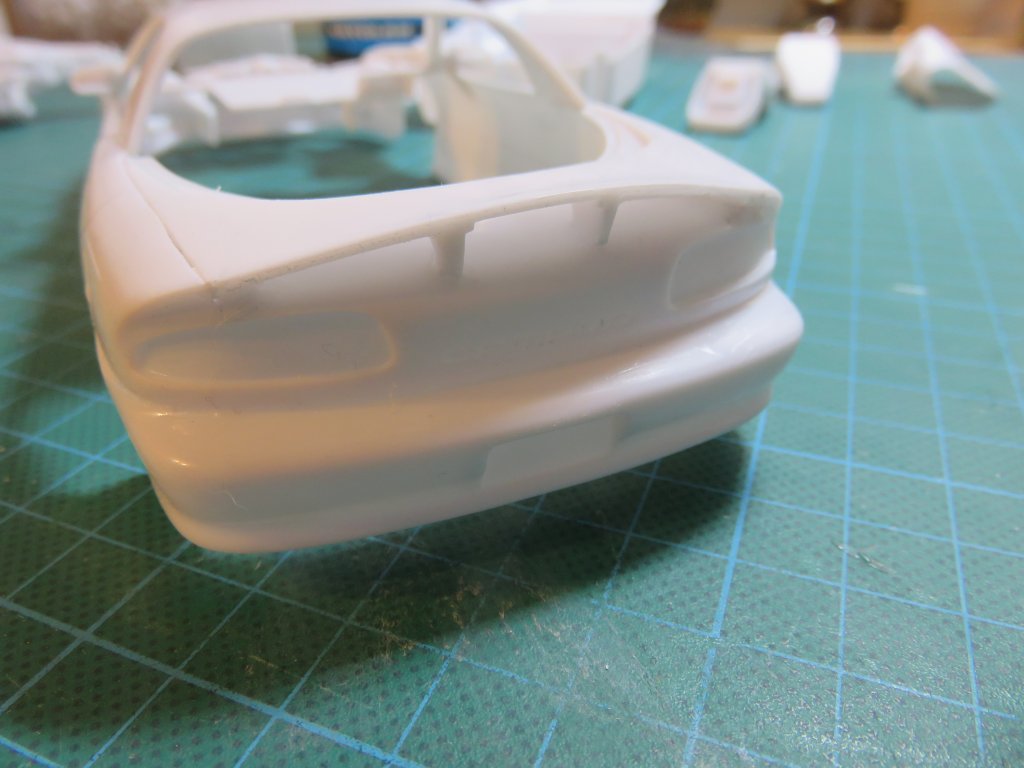
And even after the primer it looks good....
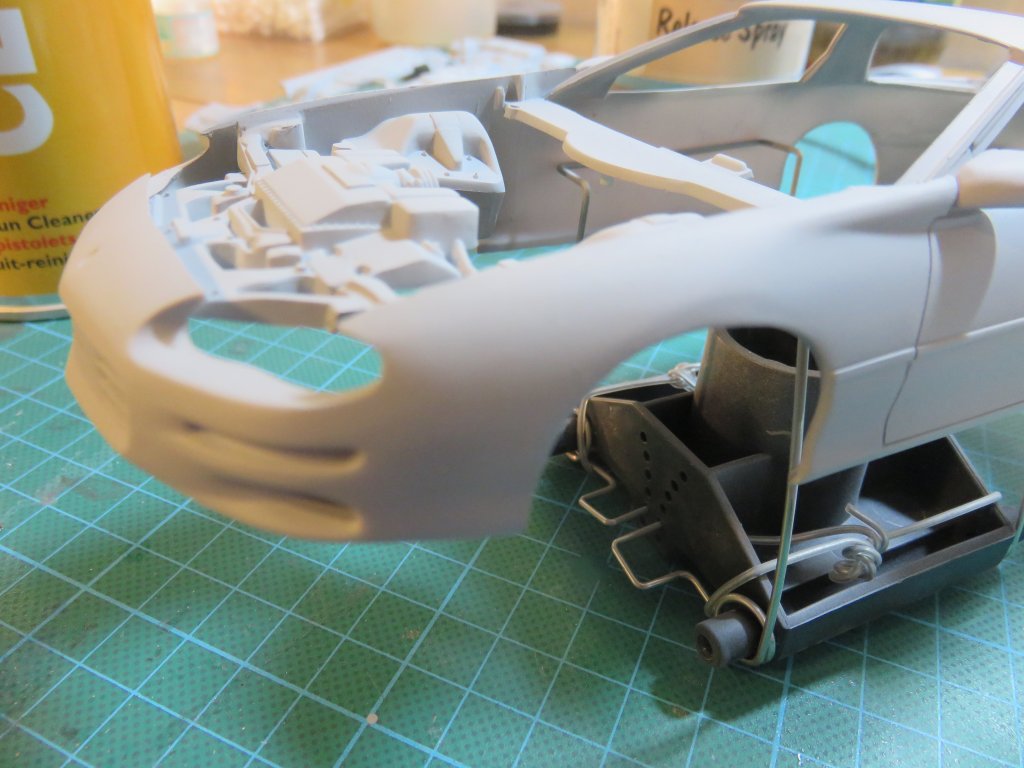
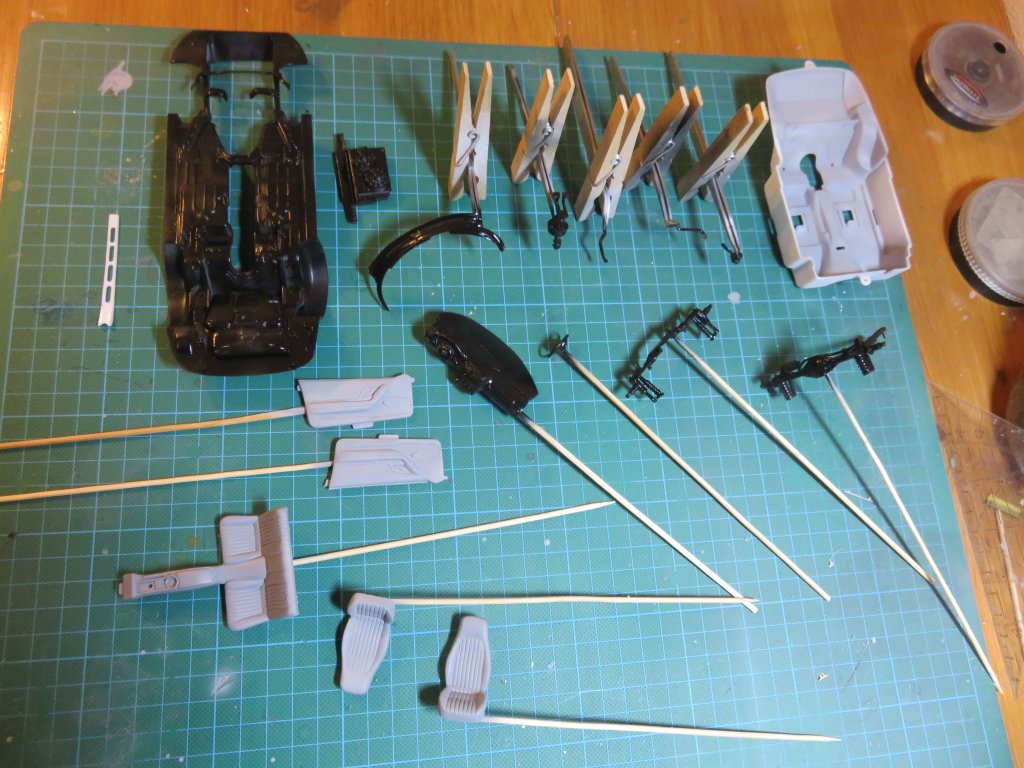
Last for the day: after the primer has dried, all parts that end up black or metal color were given a coat of black, while the interior parts were given a coat of light grey.
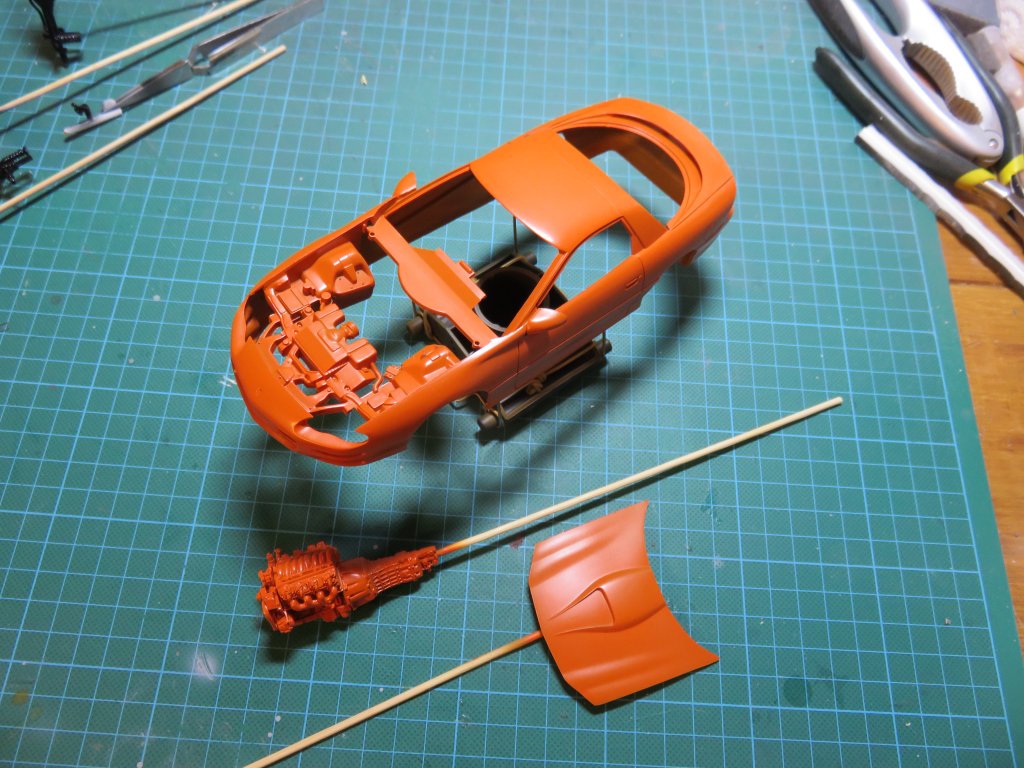
The body, hood and engine were painted in what is to be this car's final color....
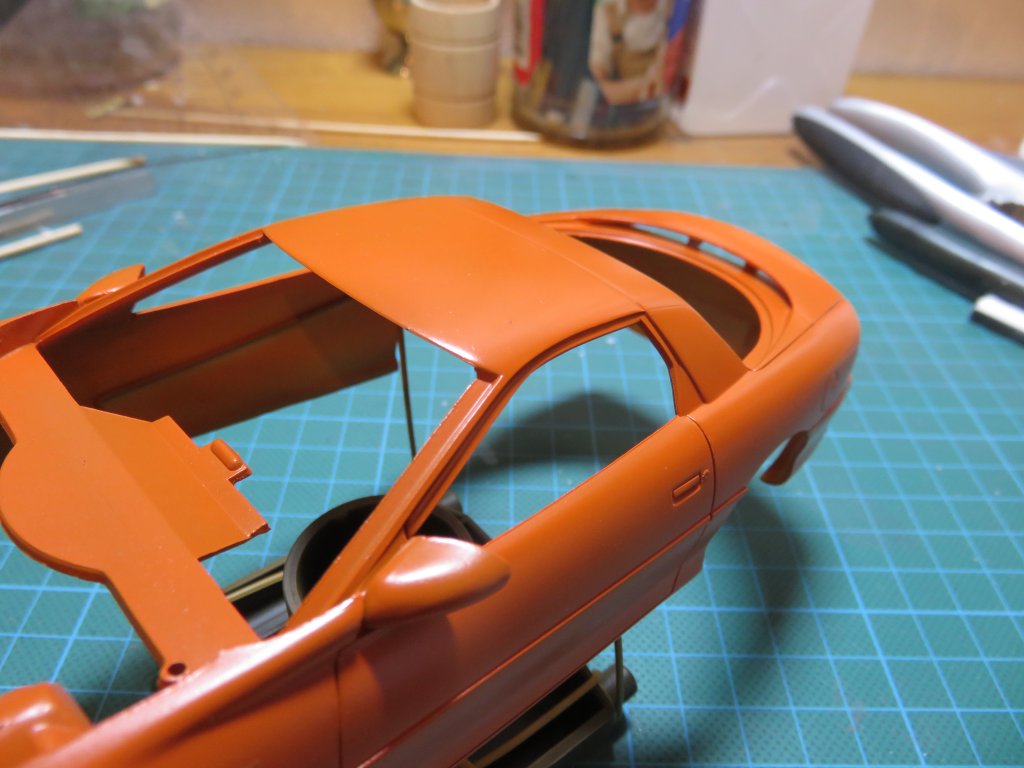
Tomorrow we'll put this thing in some lacquer and see how that works out. It's the bit where I screwed up last time....
paints used:
primer: ZeroPaints Grey primer
black: Gunze H2 Black
grey: Gunze H53 Neutral Grey
orange: ZeroPaints ZP-1057 Jägermeister Orange
| previous page | next page |