
 | B-26 B/G Marauder Revell 1:48 kit no: 04525 build time: June 23 2014 - November 5 2014 |
Well, finally got a chance to start work on this kit. Before we get to the good tuff, one more aftermarket thingie came in the mail:
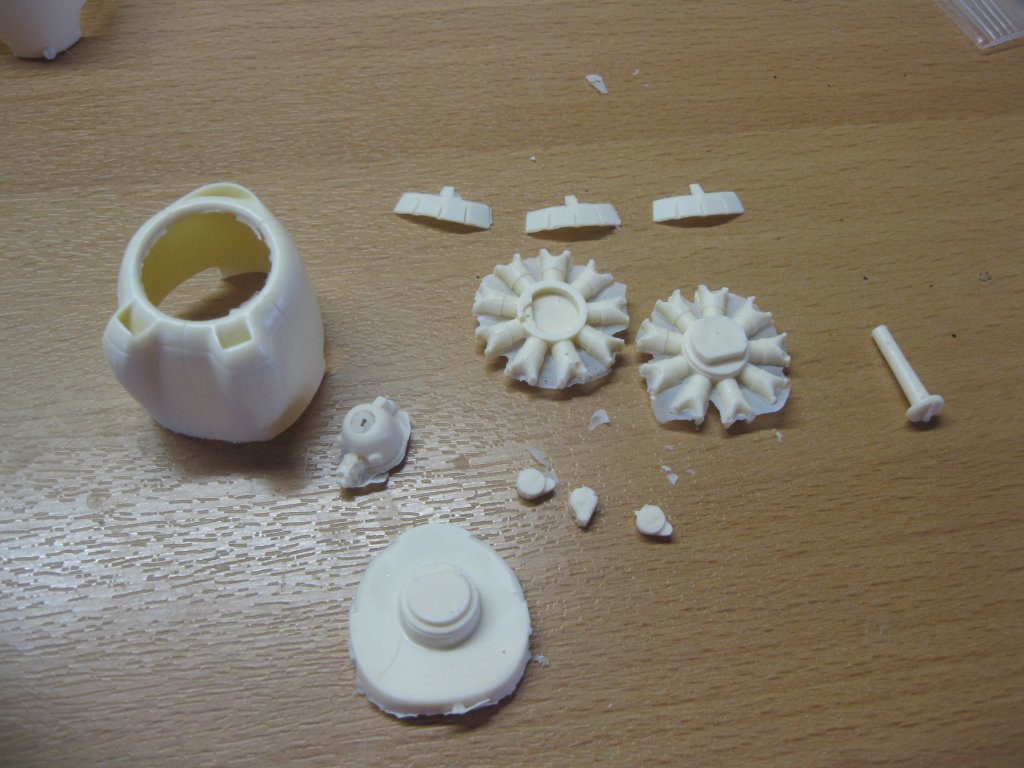
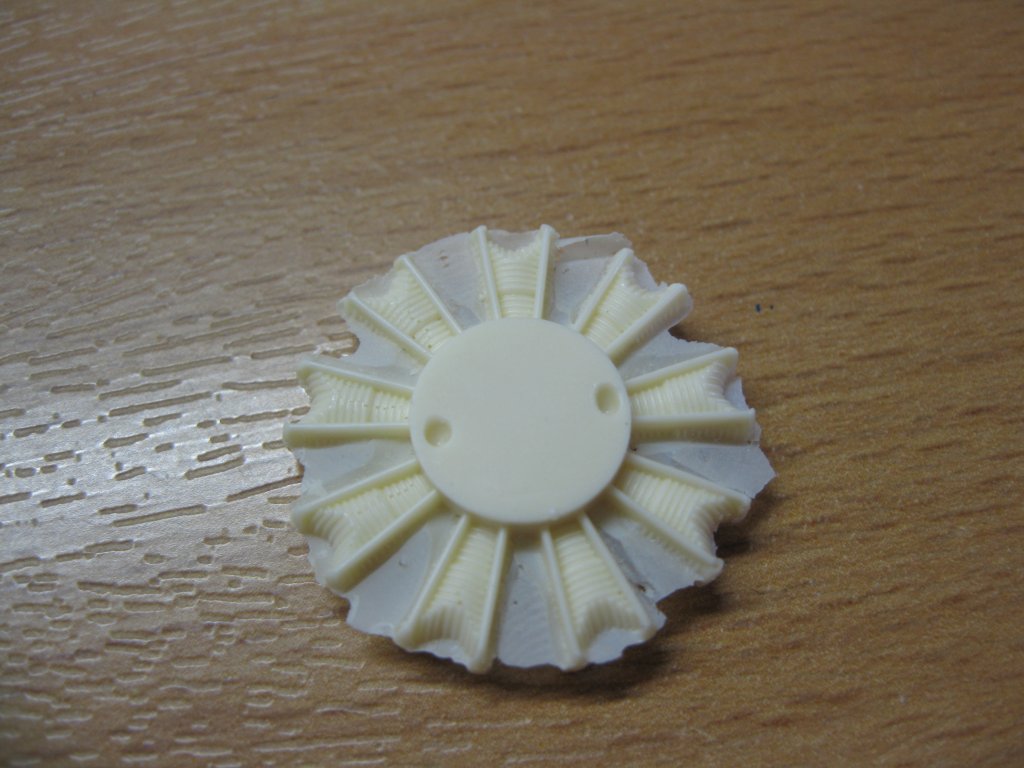
Yup, replacement cownlings and engine. I got some thoughts on scratching some stuff on that engine as well, similar to what I did on another build a while back. But that will have to wait until after the cleanup [smile]
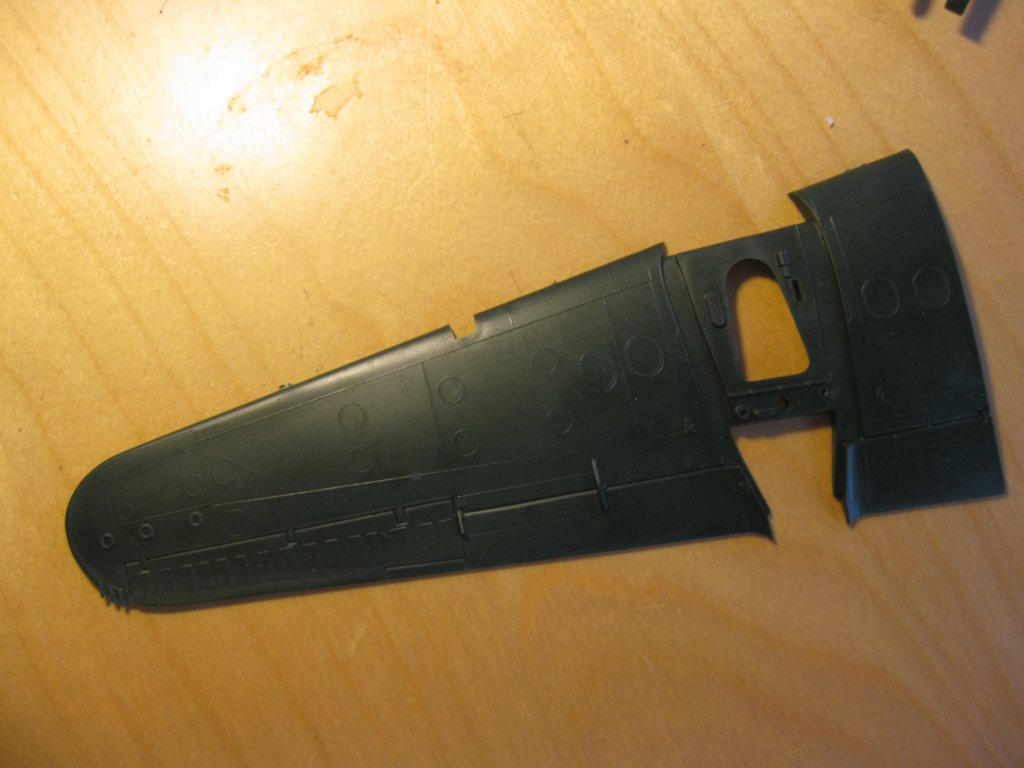
Anyways - back to the kit. It's a wee old and as such, raised panellines!

So, let's collect my weapons of choice:

The straight lines are easy: put the template in place, a few strokes with the Tamioya tool and done. The Tamiya tool doesn't like curves though...
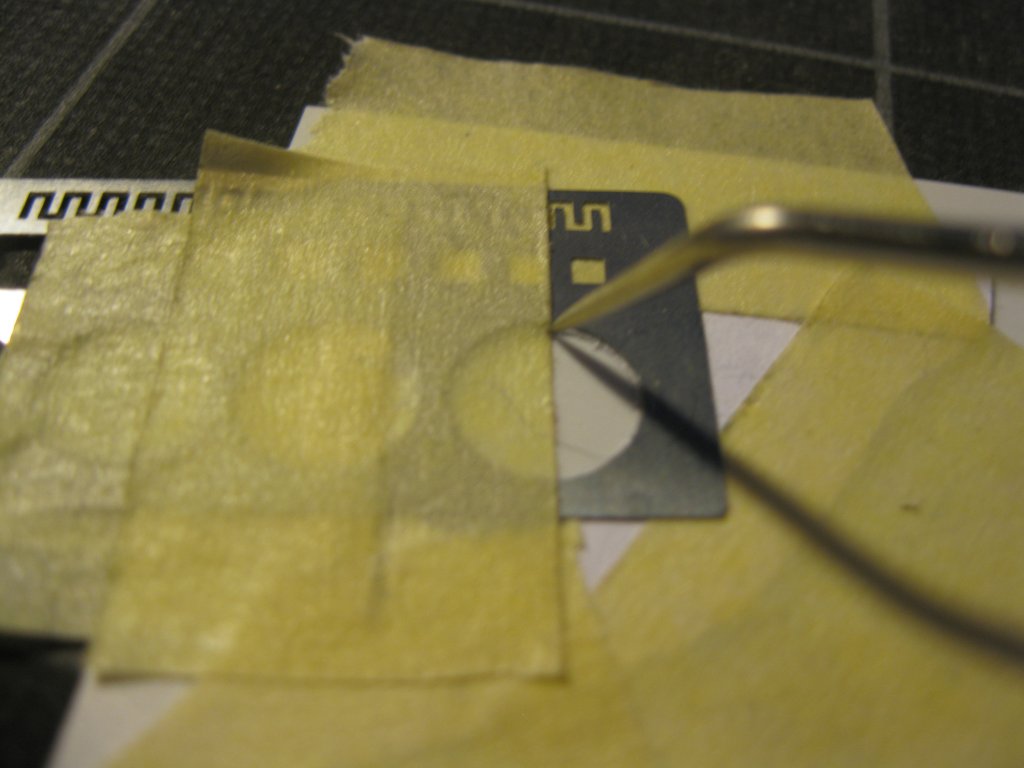
So, let's see. First, find the circular hole in the template of the appropriate size, and tape it in place.
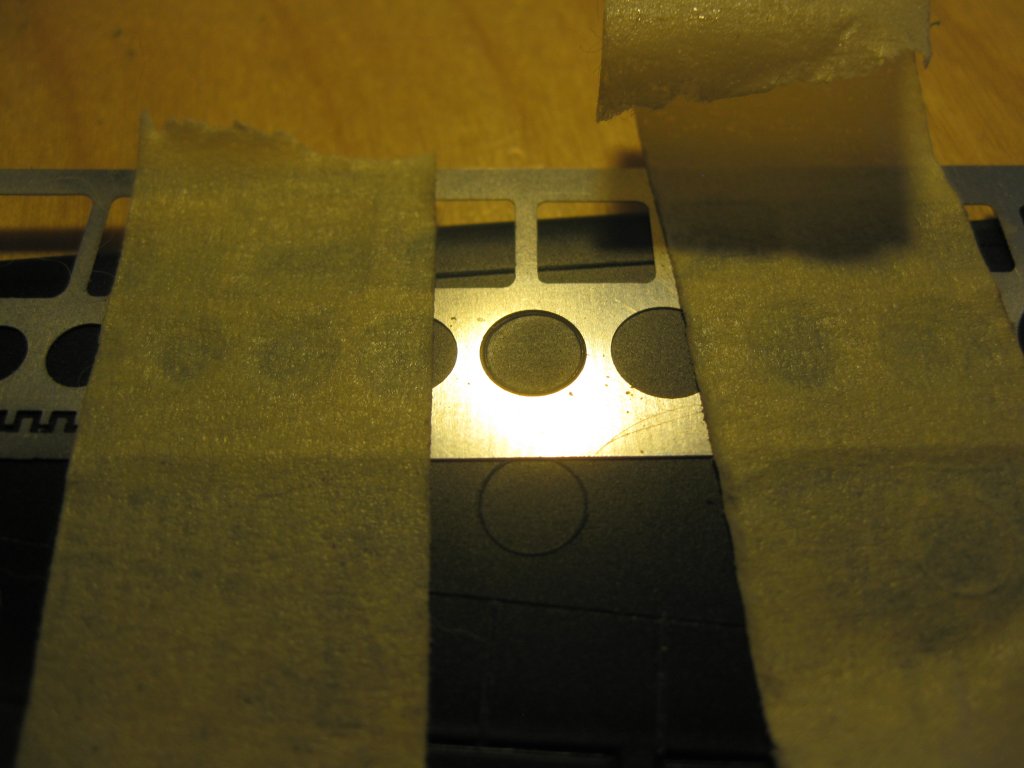
It may look like Tamiya tape but it isn't. The Tamiya doesn't have enough tack in my opinion for this. Plus this is from the DIY store and thus a whole lot cheaper.
Then we hit the template with tool #1
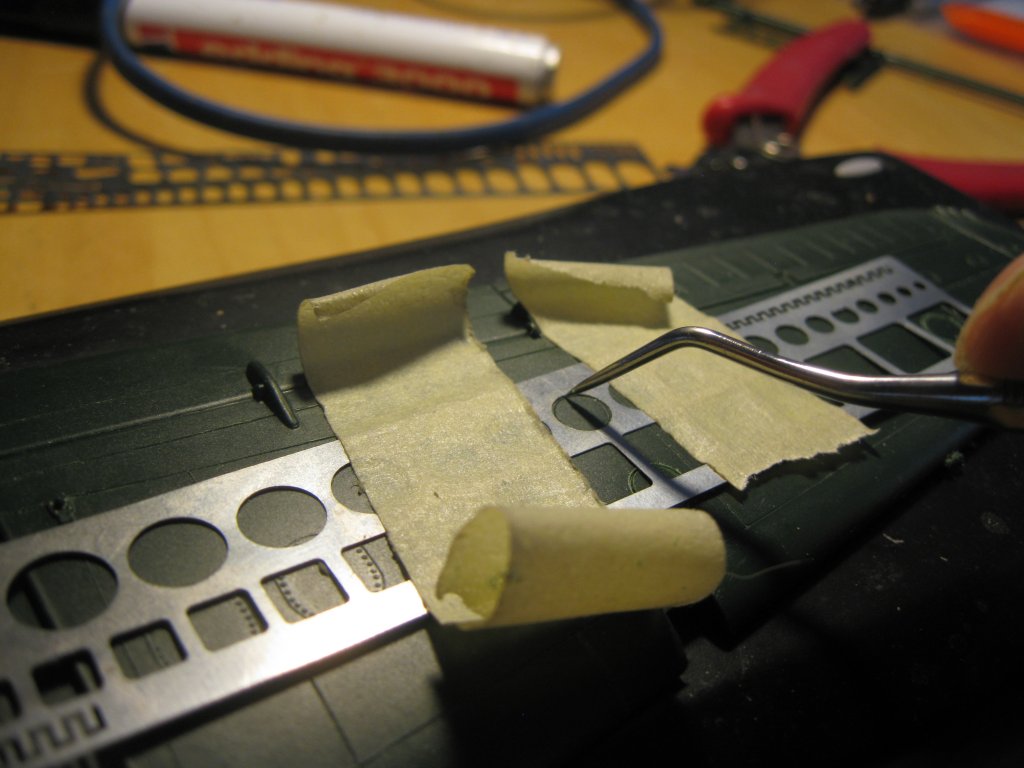
And when the first cuts are in place, move to tool #2
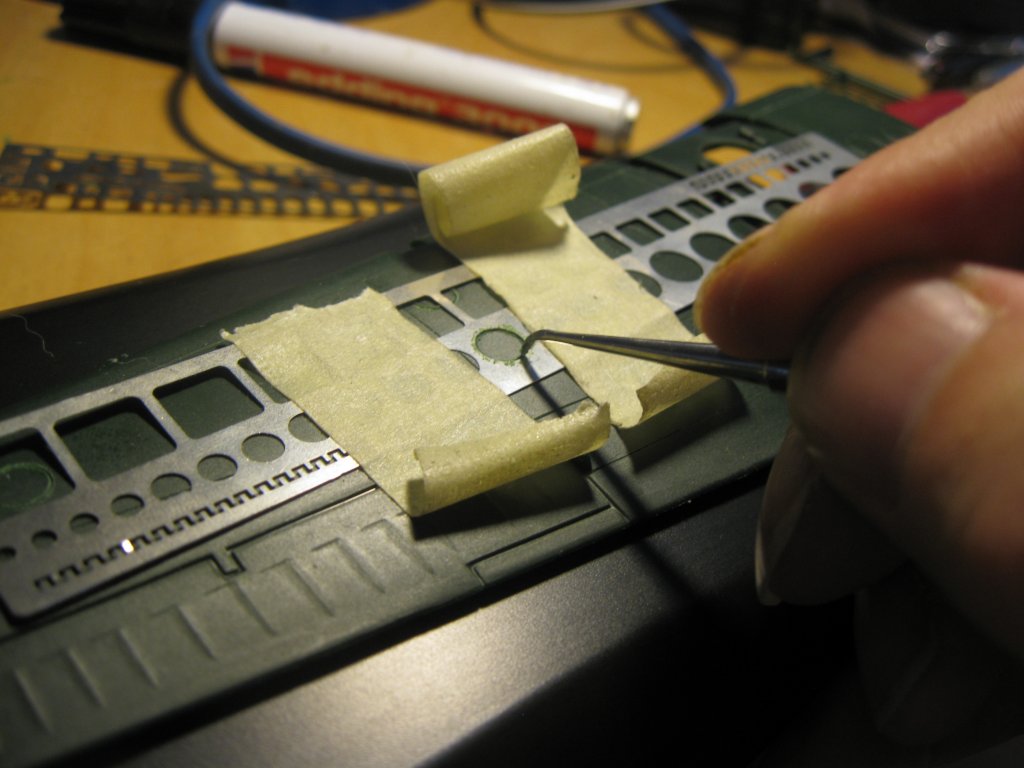
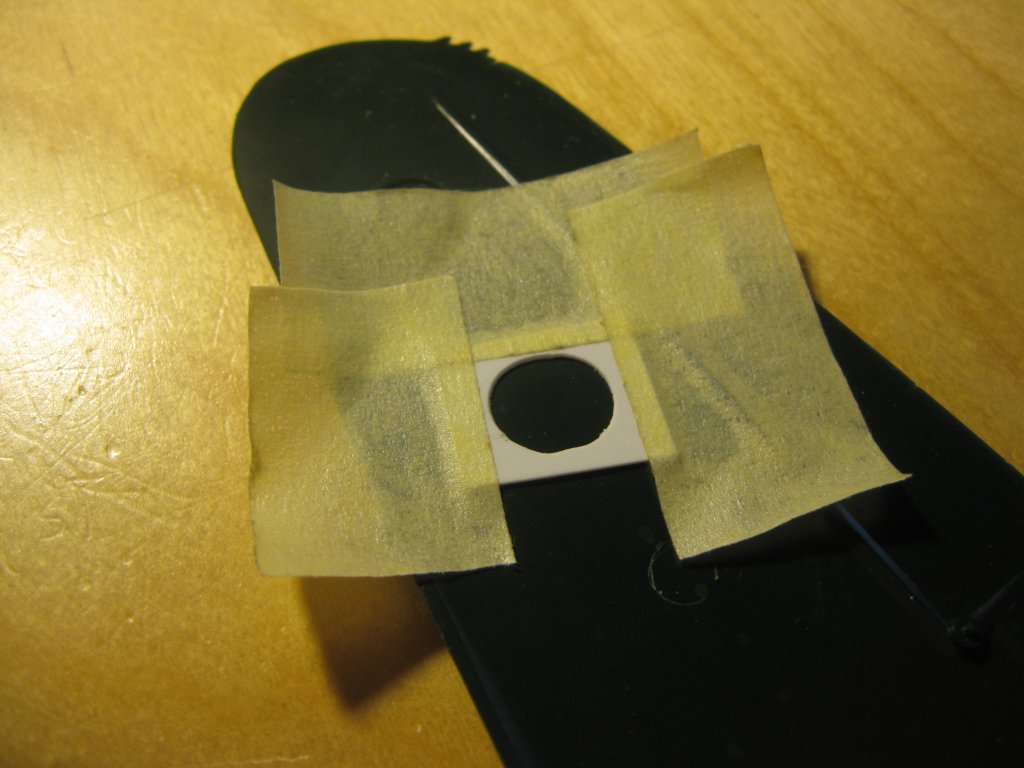
The wing's resting on a graphical calculator (simply because it's the right height), my wrist on the table so the tool can get almost horizontal.
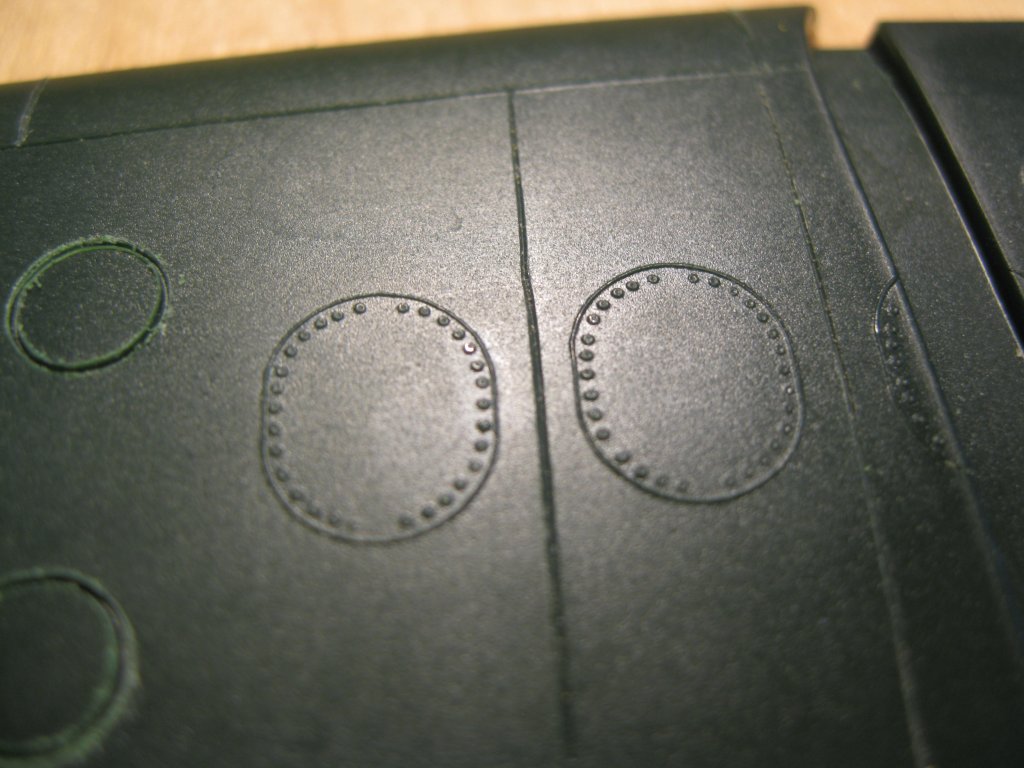
And then we end up with this:

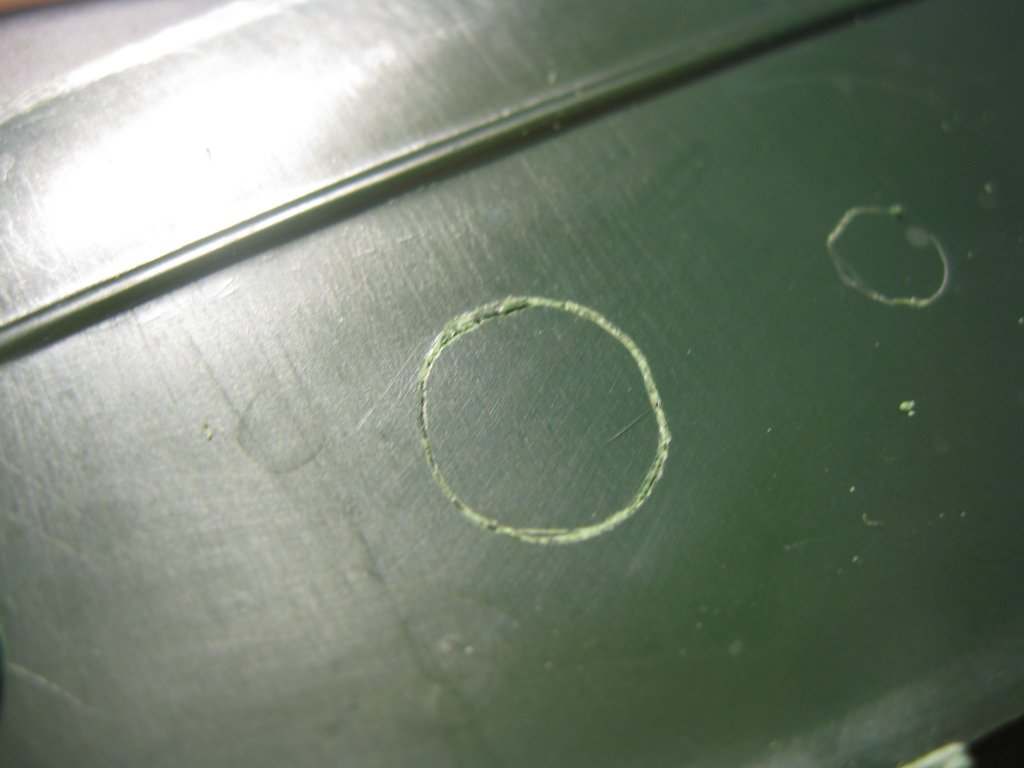
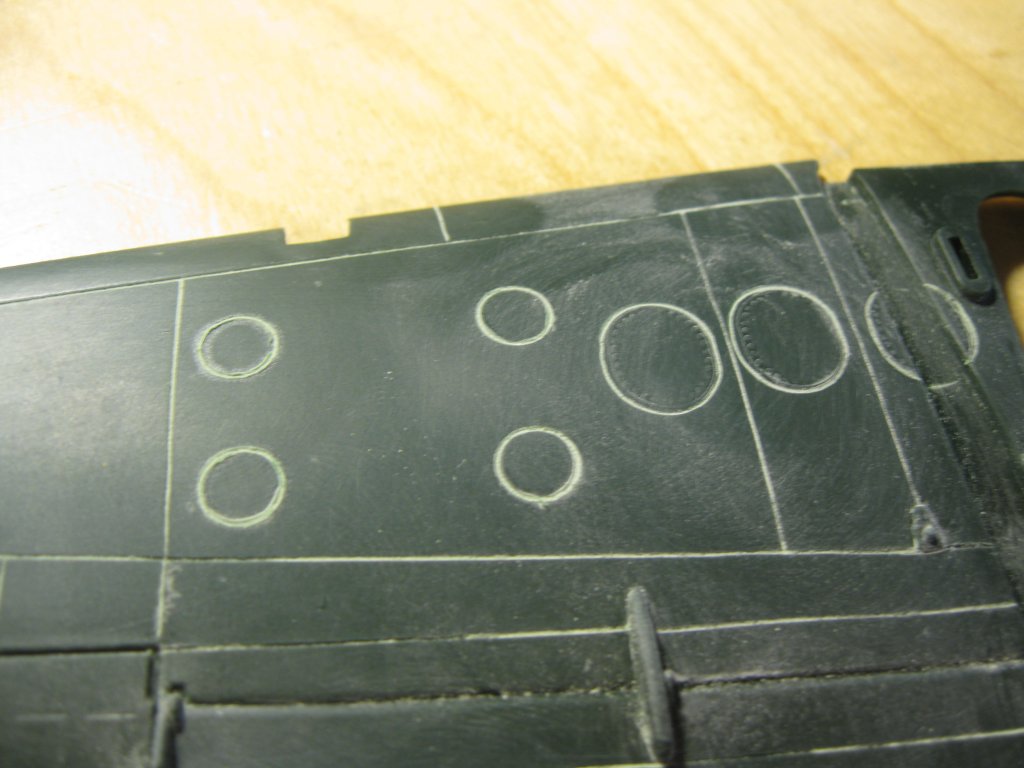
And so we can do all circles pretty easily. And of course we also messed up the straight lines in one or two places. That'll have to be fixed I suppose.

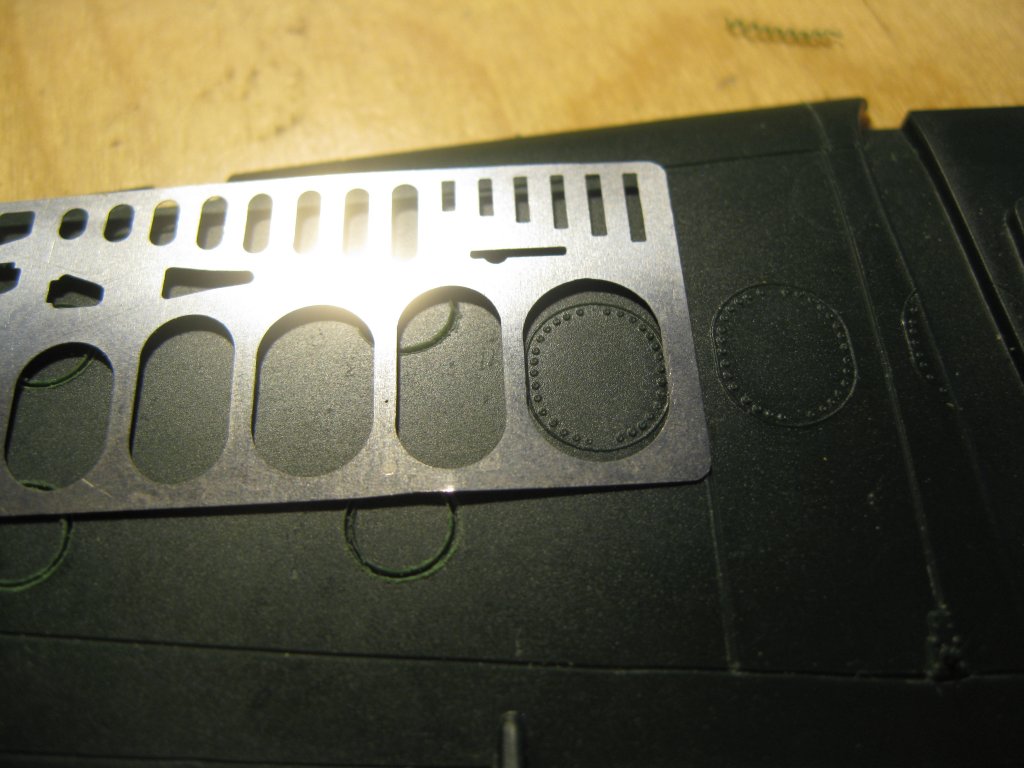
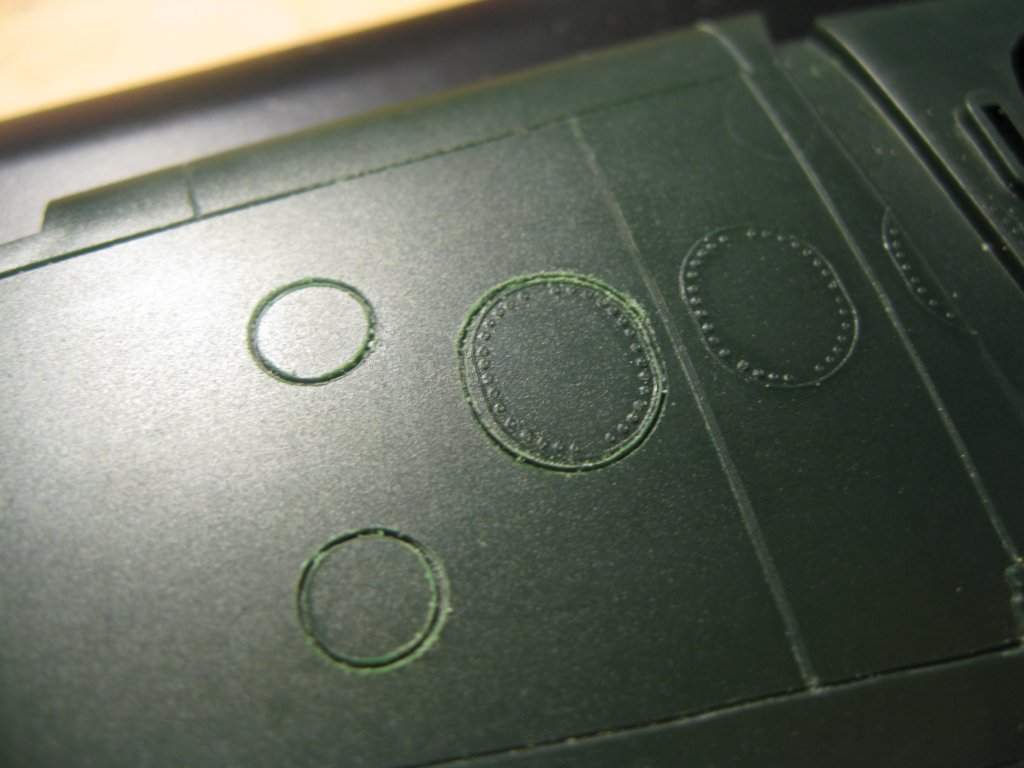
However, then we hit a snag:
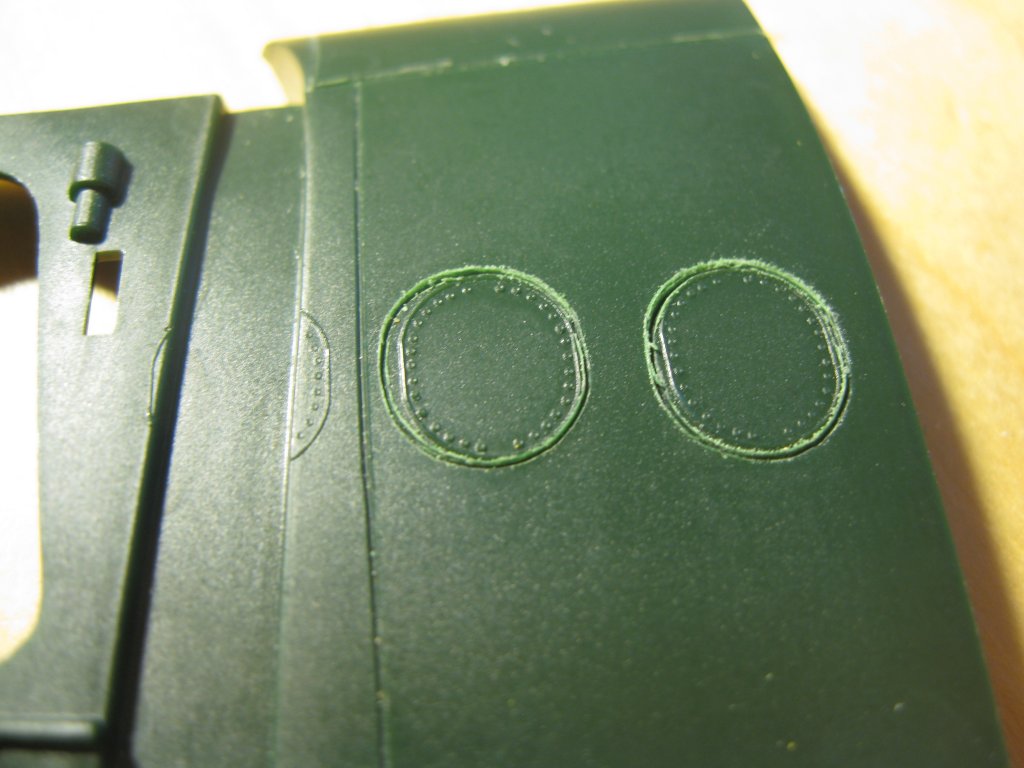
Ovals, and with raised rivets... And of course - the ovals in my templates are the wrong size...
And so we make a template from somke styrene stock. First we find the circle with the correct diameter
And we make some test runs

First the one top left, which is way too big. Then the one on the bottom which is... you guessed it - too small.
The on on the right is just a tad too big, but it will do.
First, a test run on the inside of the wing to make sure the template stays in shape
Satisfactory I guess
And then we put one in for real
Not 100% right, and definitely gonna have to make the rivets go away if I wanna make it passable. And so we do them all:
And when everything is done, we give it a good run over with a sanding sponge, and then polish it back up
Then put it inder a running tap, grab the old toothbrush and get rid of all the gunk.
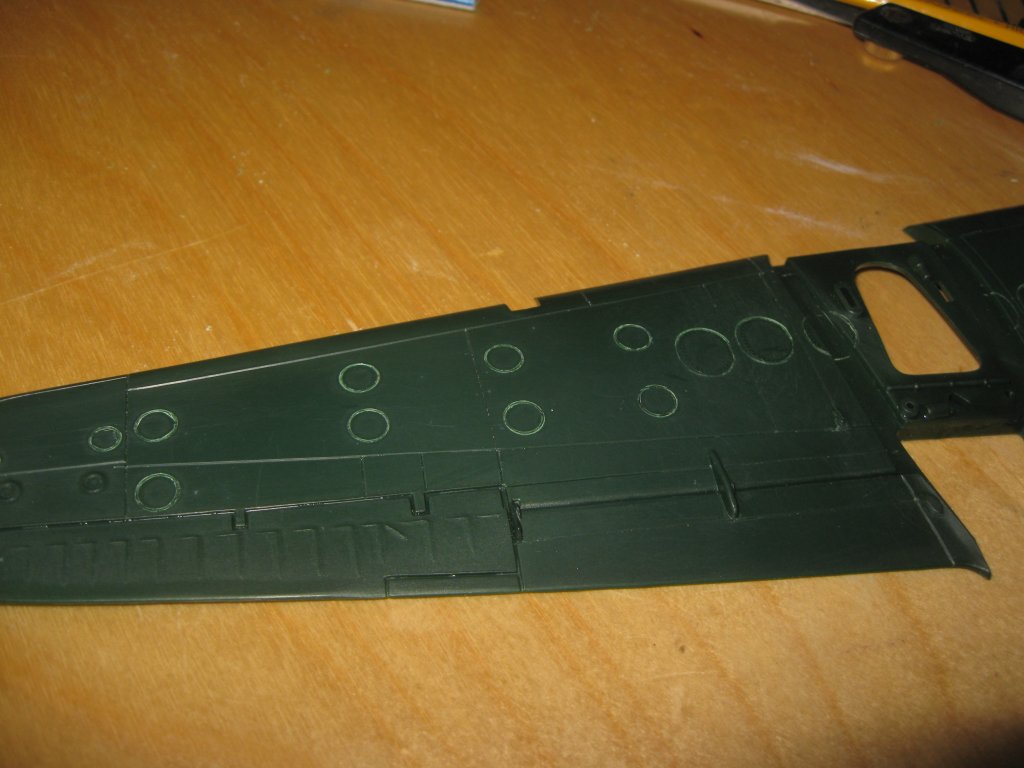
And so, after over an hour and a half, we have one half of one wing. Nice going. Three halves left, two fuselage halves, two sides of a vertical stabiliser and 4 sides of horizontal stabilisers.
And then figure out how to work on the nacelles....
| previous page | next page |