
 | Hunting Percival Jet Provost T4 Airfix 1:72 kit no: A55116 build time: December 1 2017 - May 17 2018 |
Yup, the start set....
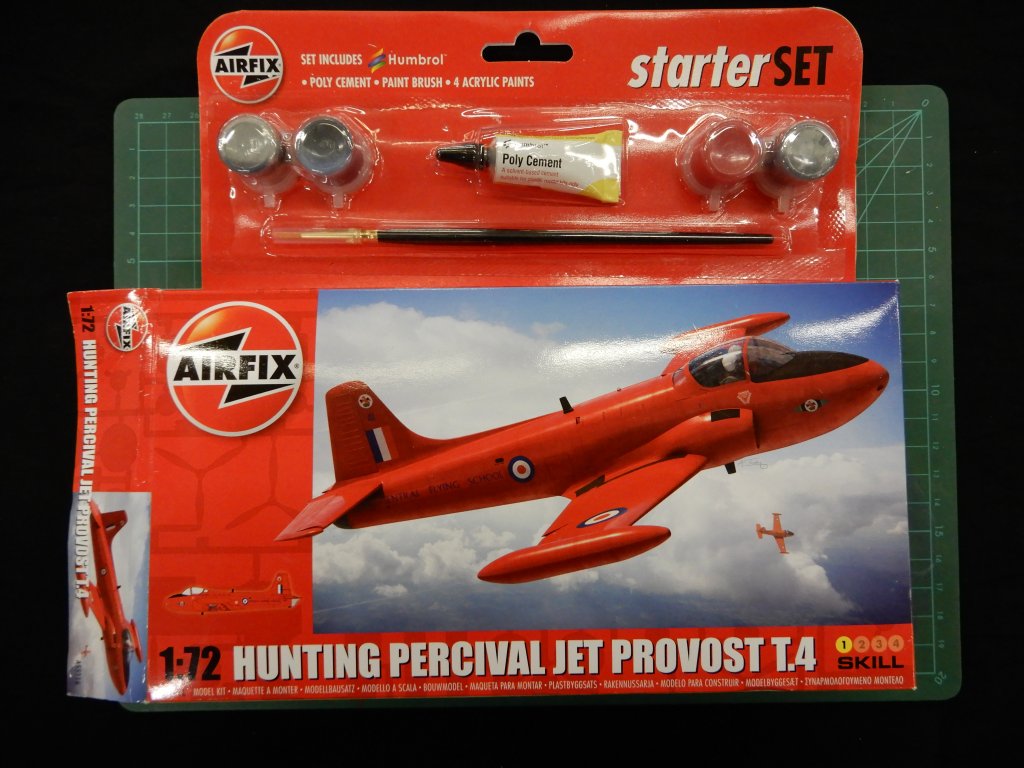
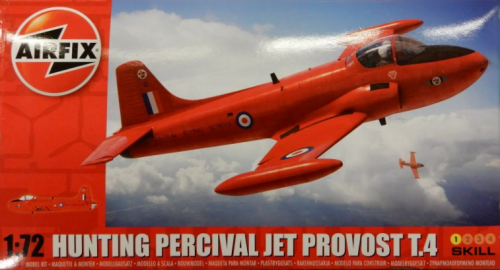
The reason is simple: I like the overall red scheme. And to add a little extra challenge, I decided to go with the starter set tools. That means: paints and brush from the set. No airbrush 🙂 I'll make an exception for the sanding since the set doesn't provide any, so I'll be using a Flory skinny sander all the way, no more, and I'll allow myself the use of some Tamiya Extra Thin. I'll also (of course) use my nippers and my hobby knife, otherwise this would end up being a disaster. I will also use a little Perfect Plastic Putty where needed. So, only basic tools, no luxuries.
It'll be interesting to see what I can do. It'll be a good training for next year. I'd better get to work on getting up to speed with airbrushing without leaving any brush marks...
Anyways...
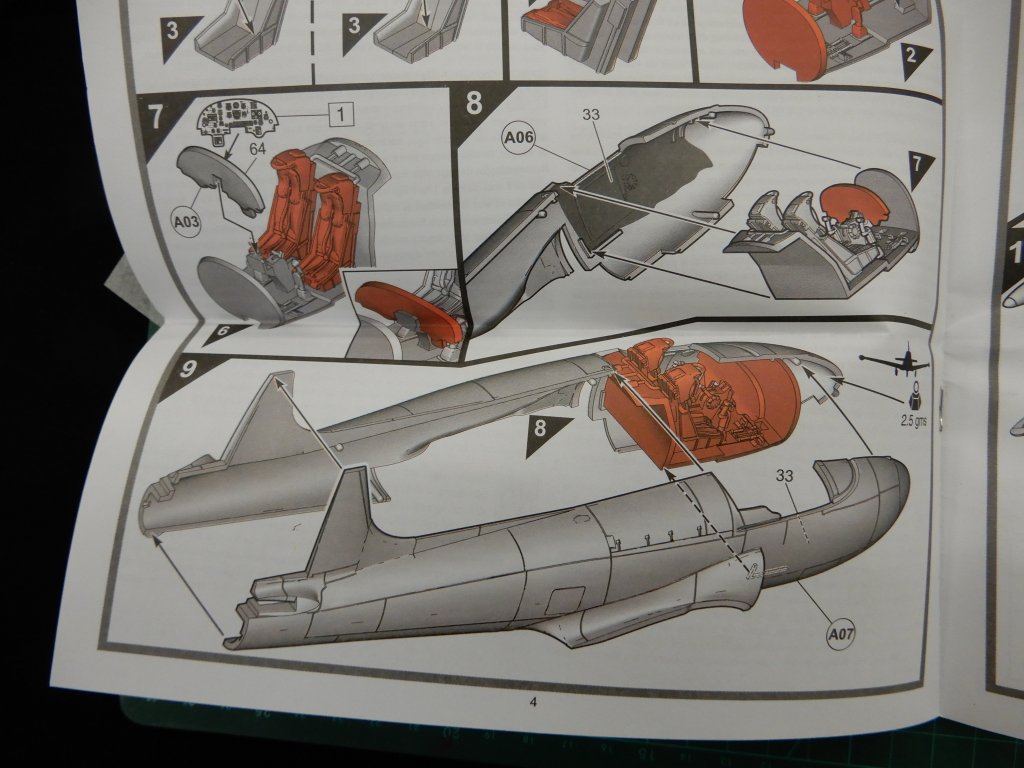
The instructions are the typical new Airfix. Easy to read.
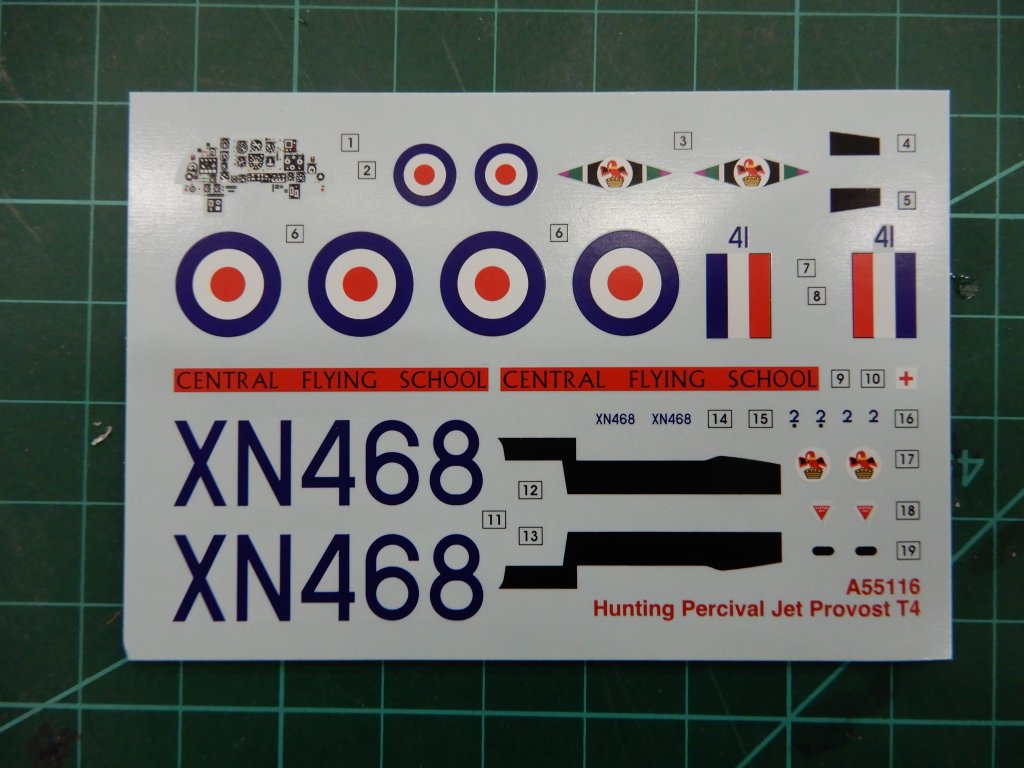
Decal sheet is nice. The only problem I have is Airfix printing the "CENTRAL FLYING SCHOOL" on a red background. Why for Pete's sake not ona clear background. I'm just hoping the red in this decal matches perfectly (or perfectly enough) to the red paint Airfix gave me. Unnecessary headaches if you ask me.
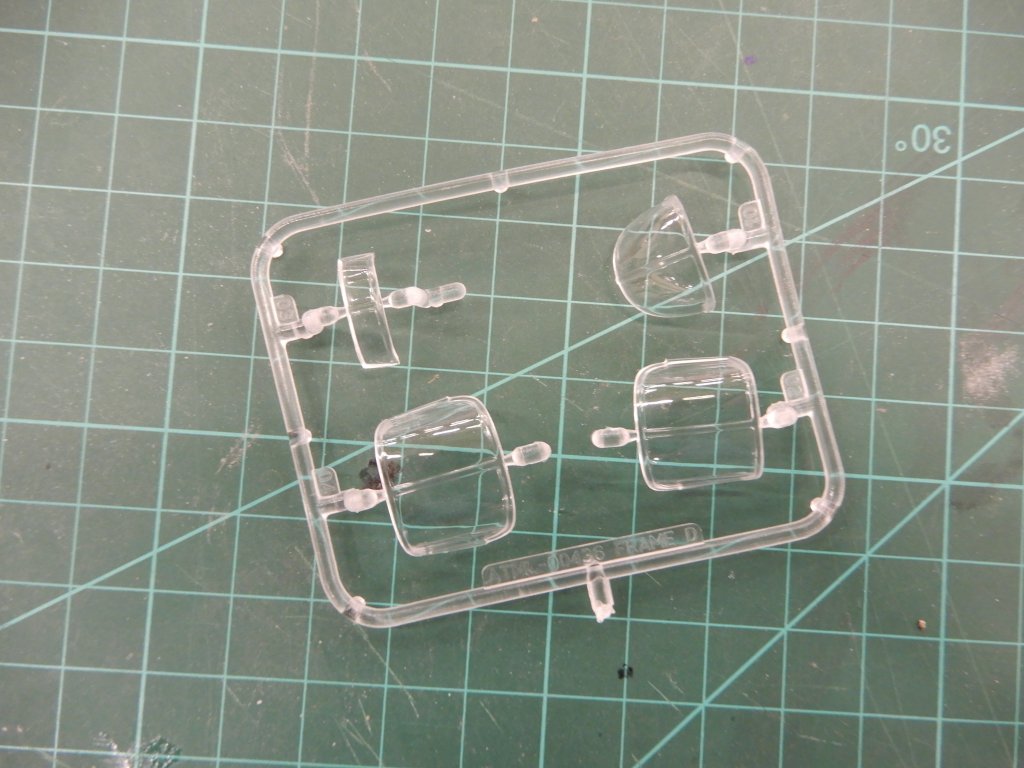
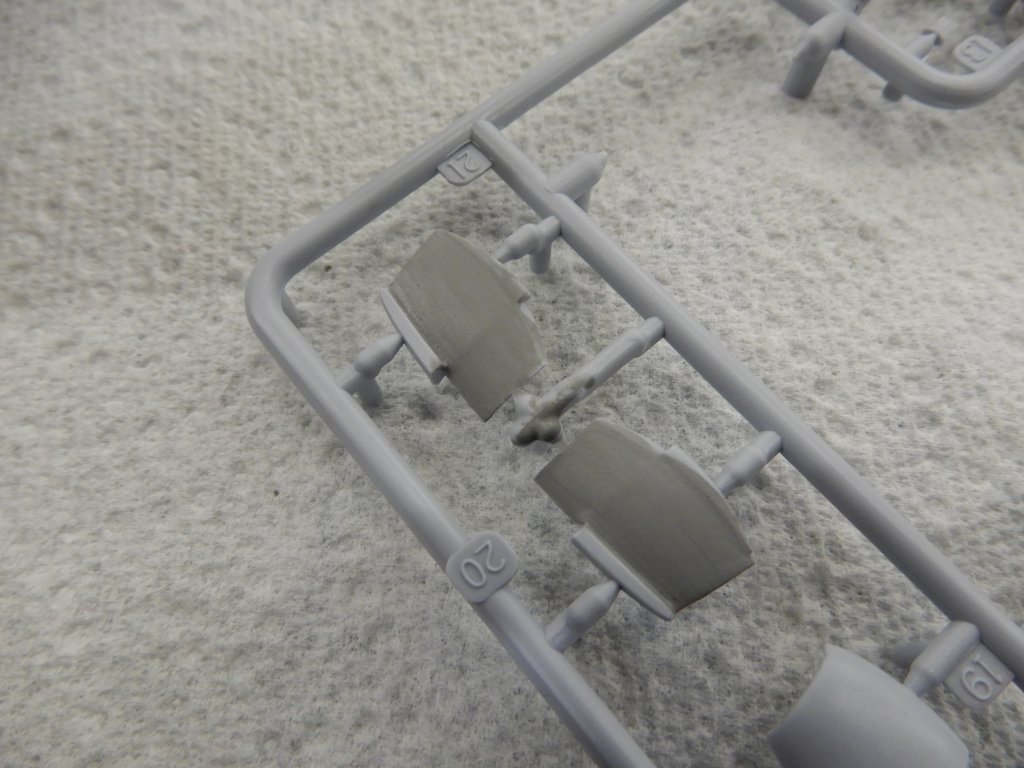
A sprue of clear plastic, which is always nice. Two canopies provided, one for the open and one for the closed position. Not sure why that's needed, but it does seem the "open" version is actually wider than the "closed" version....
The rest of the plastic, a whopping two whole sprues. Well, that's what you get: small aircraft + small scale = few parts.

Painting and decal instructions provided on the back of the box.

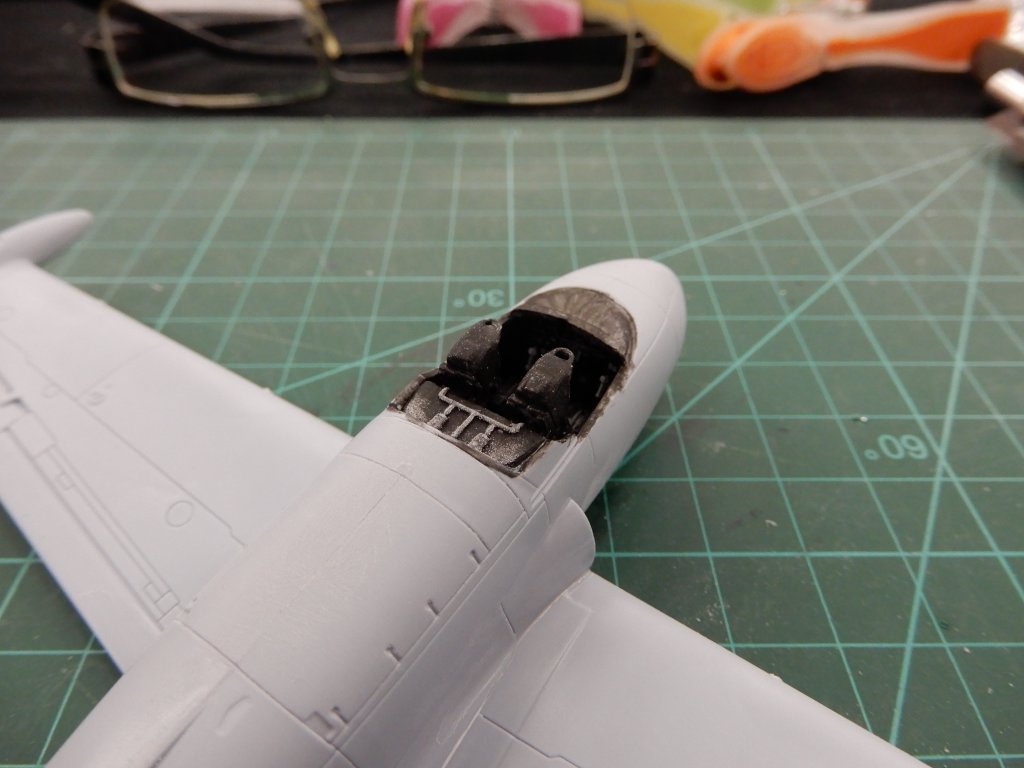
So let's get started on the cockpit. 8 parts glued and painted. It's black and black and more black. A little detail was added with the provided grey paint.
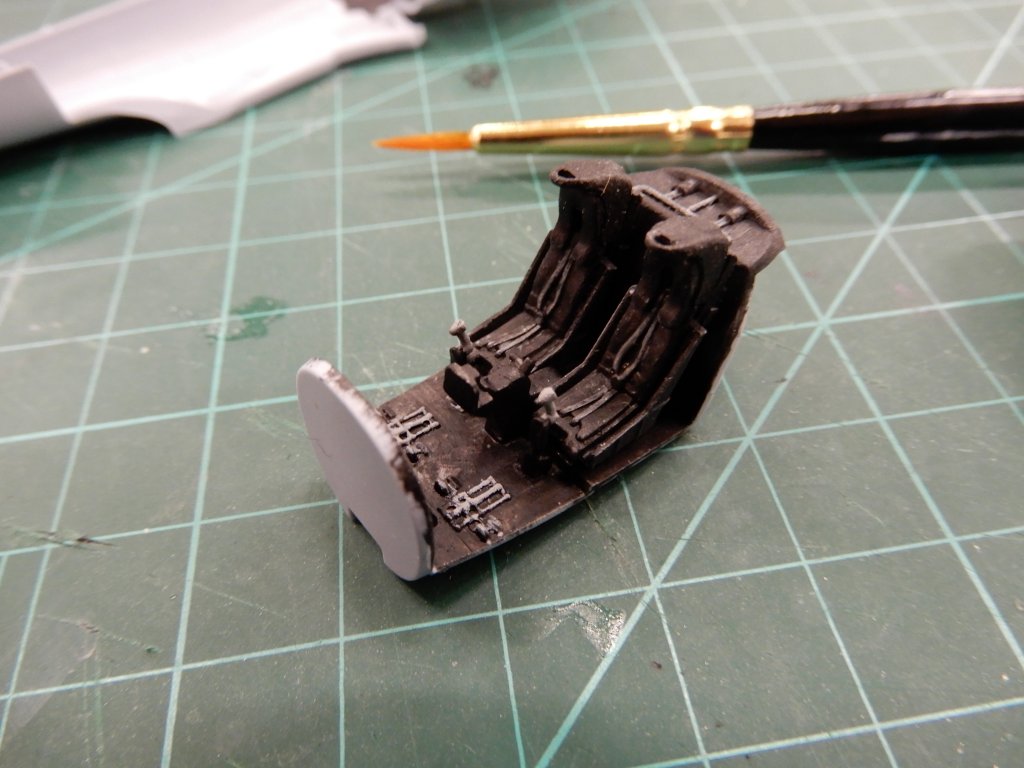
The same grey paint was used to do a little drybrushing. Here I cheated a bit: I have a brush I use exclusively for drybrushing since that sort of destroys the brush. I used that one here instead of ruining my brand new Humbrol brush 🙂
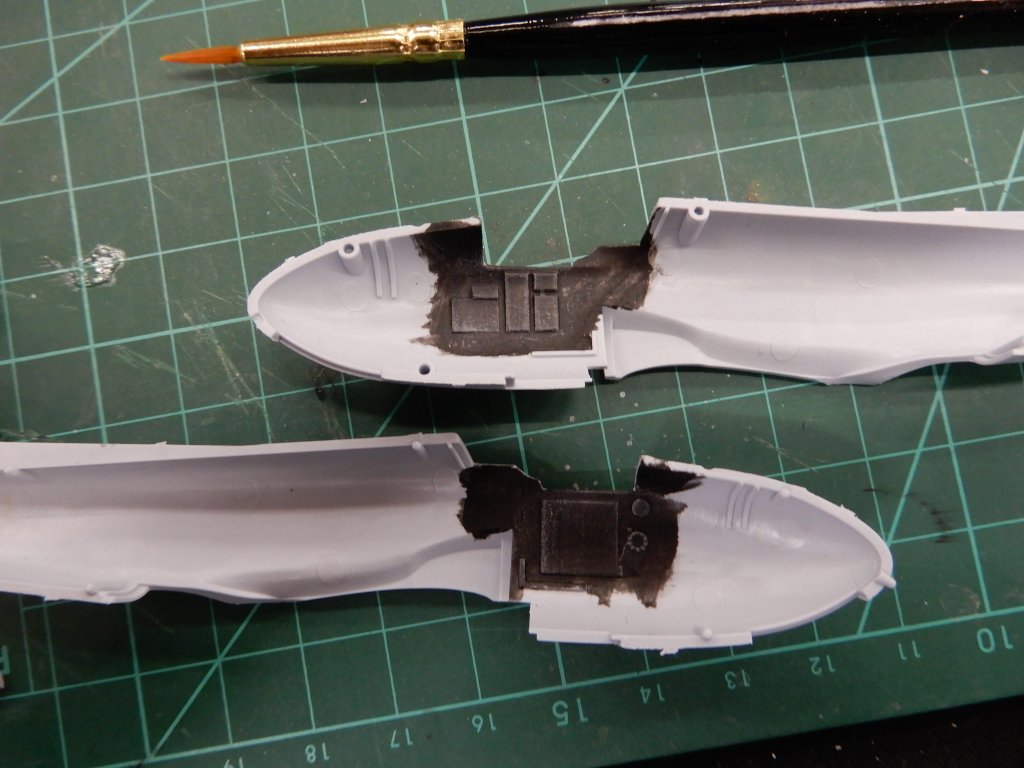
And of course I had to screw up too:
Seems too much Extra Thin is a bad thing if you do it right. A little sanding once it's dry will hopefully fix this.
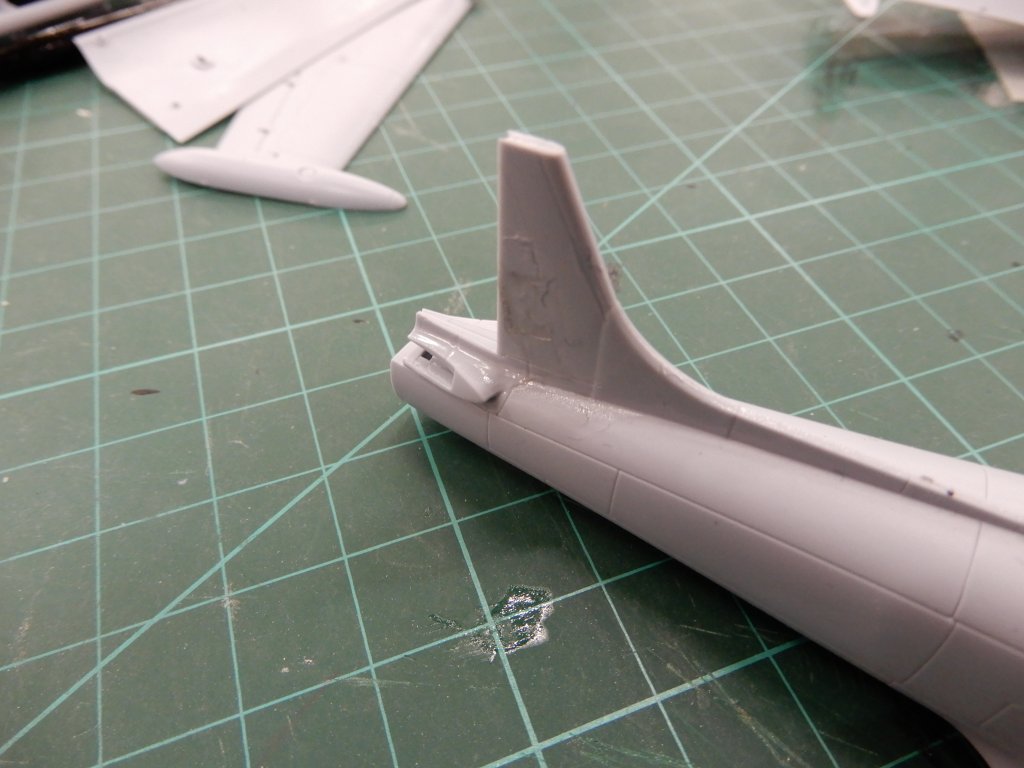
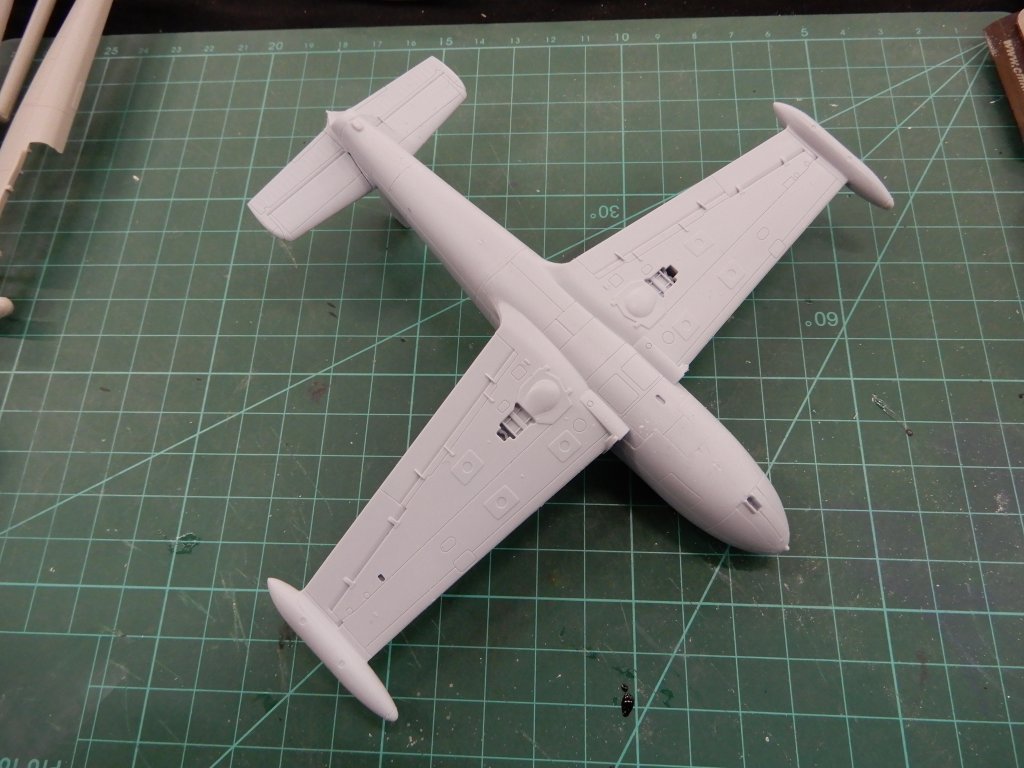
And then at the end of the day, we have something that's starting to look like a Provost.
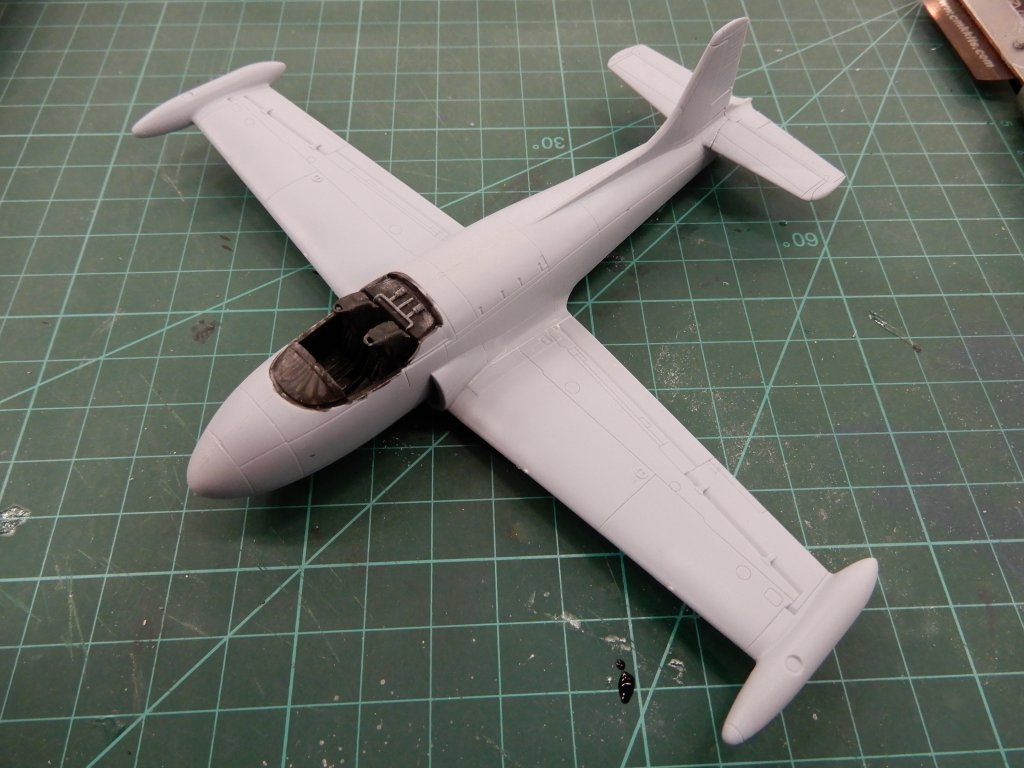
I had to dig into my tools box though - a little noseweight is needed.
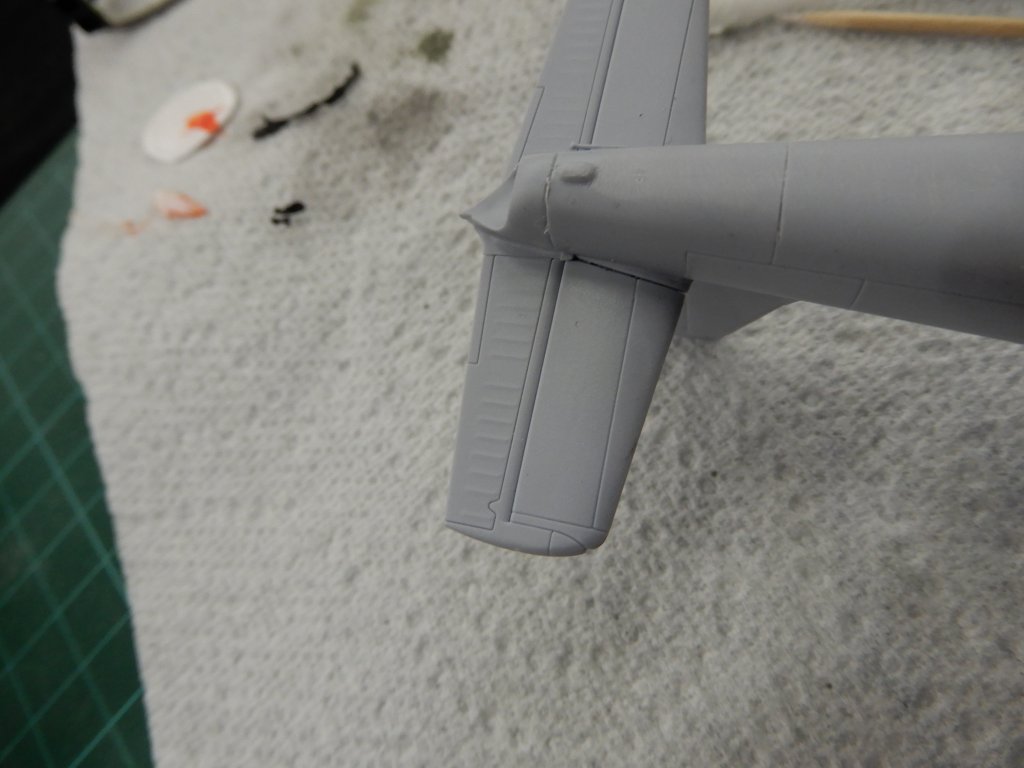
I only needed a little filler where the top side of the wings meets the fuselage, and where the top side of the stabilisers meet the fuselage.
Brush-painting the inside of the intakes:
Brushmarks visible. So test 1 has failed, but since you'll never be able to look inside the fuselage, I'll not mind this.
[img]https://image.ibb.co/hQVyDn/JP015.jpg">
Until next time.
| next page |