
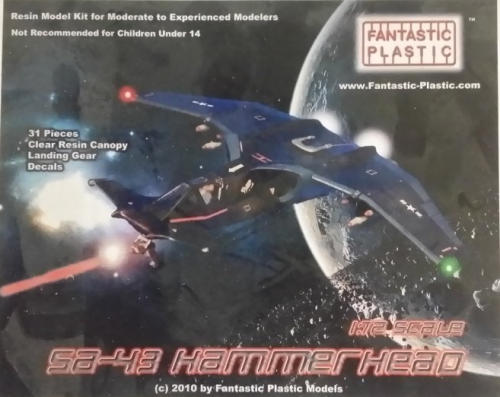
 | SA-43 Hammerhead Fantastic Plastic 1:72 kit no: 072-08-26 build time: December 1 2017 - February 27 2018 |
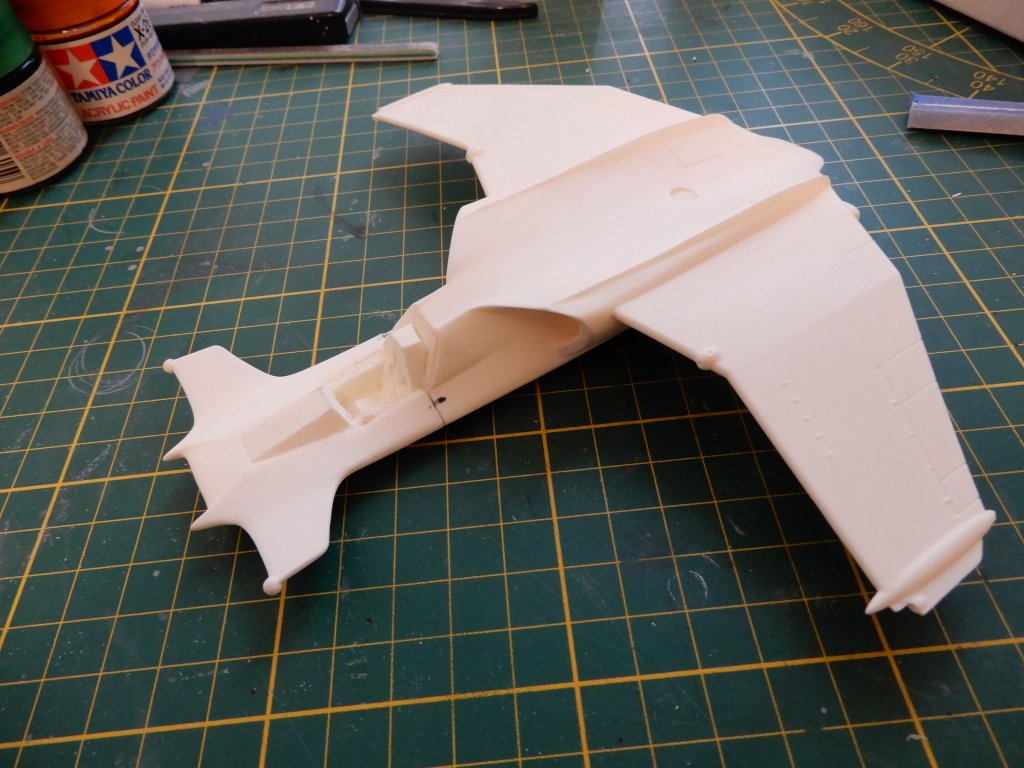
A slow start has been made, as shown by the following 20-some pictures. First off, I rescribed the panel lines on the wings that denote the control surfaces. Those were very shallow.


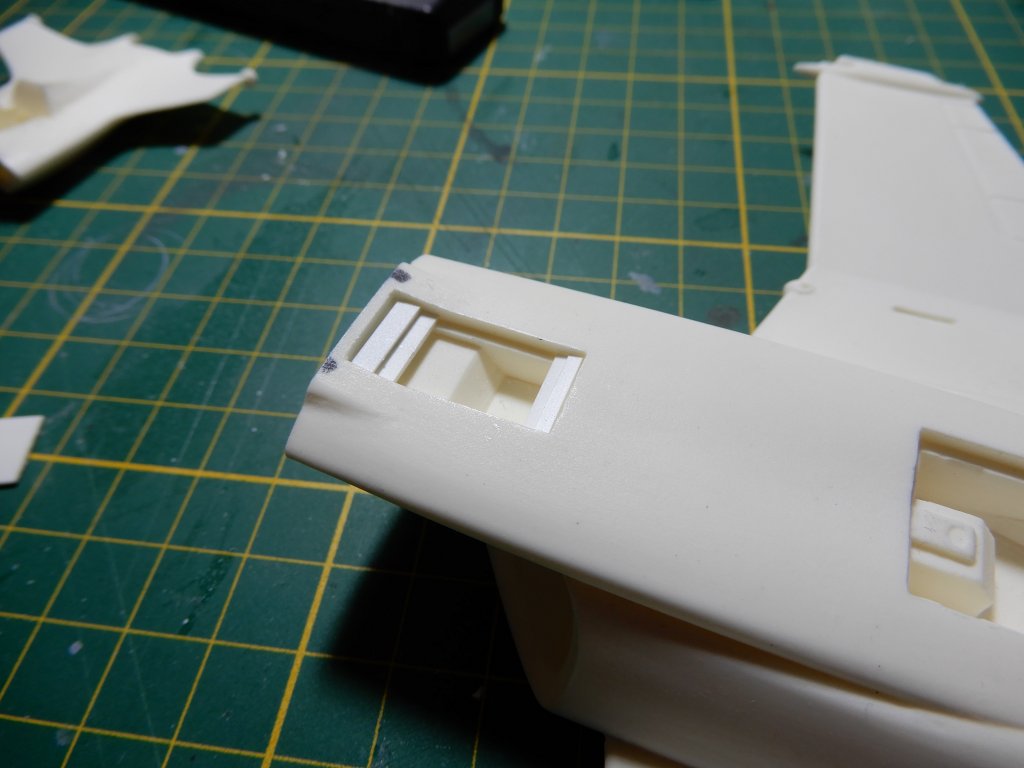
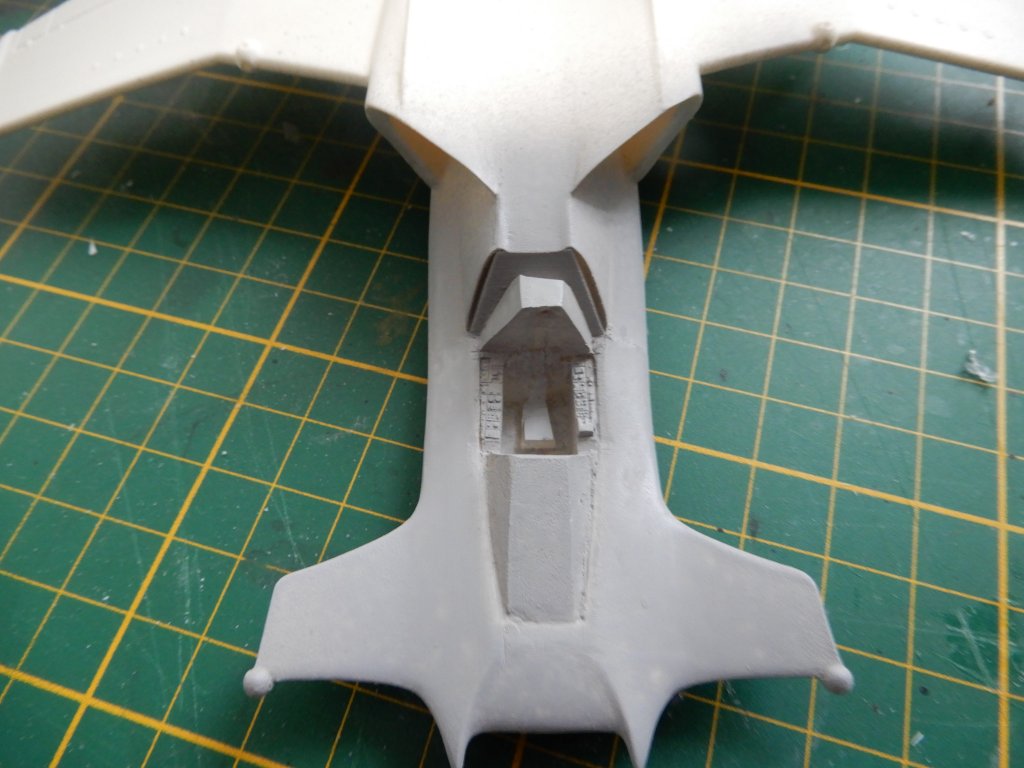
After which I turned my attention to the gear bay doors. These things look ugly as hell with their wheels down, so this one will be in flight. I never cared before about in flight models without pilot figures, and I'm not gonna start now...
This is the nose gear bay doors:

A little too deep. So, we add some styrene strip on the inside.
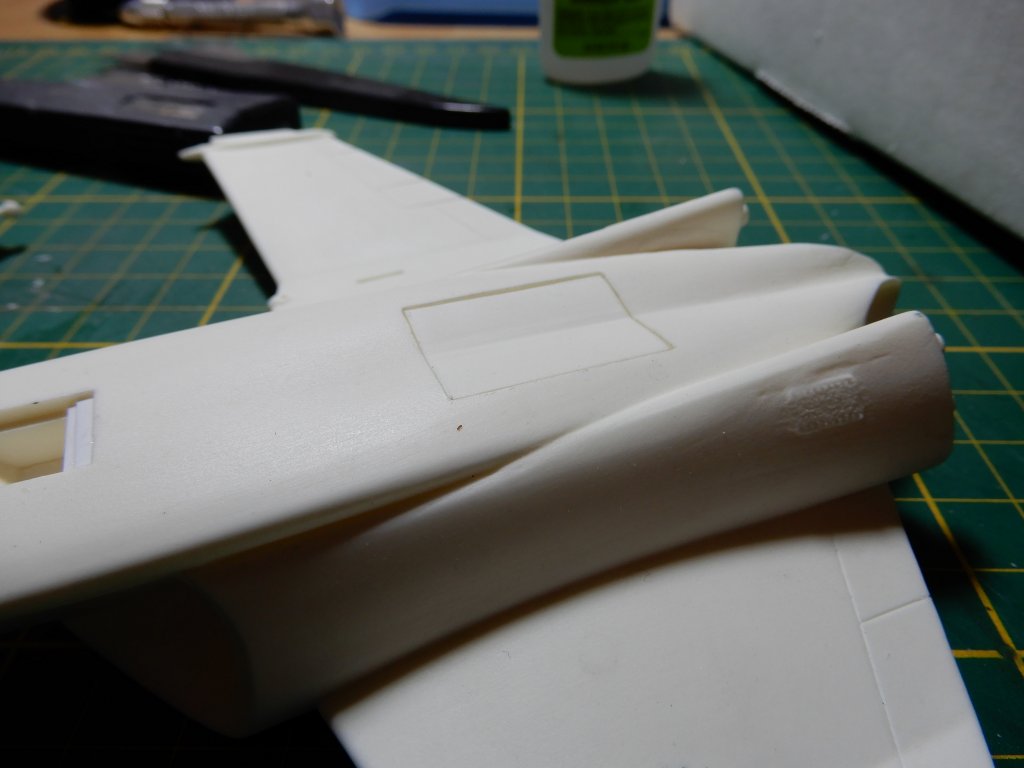
And then it fits like this:

Perhaps there's a bit too much space between the doors and the fuselage, but I'll see about that one I get some primer on. It might not
need fixing. Then, we repeat the same for the main gear bay doors.
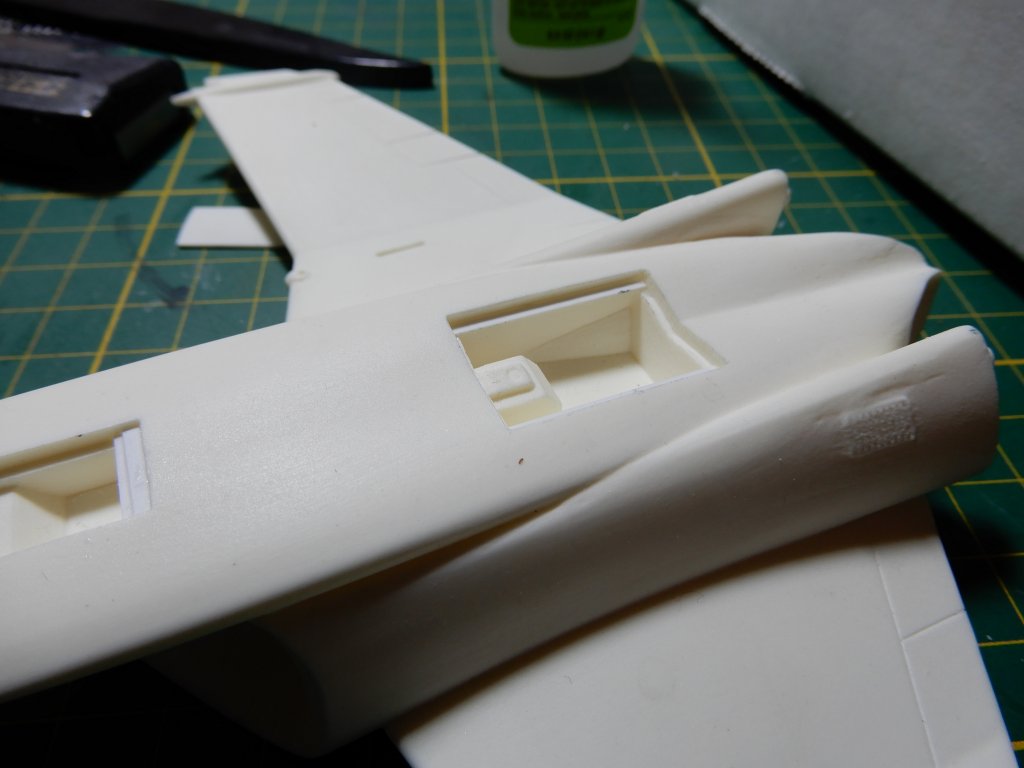

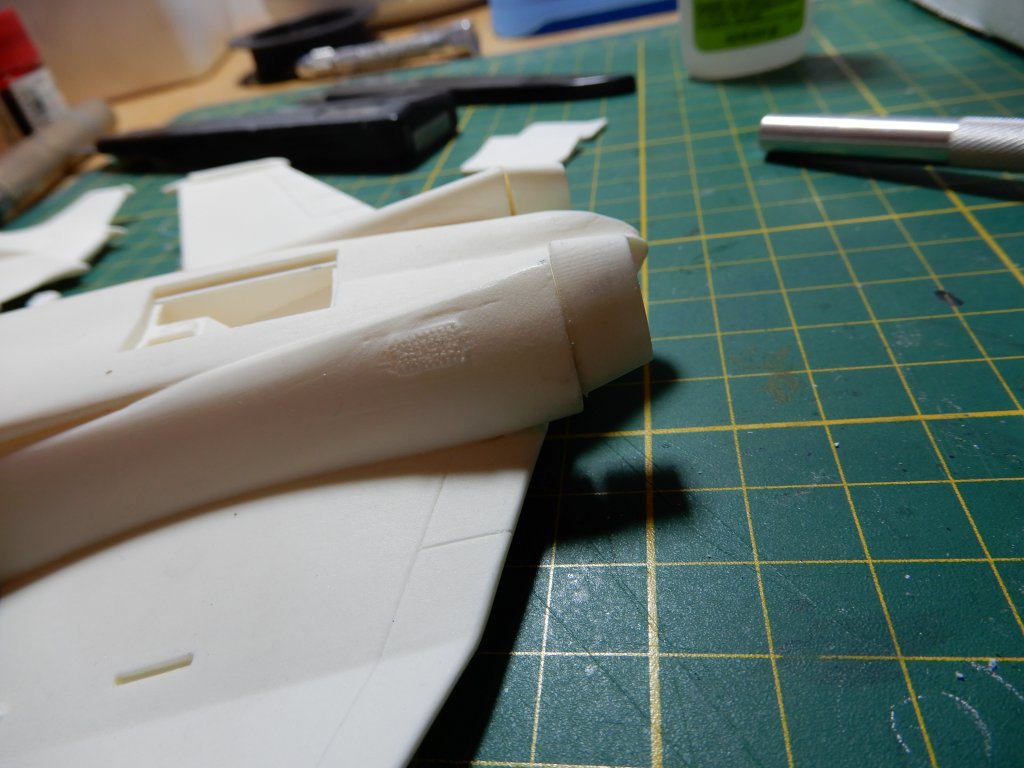
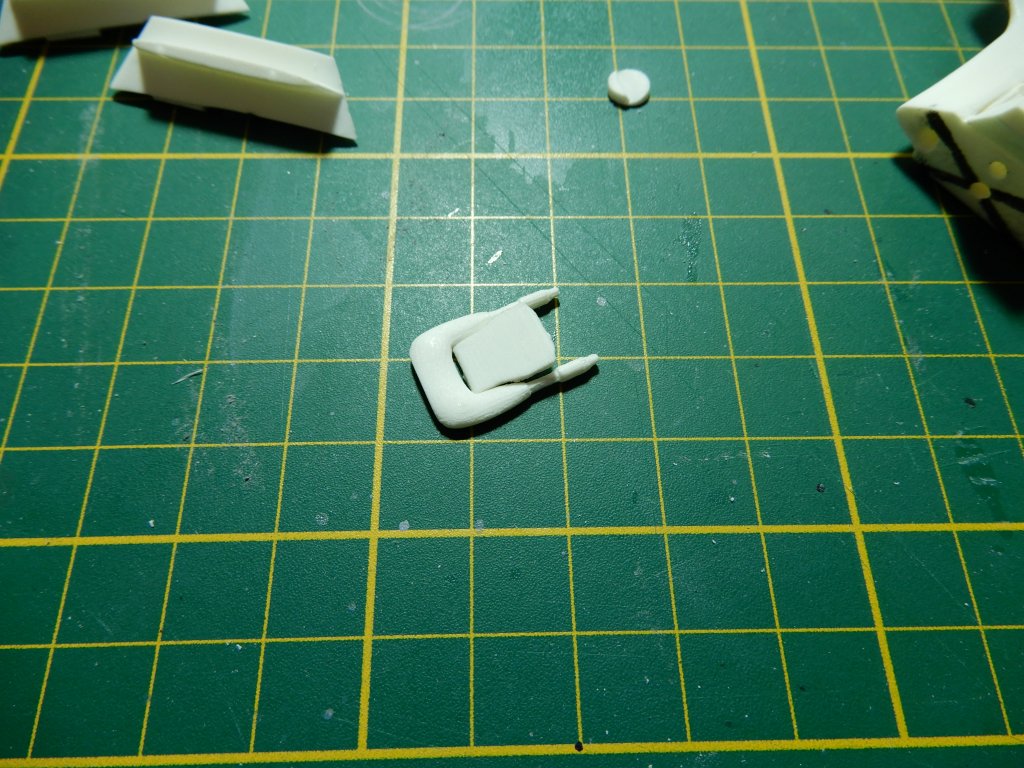
There, better. Next up, I'm working on fixing this little issue:


Sanding some resin pieces into shape to replace the missing bit. Plenty of resin pieces to use, as I won't be needing the landing gear
or the wheels. I'm still pondering on adding the triple launcher racks and the 6 missiles...
Next up: the exhausts. Each on comes with two big holes where the fuselage has two big pegs. Seems a good idea.
Not bad. It will need a bit of work, but not bad.

Of course the inside seam is a lot worse.... And when you think that's bad, this is how the other one fits:

I think I will just take off the locating pegs and sand em flat and then attach them. This isn't gonna work so might as well go all the way.
And no, they're not flipped, if I switch places, the result is the same.
Next on the bench will be the dorsal gun. It's close but not a good fit.
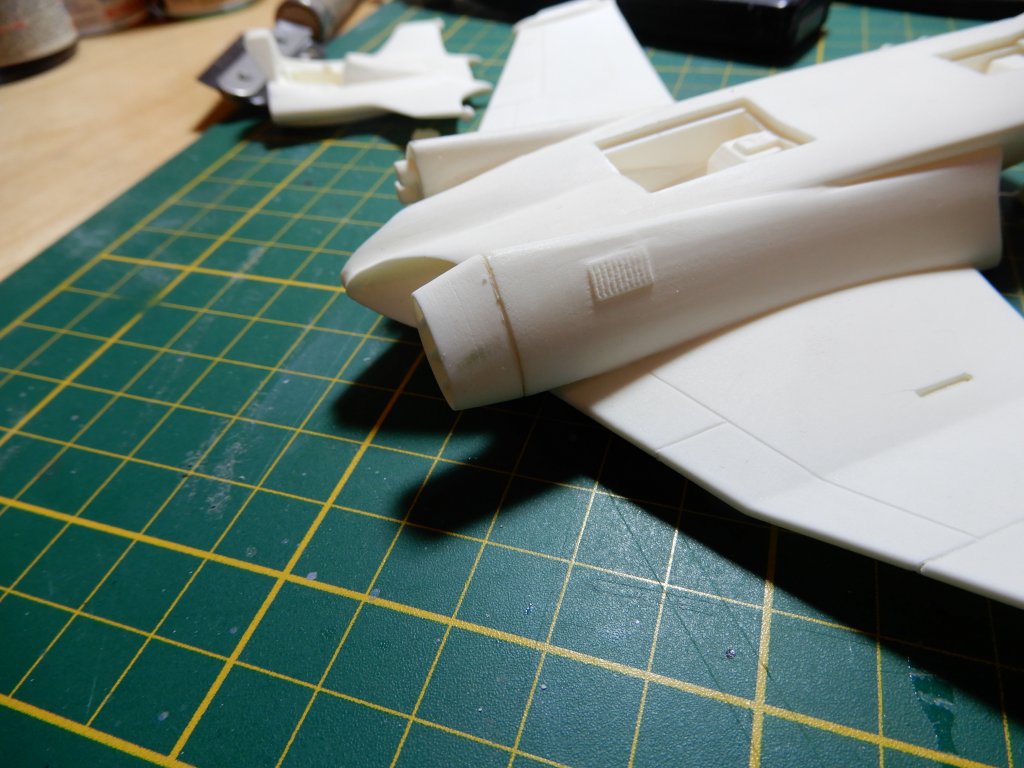
In the mean time, I also got my hands on some 2-part epoxy glue so I could attach the cockpit section to the main fuuselage.
It's very hard to see the seam though, and so hard to fix. So I took it outside and shot some Tamiya primer from a spraycan.

At least I can see what I'm doing now!
| previous page | next page |