
 | Spitfire Mk.XIVc Academy 1:48 kit no: 12274 build time: February 2 2014 - April 5 2014 |
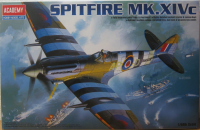
First off: some color and details onto the instrument panel:
As you can see, the whole thing is solid, but reference photo's show there's some circular openings that has some cables running through.


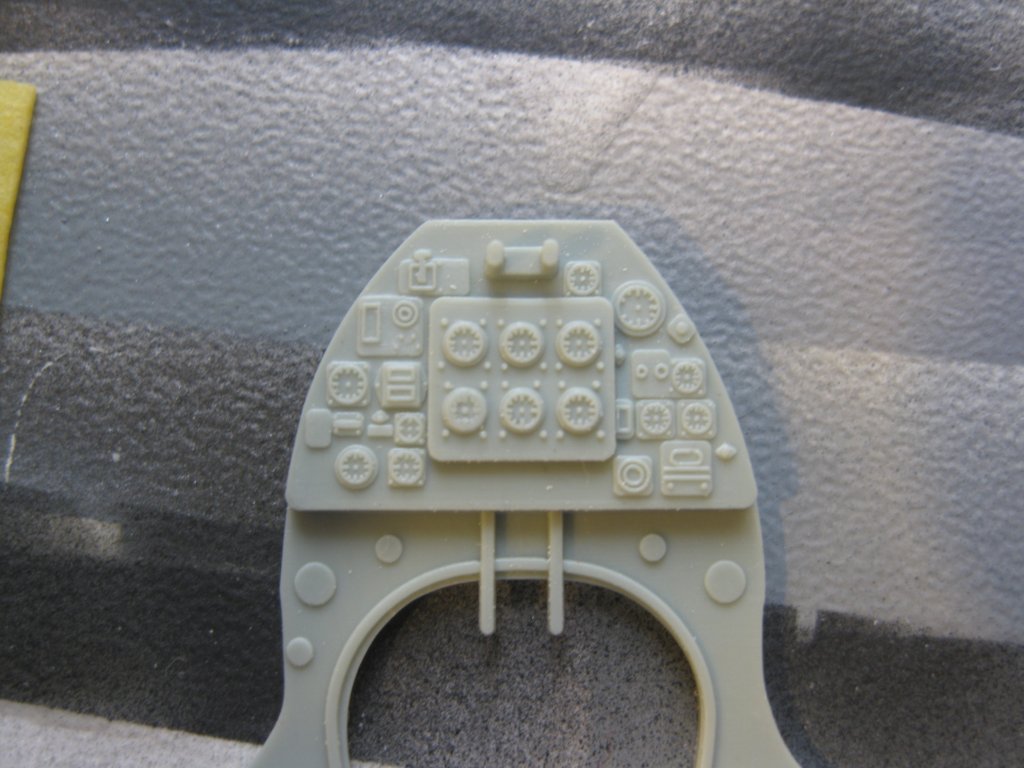
A little bit extra....
And a nice little seamline:
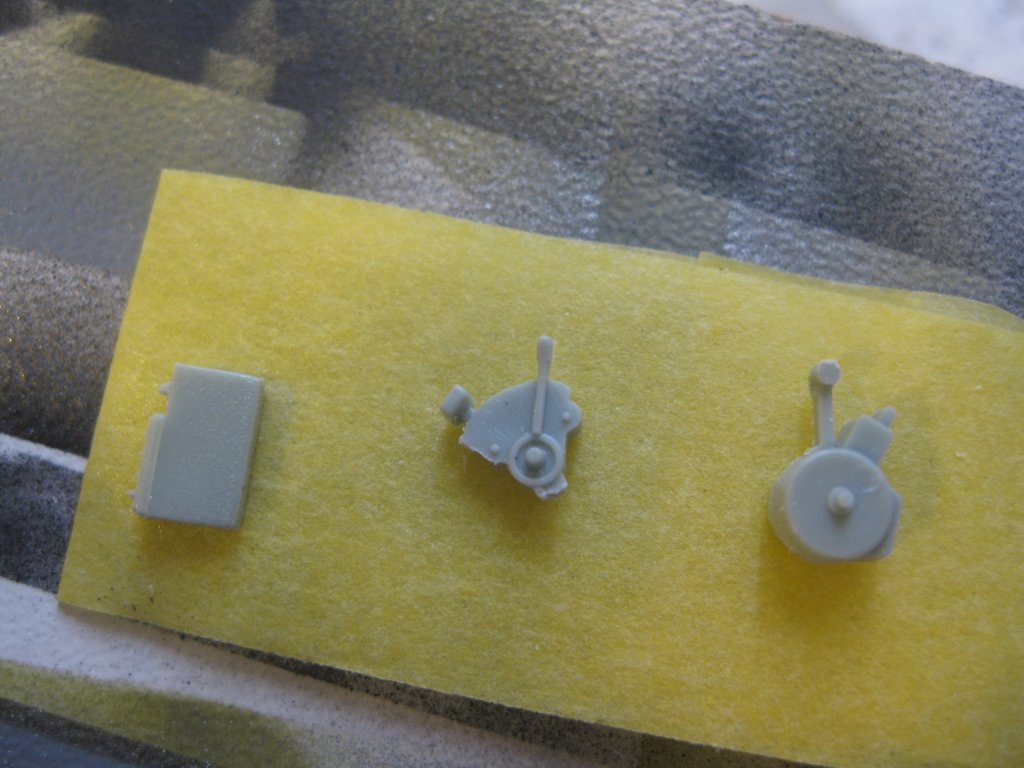
Too bad I never shot and in progress pics of the seat.
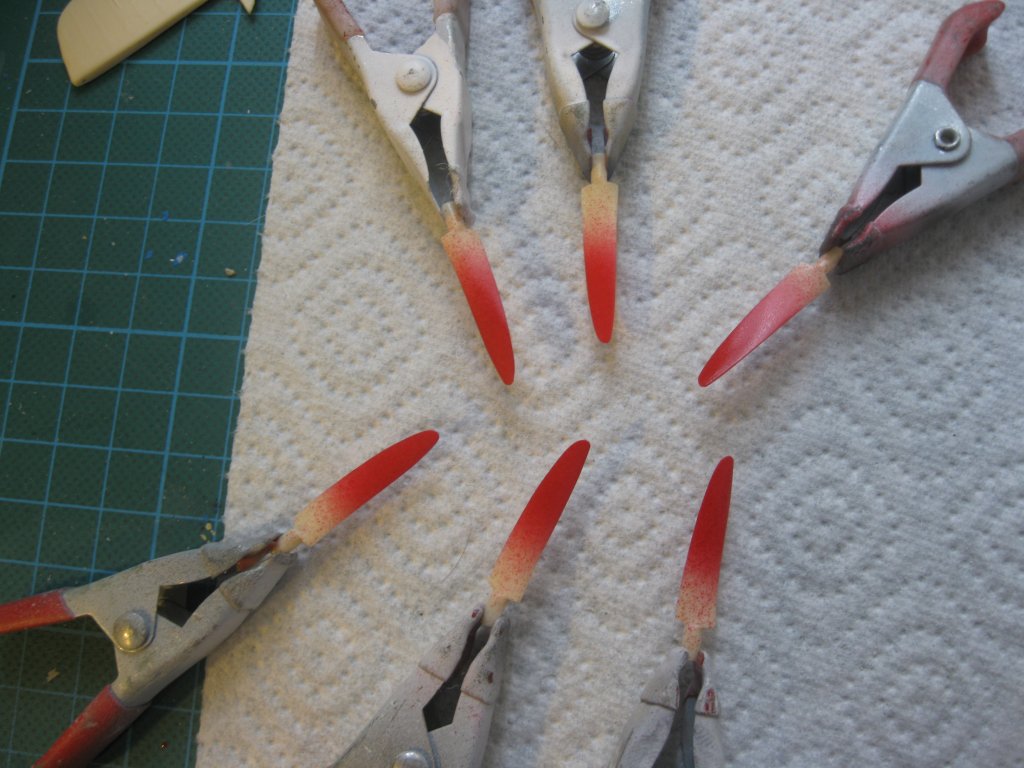
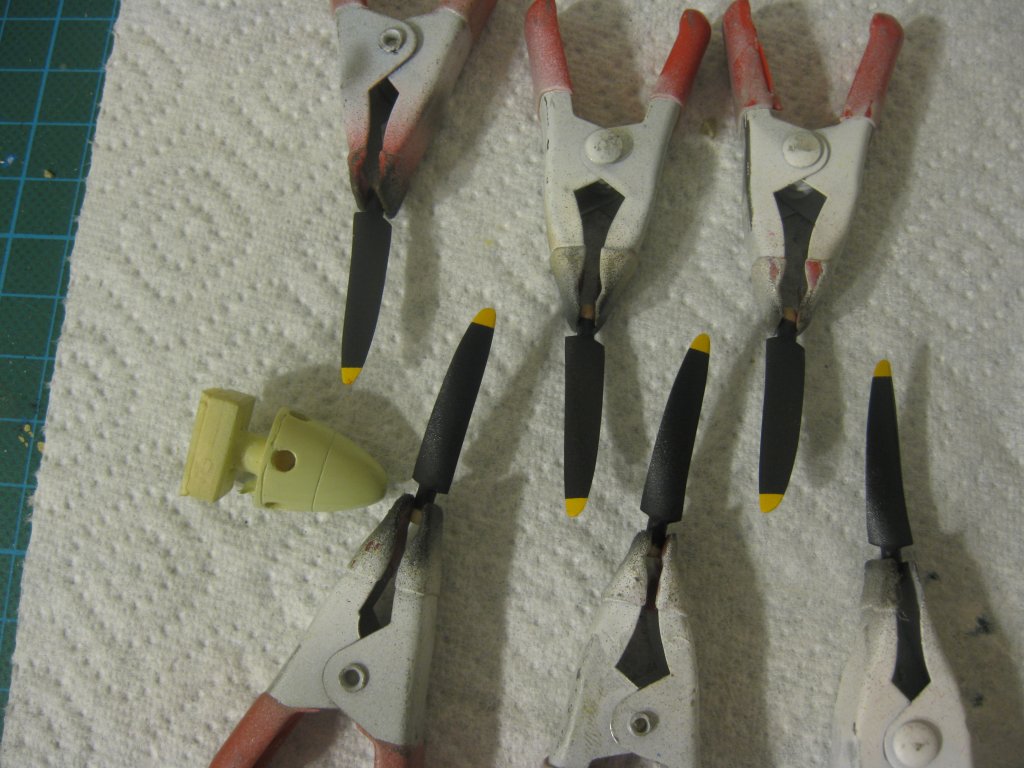
The prop blades were sprayed in red first. I heard once that yellow looks better when sprayed over red. I'm gonna do all 6 of em, and during final assembly I'll just pick the best 5 of them.
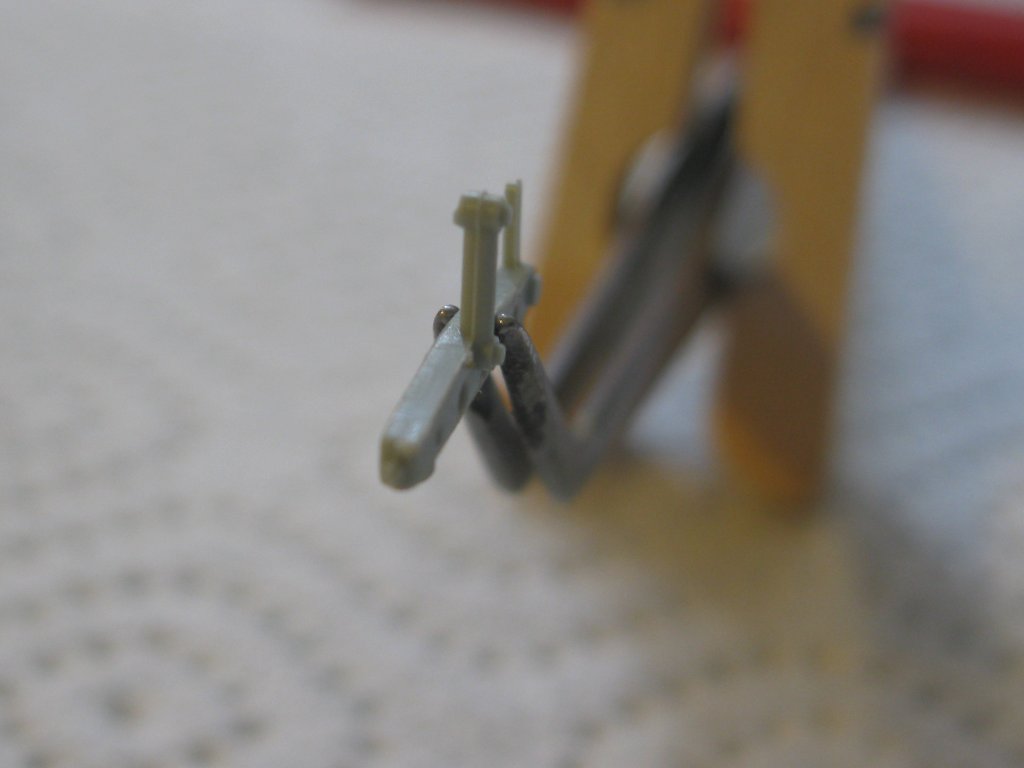
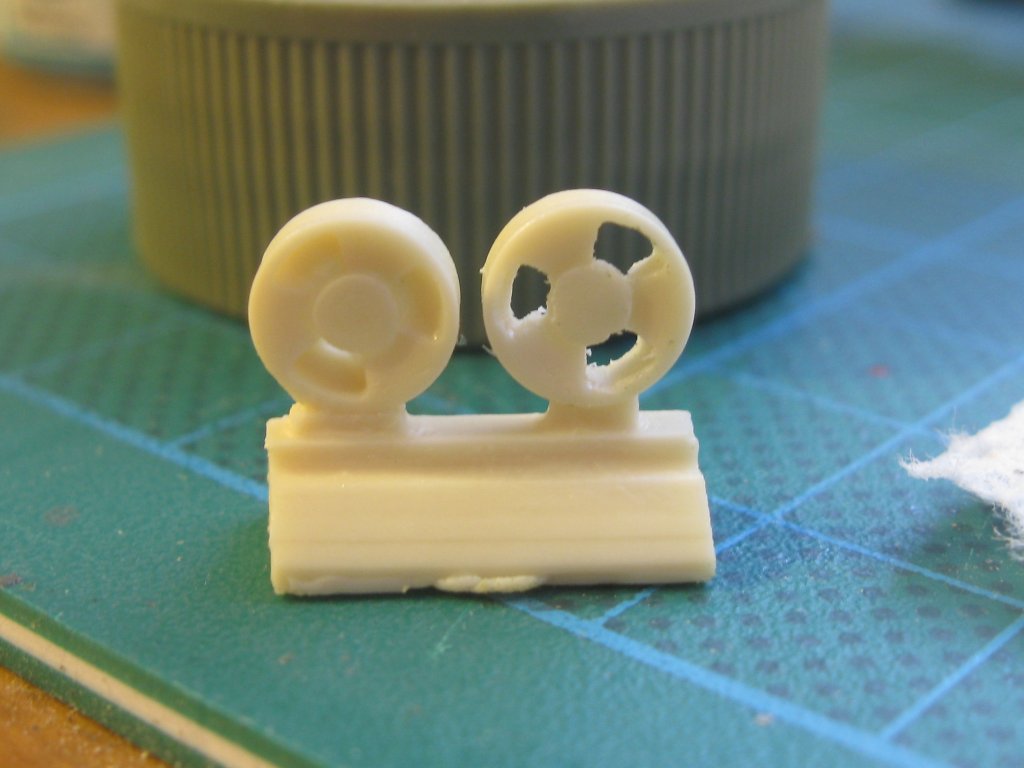
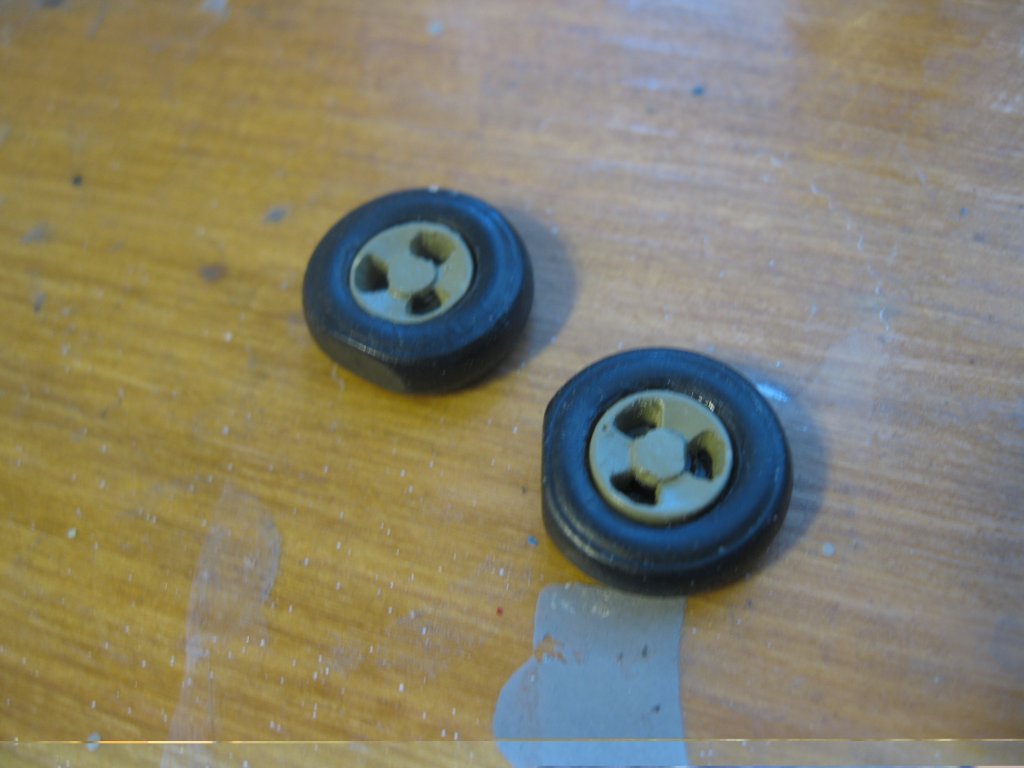
De resin wheels required some work:
And then after a coat of paint we have this:
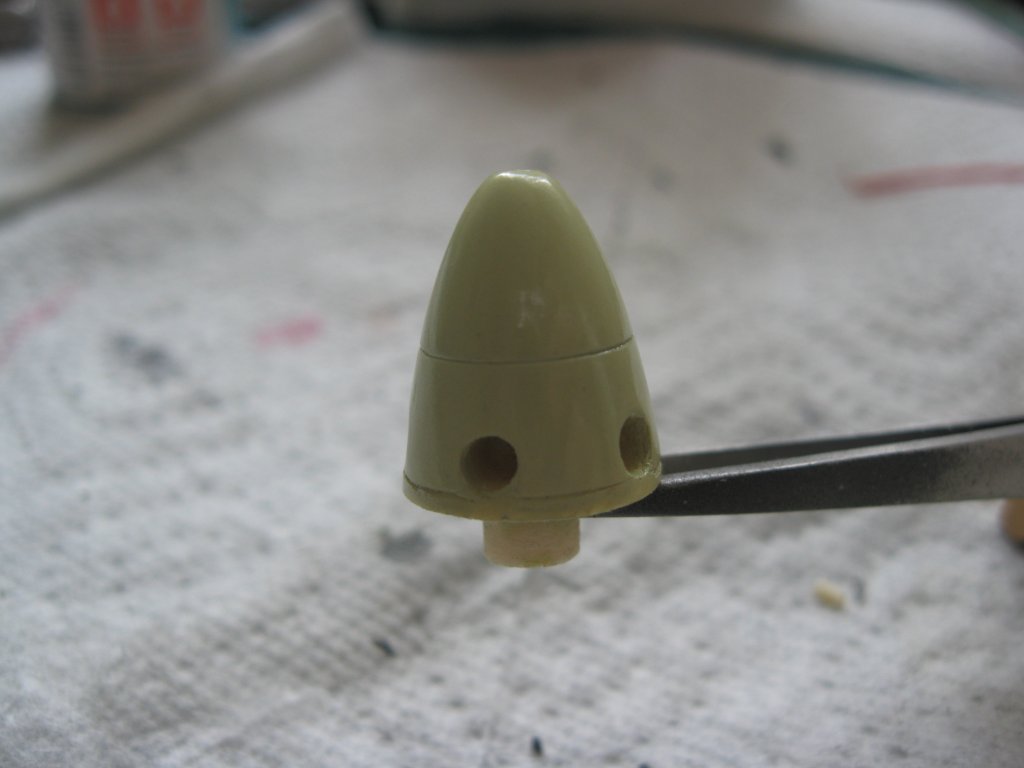
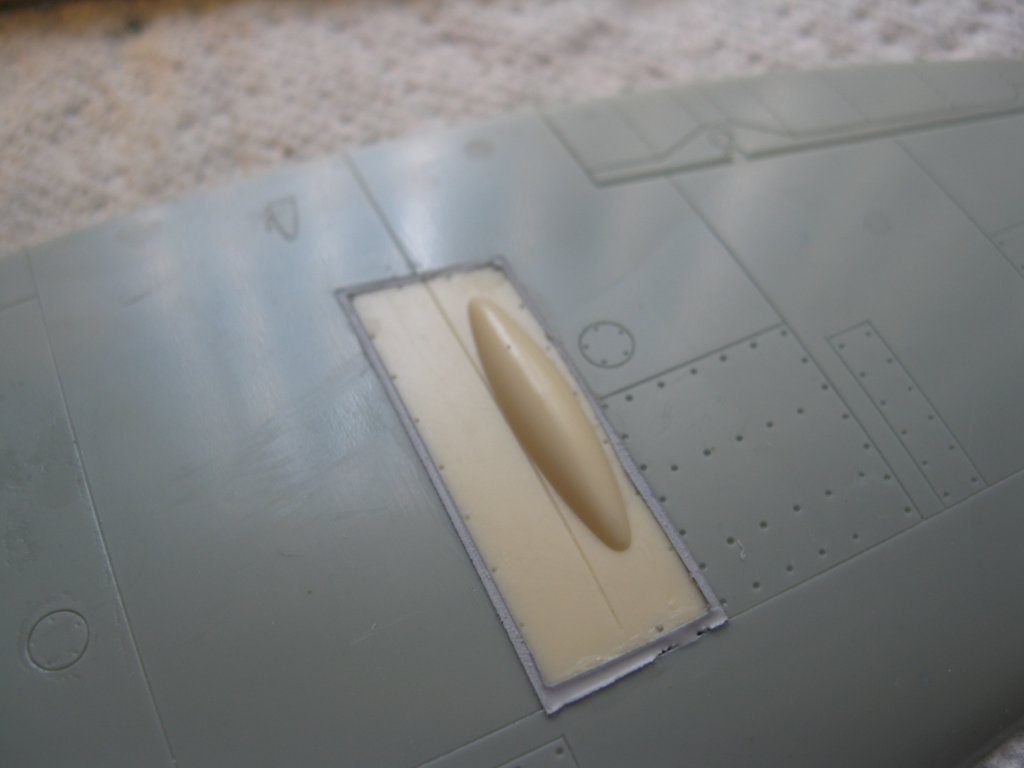
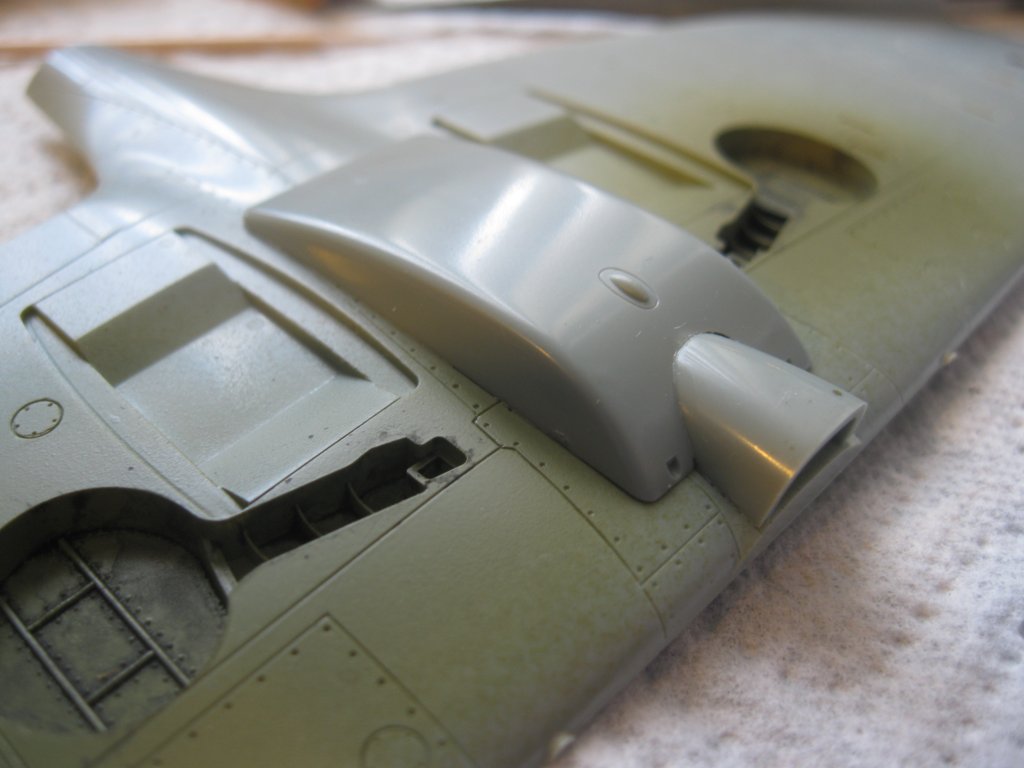
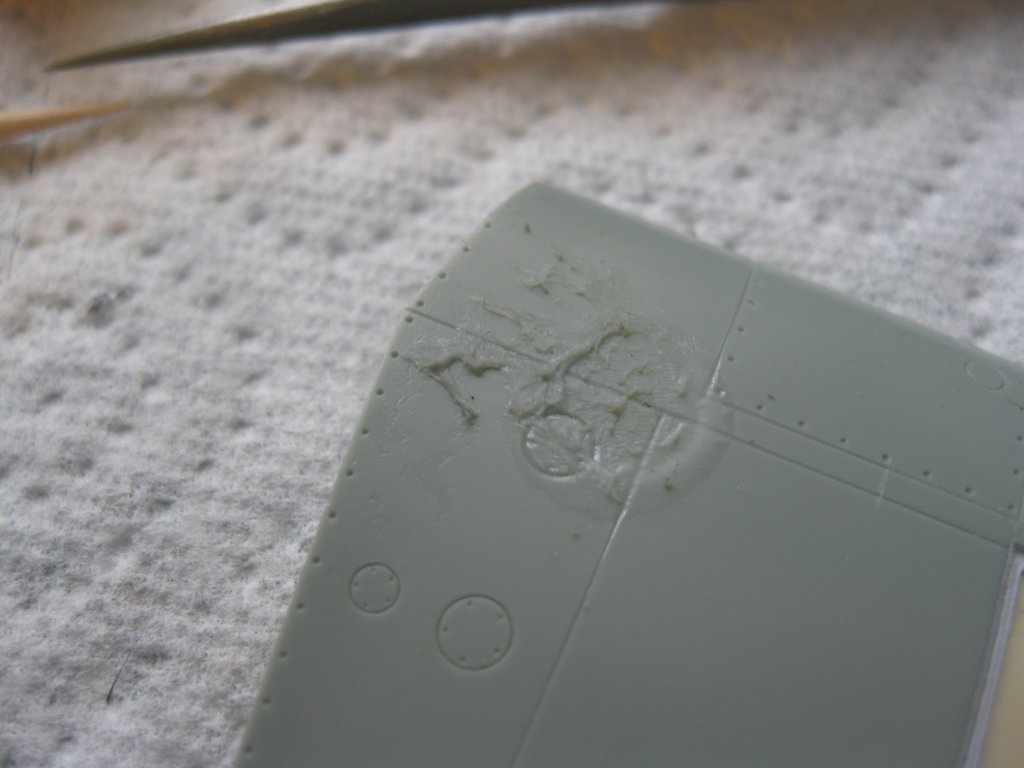
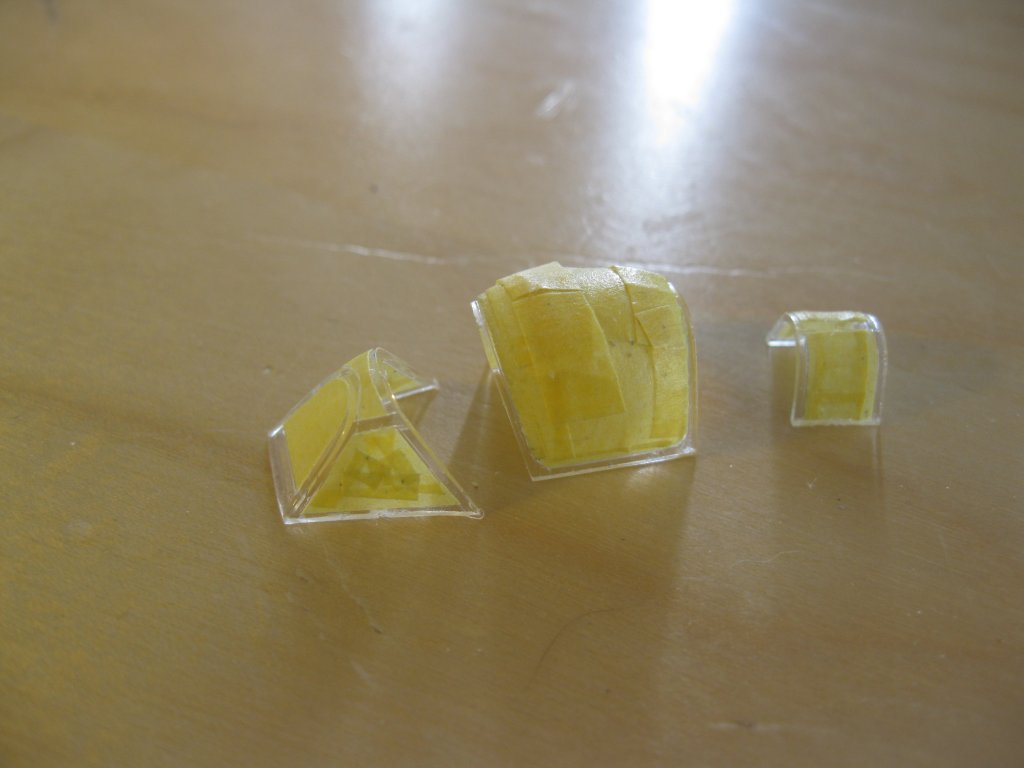
Then some replacement resin bits for on the wings, and get rid of some seamlines:
Then it was time to put the fuselage together and filling up a few seams.

Of course, there's no fun in this unless you screw up big time, and so I decided to make this a bit more interesting:
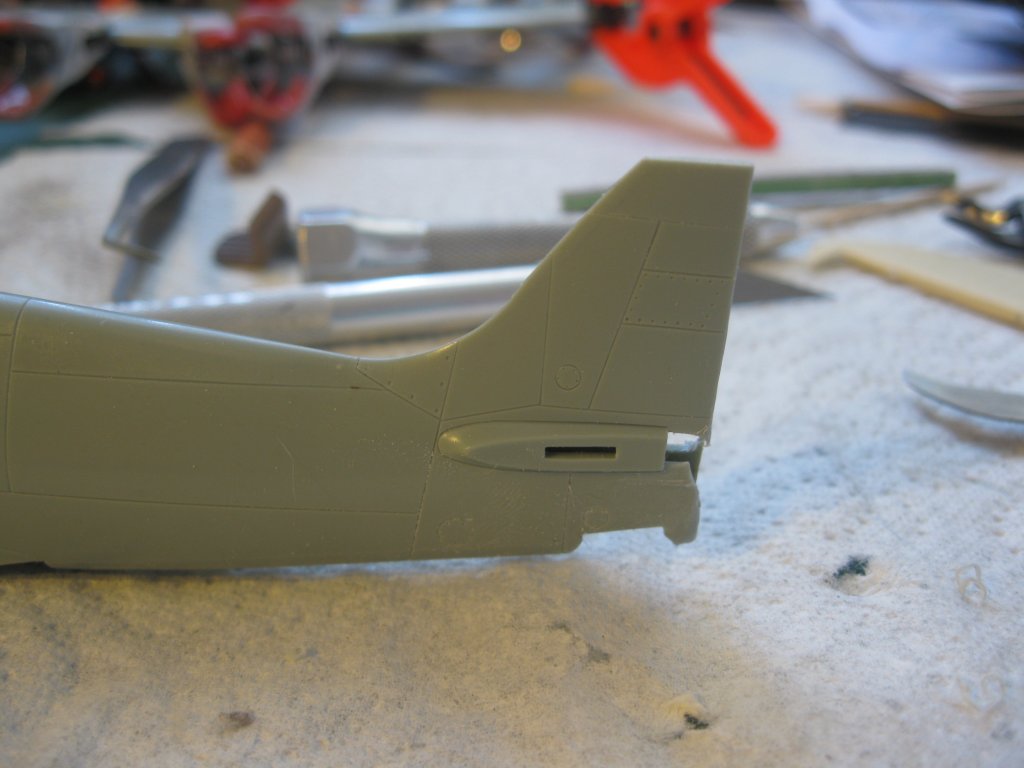
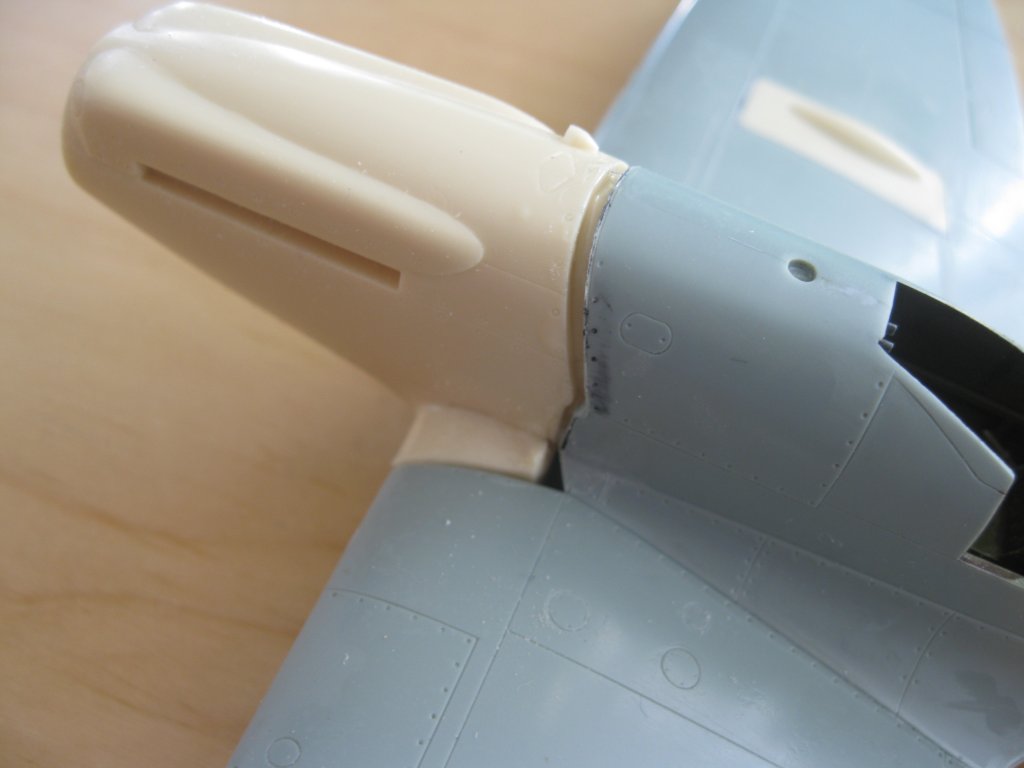
And then there was no going around it: time to put a saw into this. First off: the tailrudder:
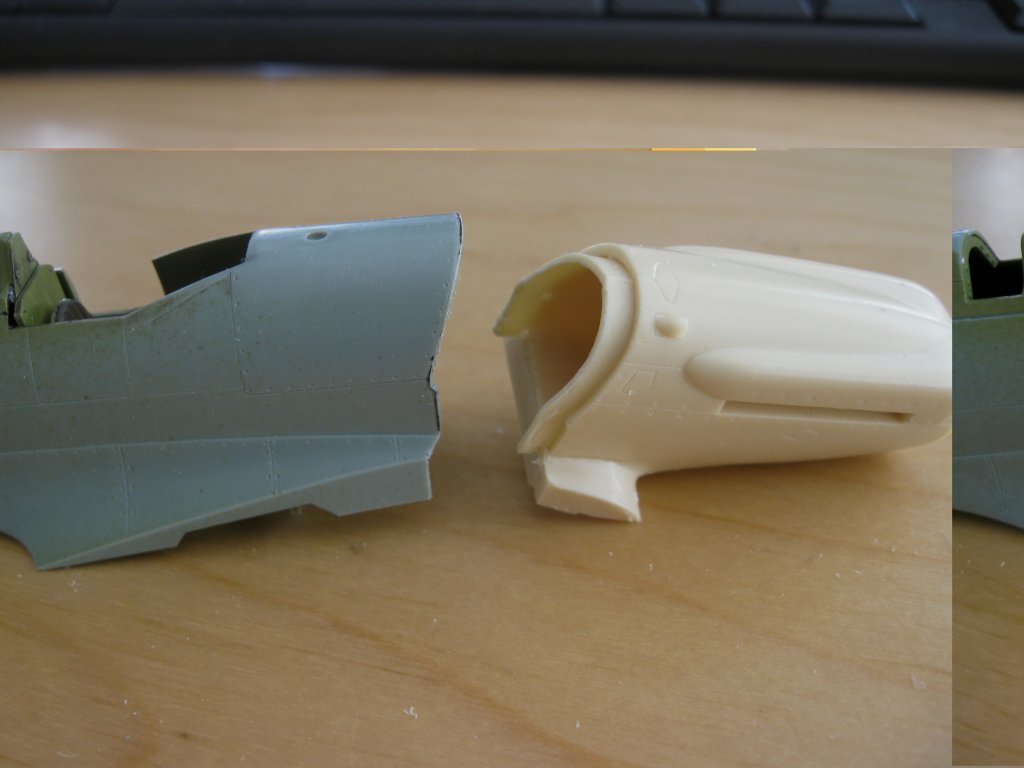
And then the nose:
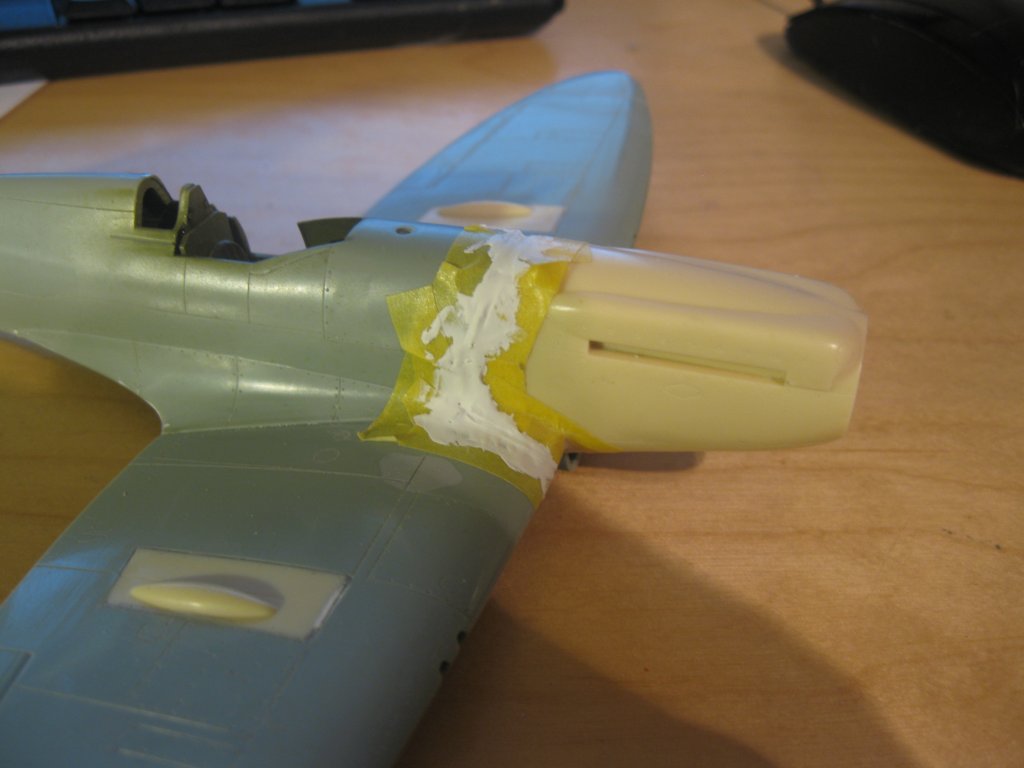
I wonder what happened to this photo.... it wan't intentional anyway.
And then some issue. This is how it should be, to ensure there's no huge step.
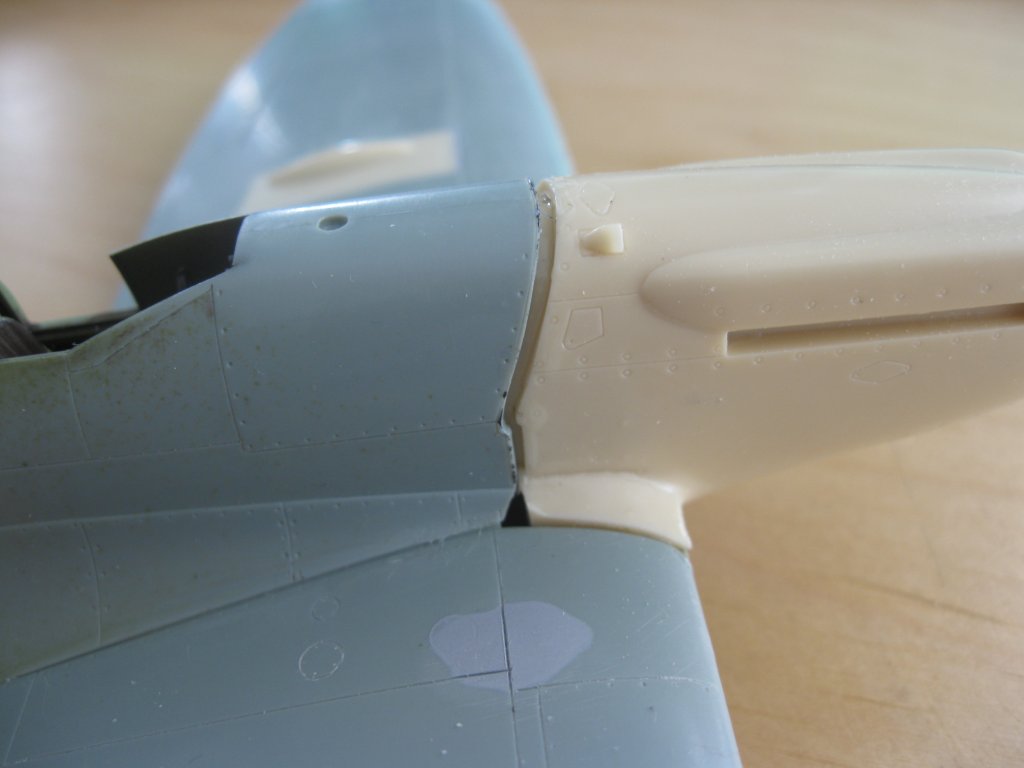
Probably missed something somewhere. Oh well, the show must go on!
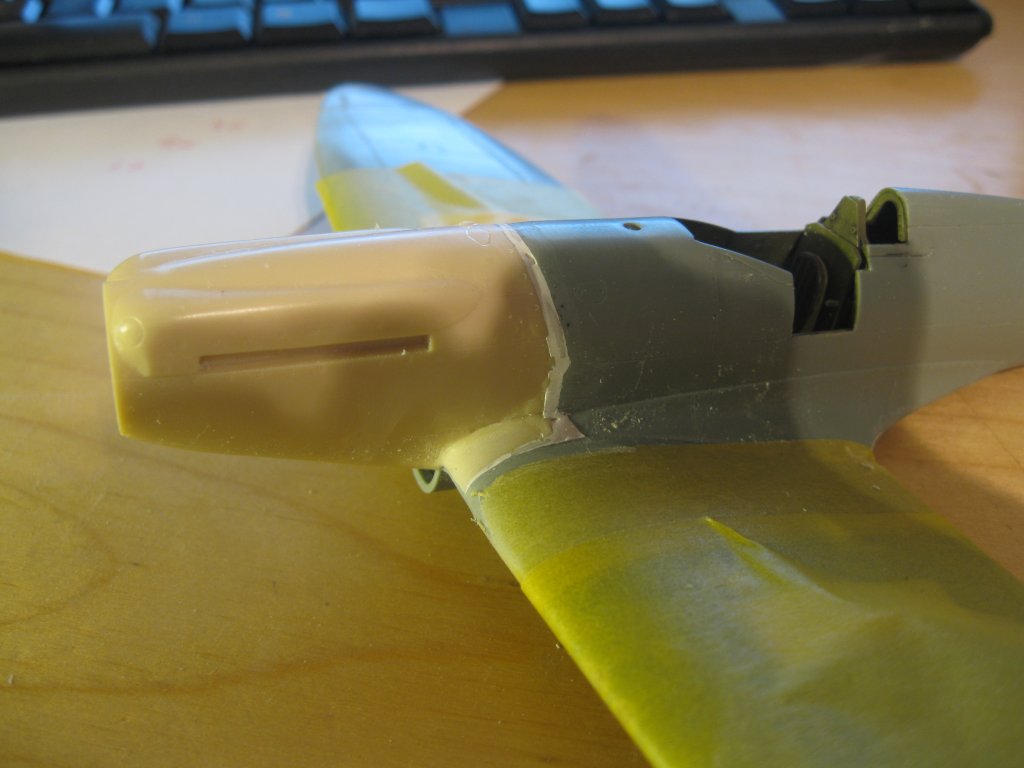
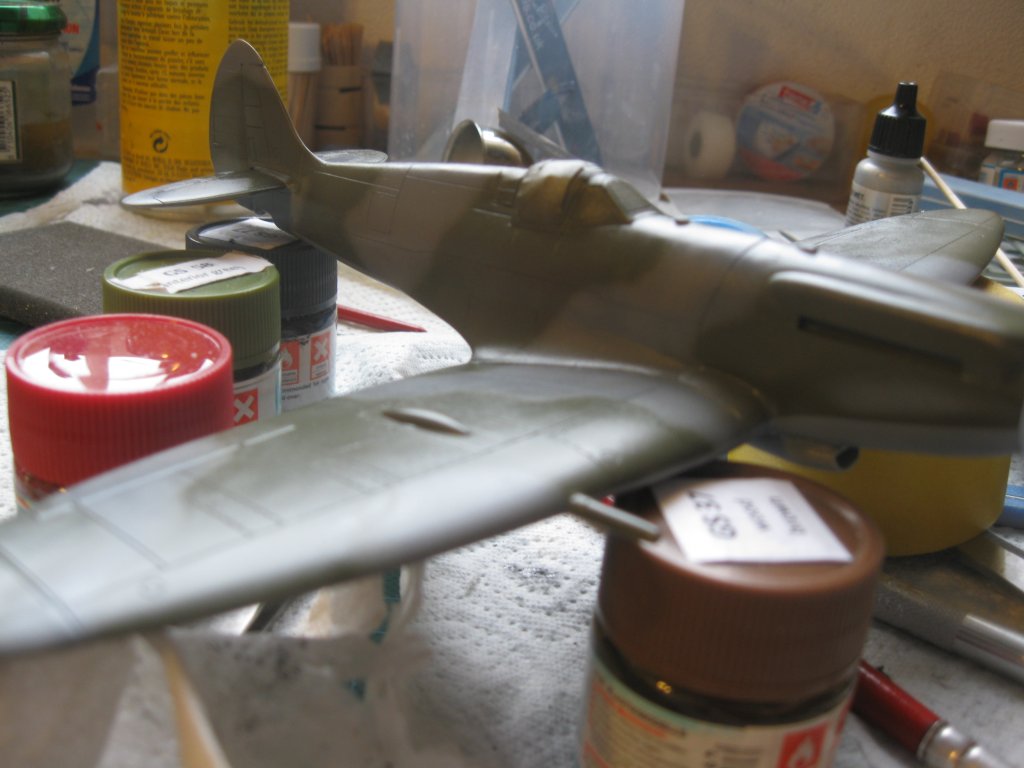
And with that behind us, and hoping things will work out, it's time to move to the spray booth. I'll save you all the trouble of getting rid of that seamline...

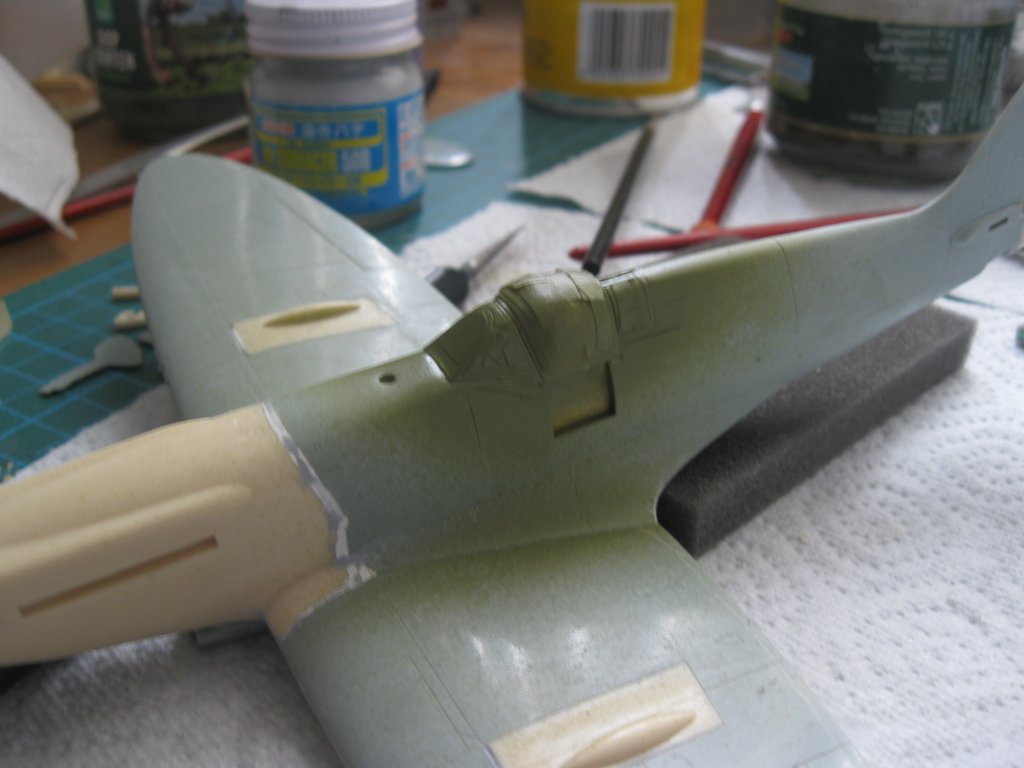
On to the band of Sky Green. Too bad afterwards I remembered I wanted to add a preshade. Well, there's no time like the present.
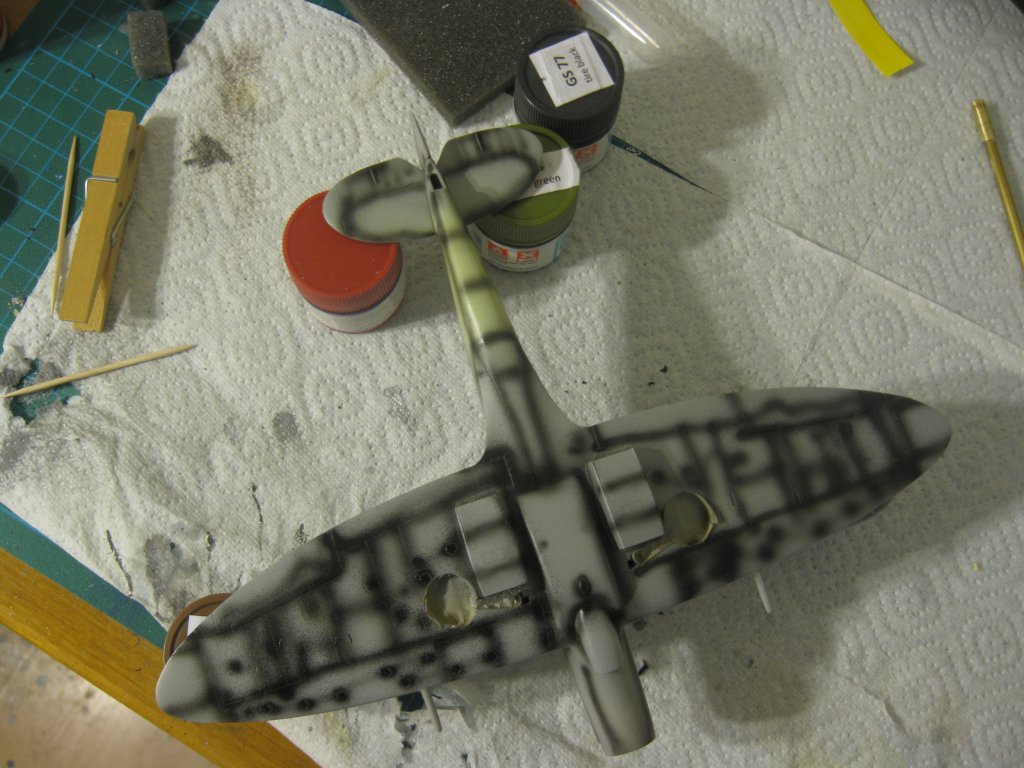
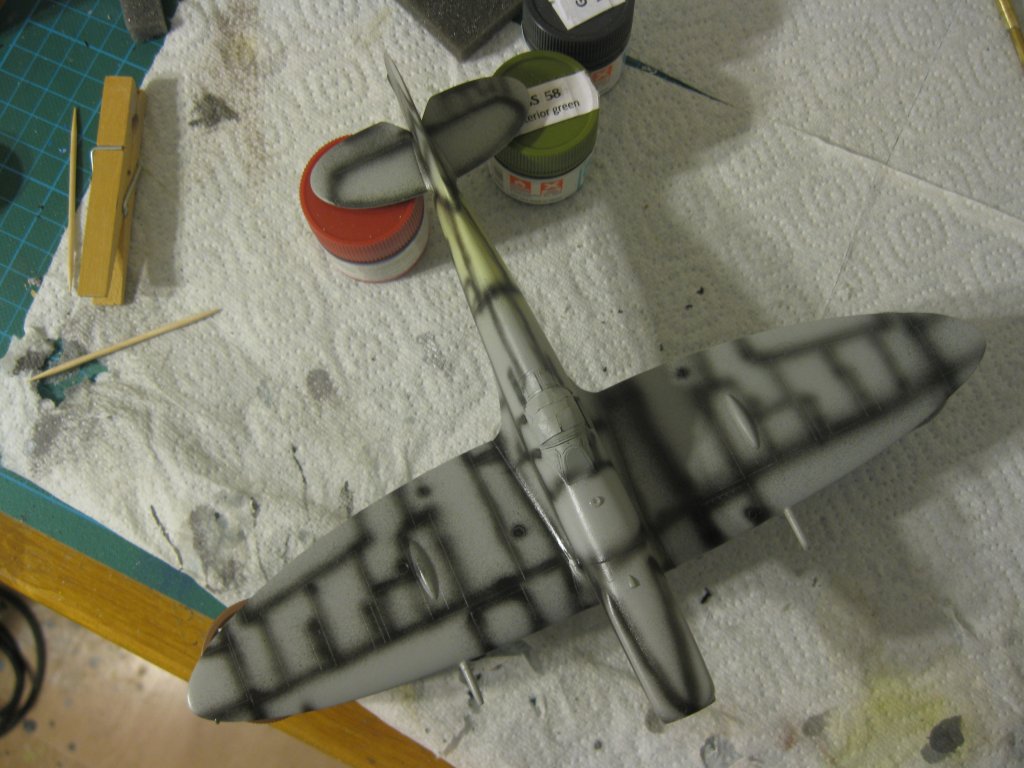
Then we remove the masking tape. And darned. Let's get the camo on first then.


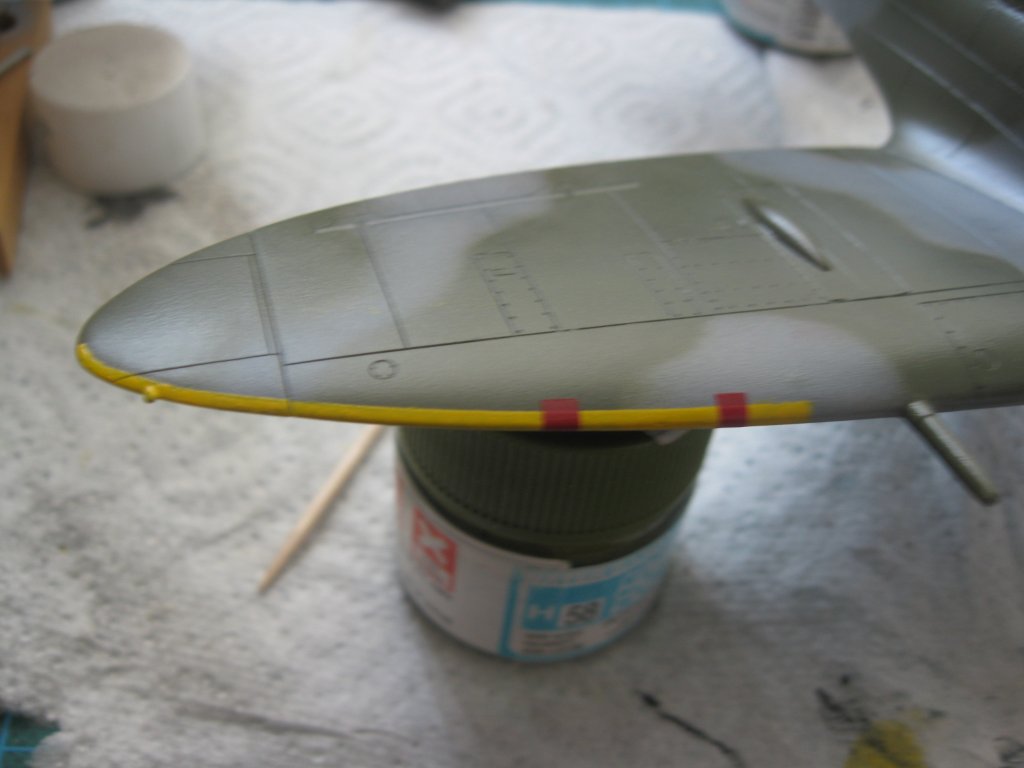
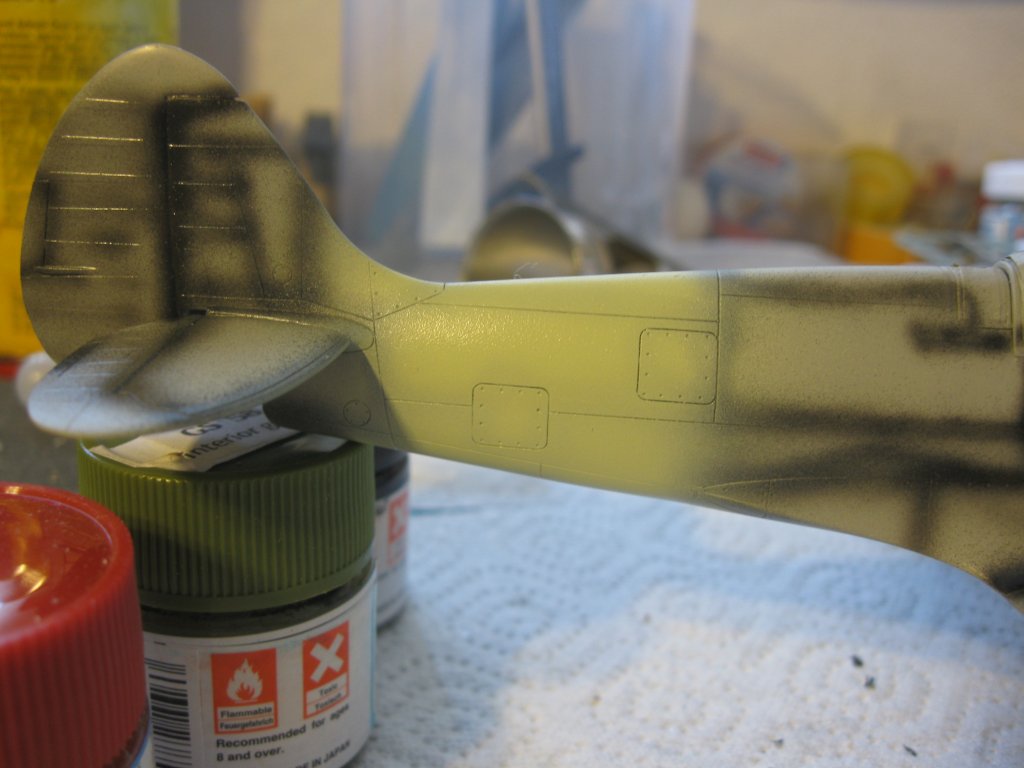
And then we add the band of Sky color yet again.
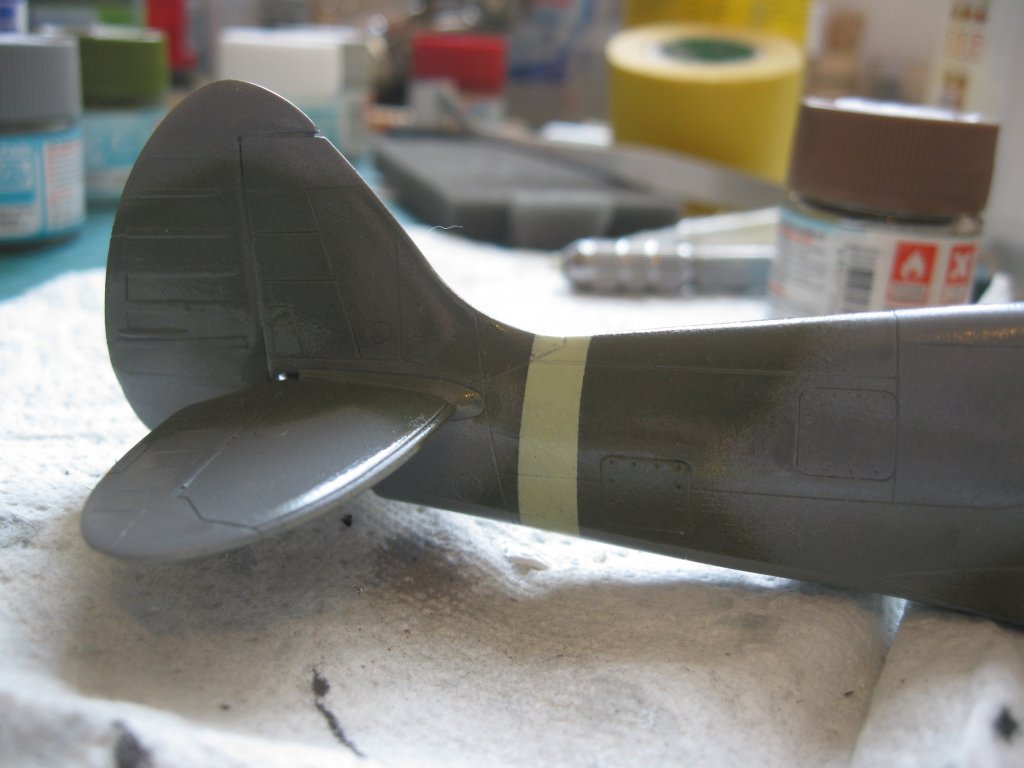
Conclusion: so far so good, time for decals. The camo edge could have been harder, and some of the preshading is gone. Well, we learned something for next time.
Also, there's a little overspray, but you won't see anything of that after the weathering. I hope.
Future plans: decals, matt coat, washes, matt coat, invasion stripes, light weathering.
| previous page | next page |