
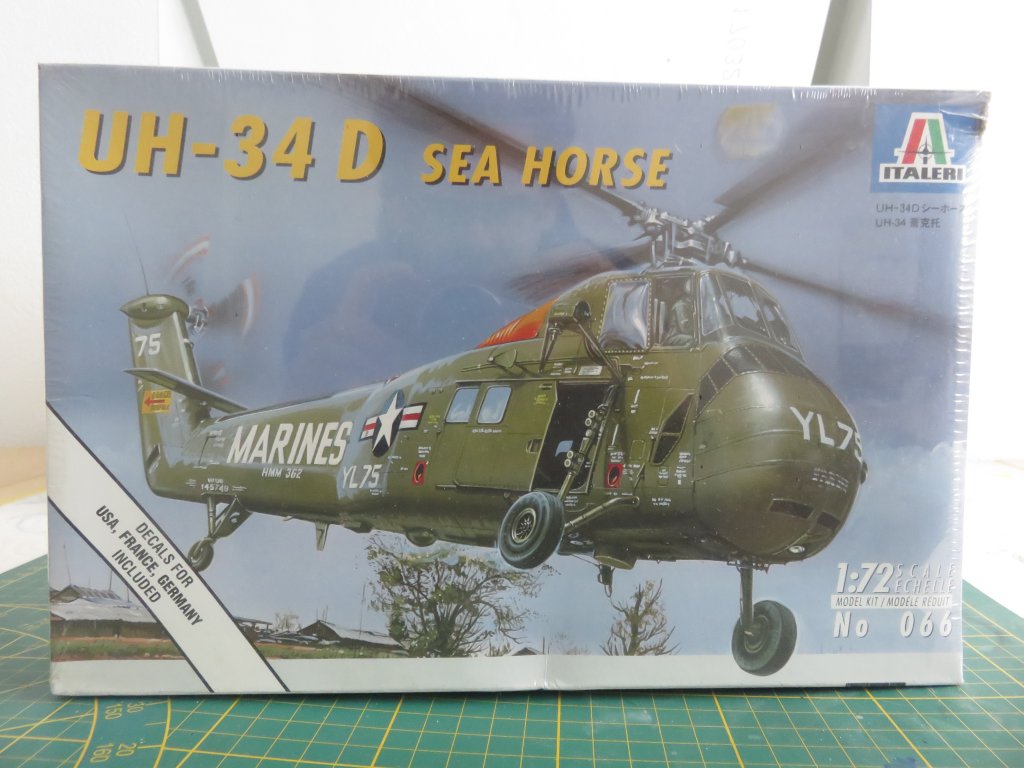
 | UH-34D Sea Horse Italeri 1:72 kit no: 066 build time: March 19 2017 - May 24 2017 |
I decided to go for a remake on the first kit I built when I started this hobby: the Sea Horse in the Italeri rendition.
And it is supposed to end up better than this (which shouldn't be hard)
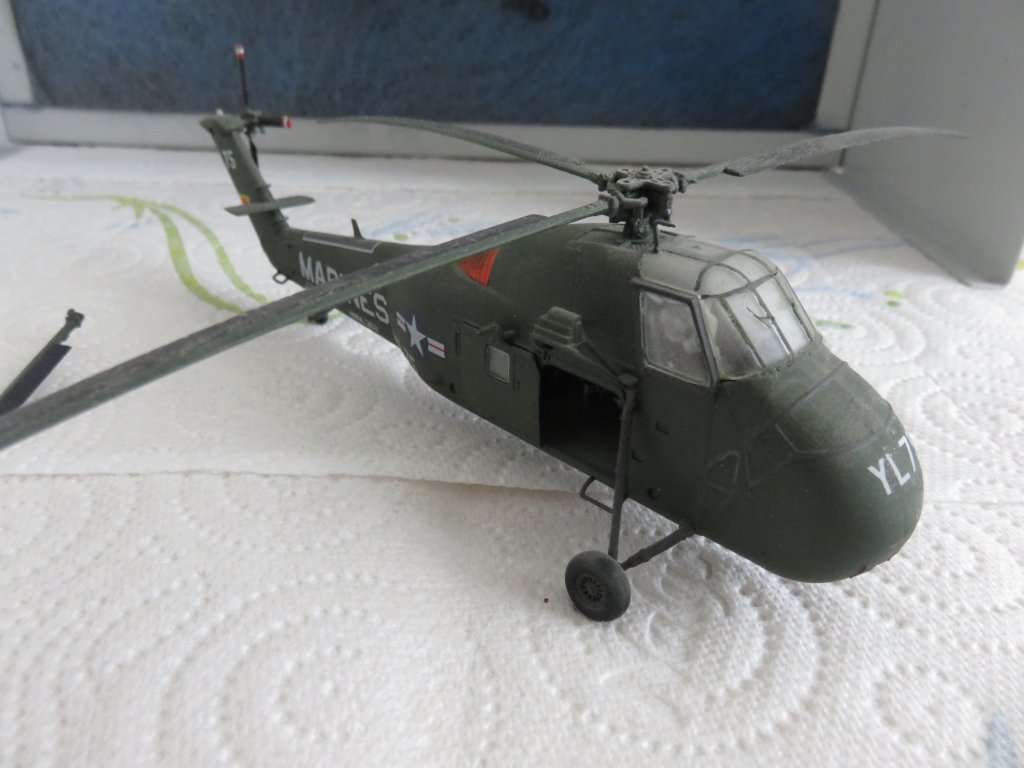
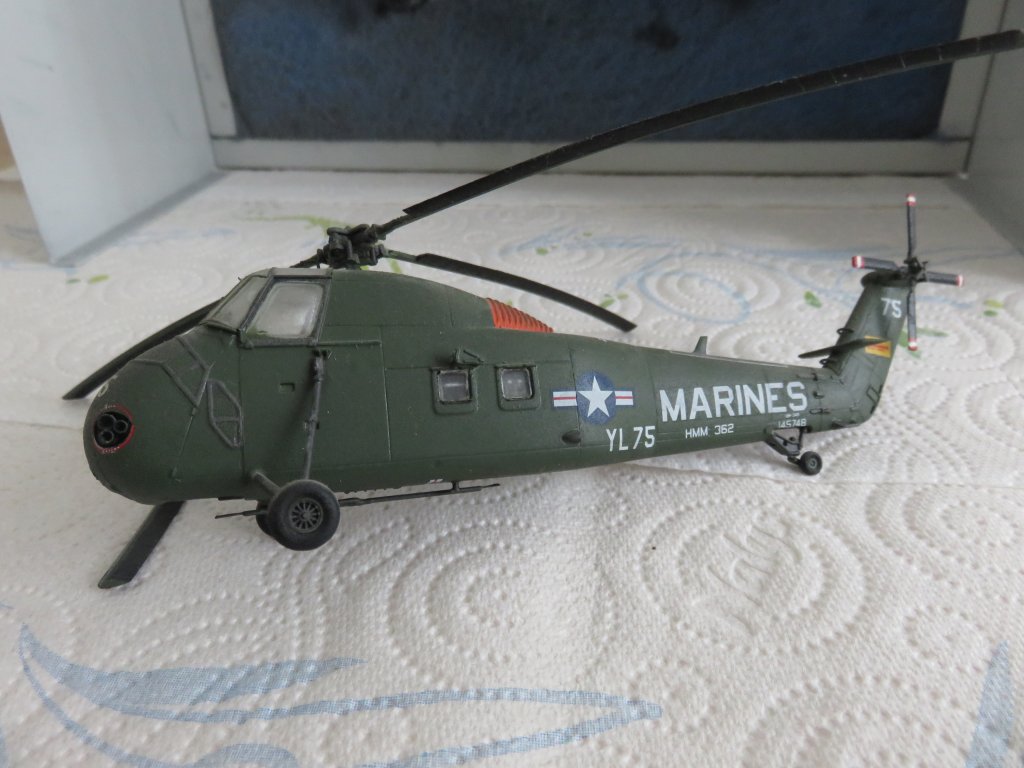
It won't be the kit, it's not half bad, seeing how I can barely spot the seamlines... And this time I will apply the matt coat BEFORE I remove the masking from the windows instead of after....
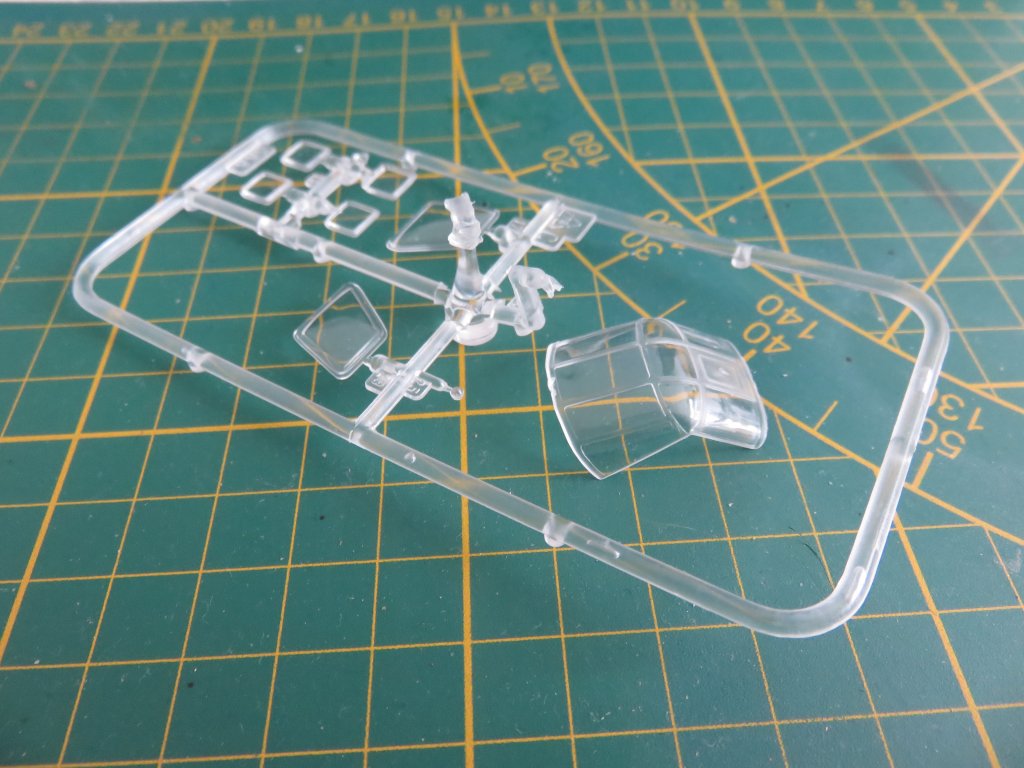
Italeri gives you 3 sprues of plastic, 2 in green and 1 of clear parts, which unfortunately are all chucked into the box without any protection whatsoever, which is probably why several parts are loose in the box, broken off the sprues.
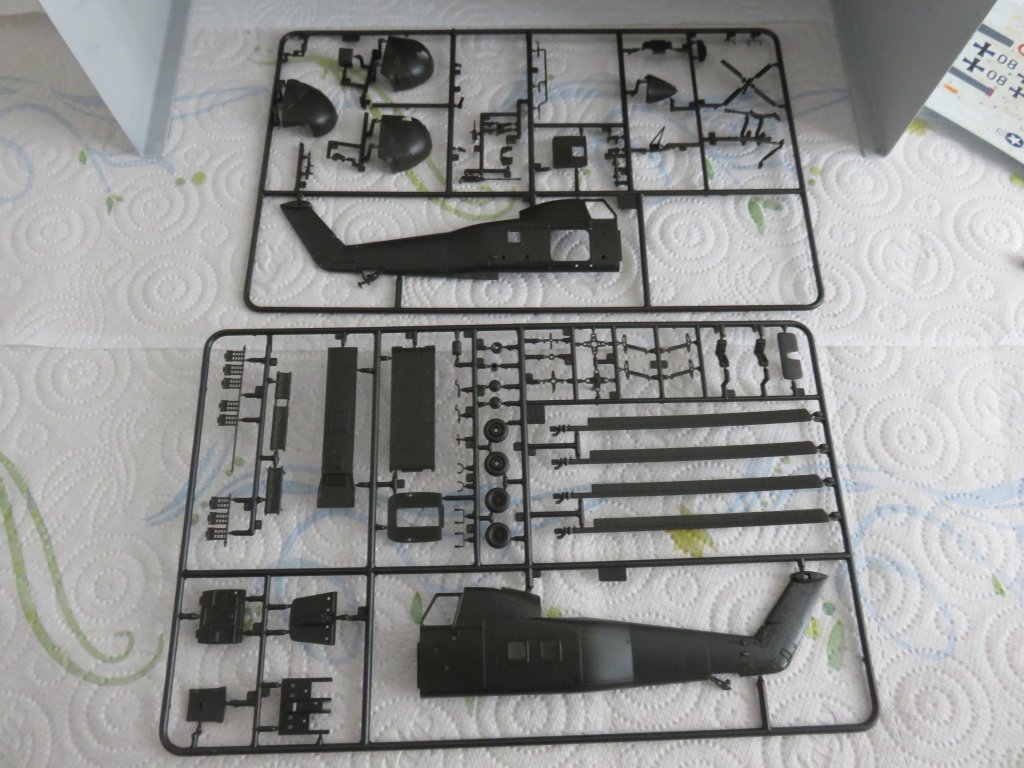
Outside detail isn't bad.

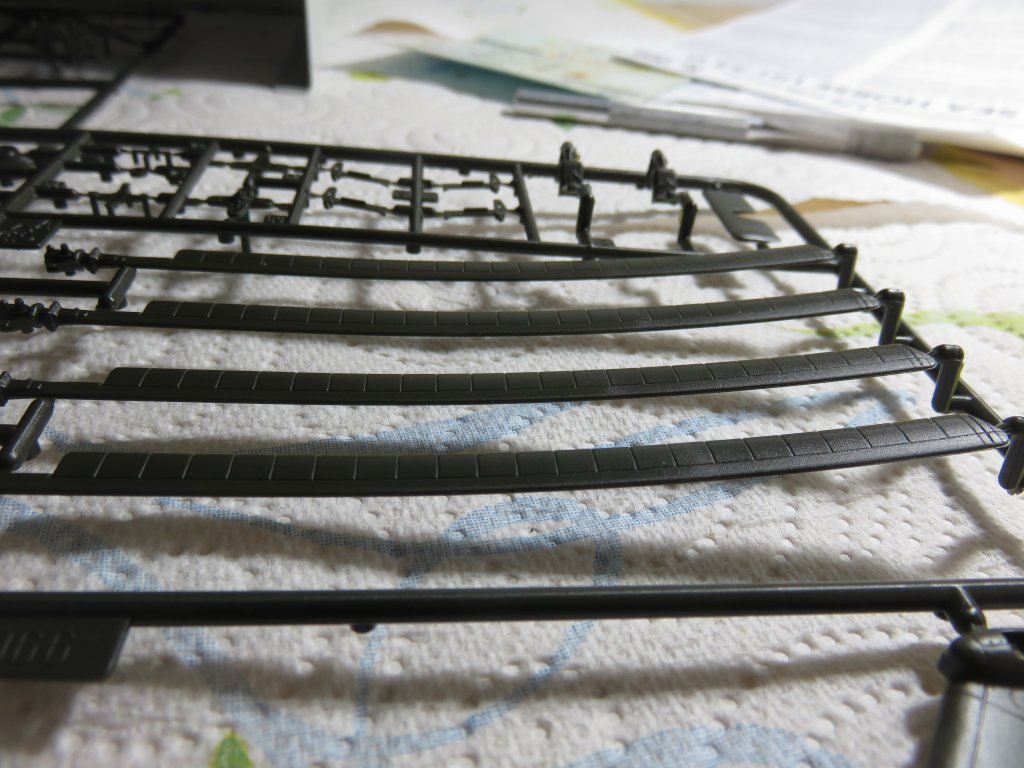
The rotorblades have been pre-bent, which saves me the trouble of having to do that myself.
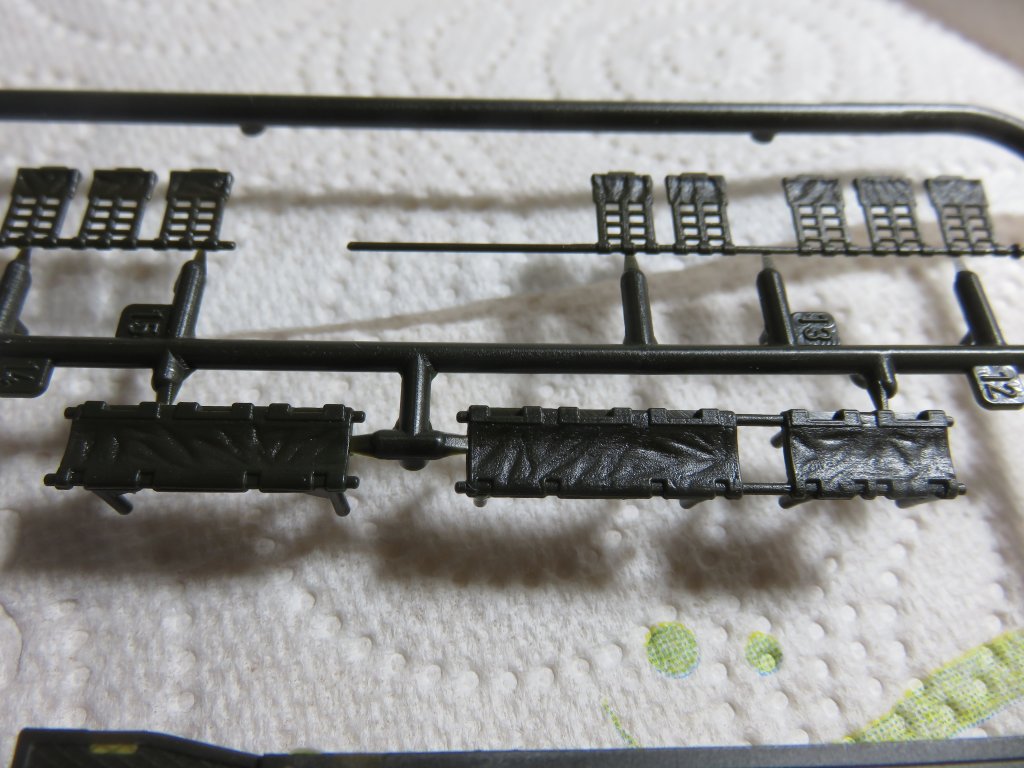
These are a little less nice. There's PE available to replace it, but I'll pass on that.

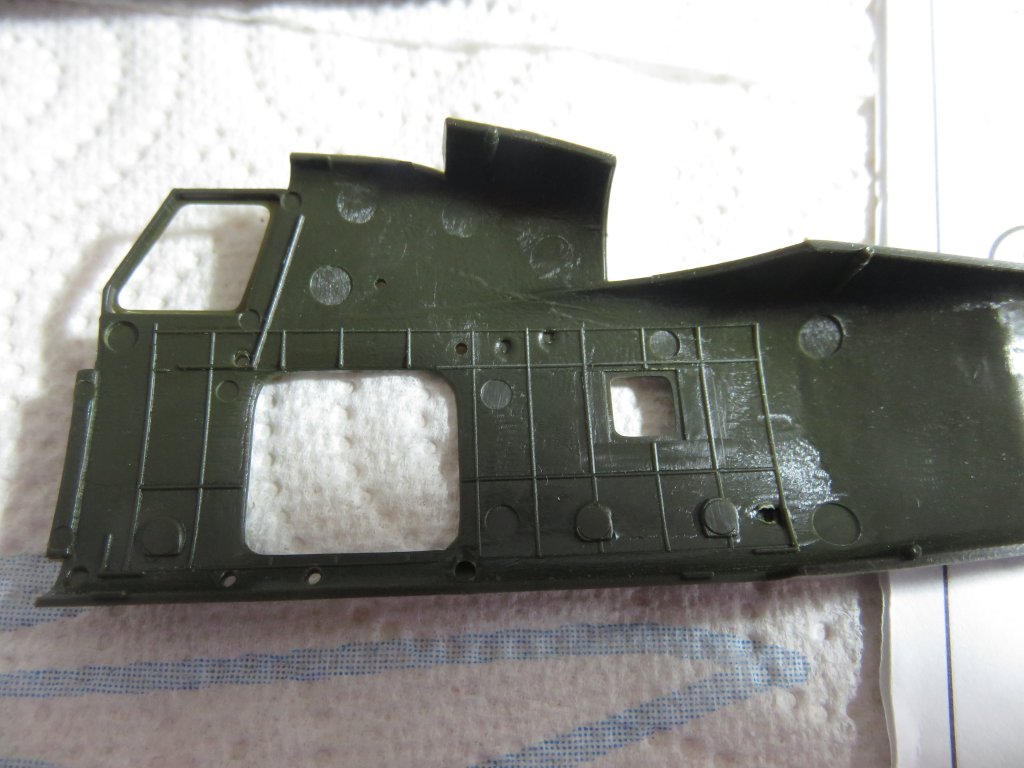
The inside is less... big bulges of plastic where there is details on the outside (which fortunately you will not see as they are covered by the seats) and some evil ejector pin marks. I will close the door so you won't be able to see much of that either.
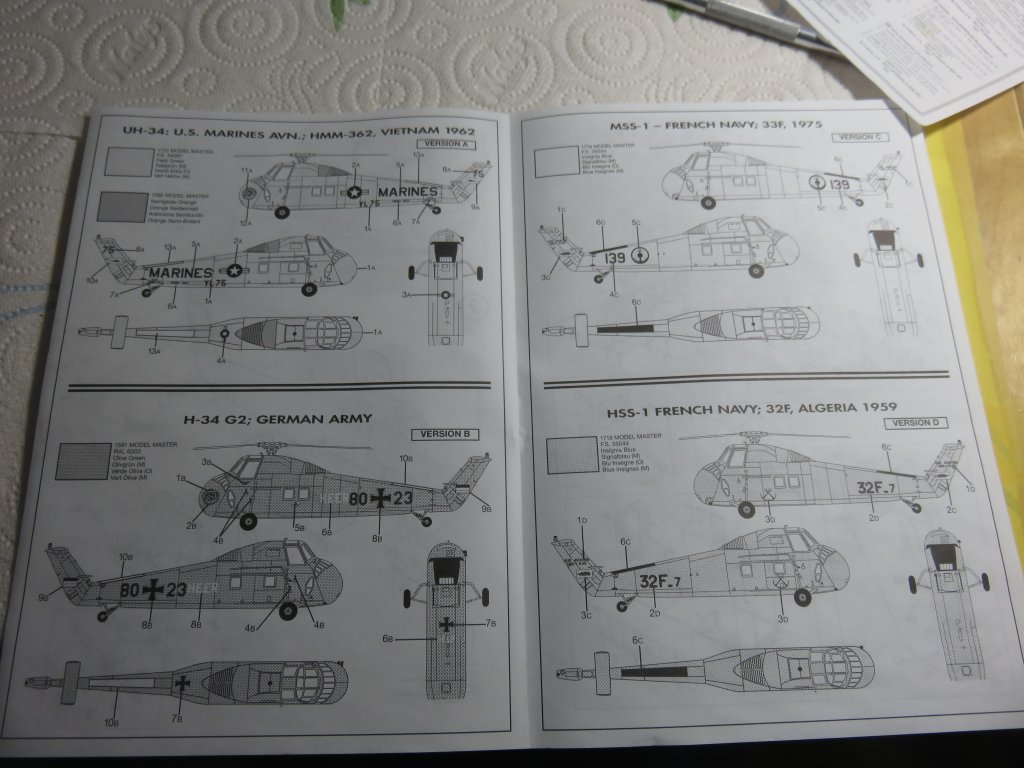
The kit has decals for 4 versions: an American, a German and 2 Frenchies. I won't be doing the German, so the choice is between the American I did last time, or either of the Frenchies. I think it will end up being one of the latter, since they aren't the ugly green color, but blue. I like nice colors....
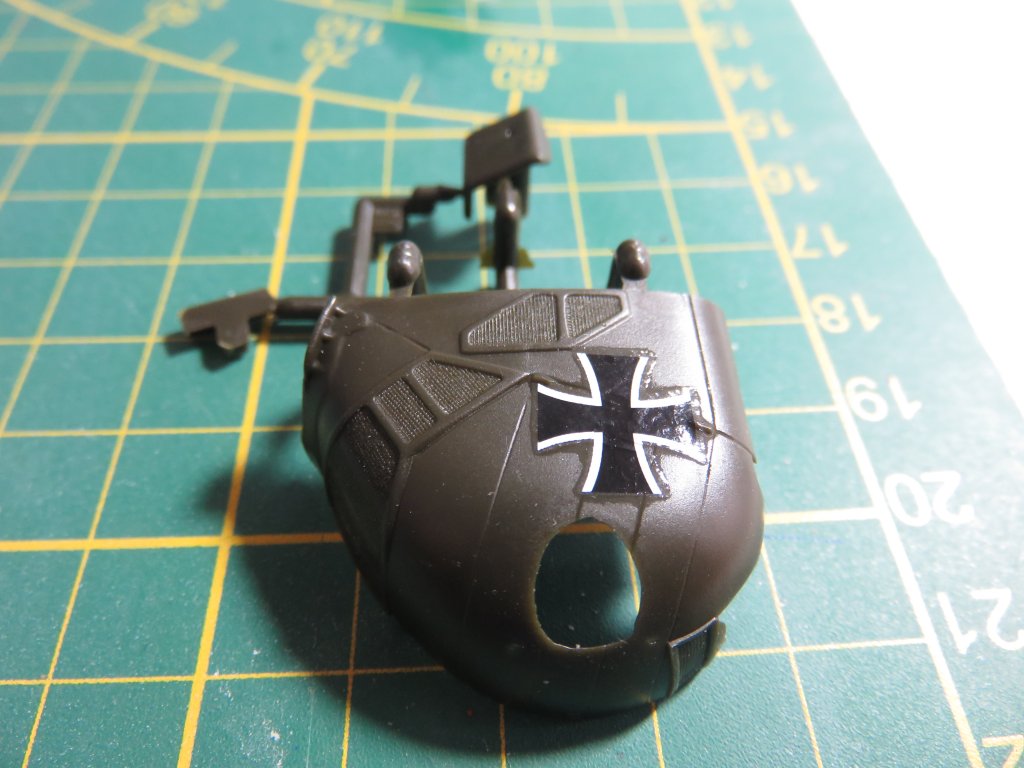
But then this.
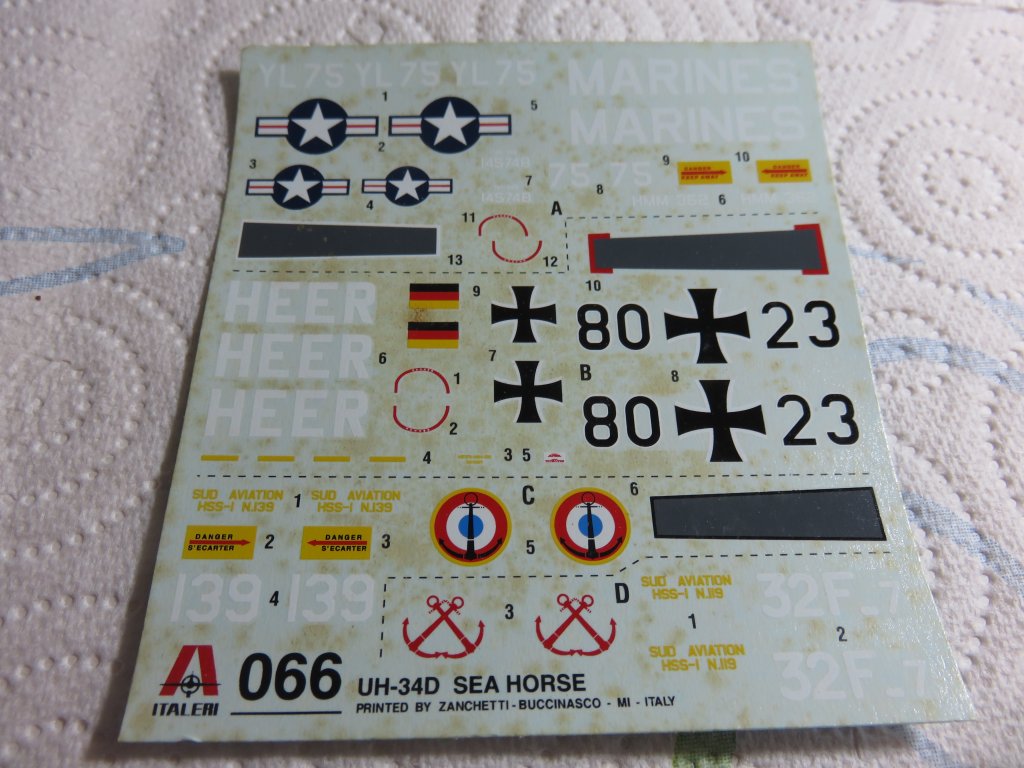
This looks like it will need a replacement. To test, I placed one of the German markings on a part I won't be using. So far, the decal is thin, and the ugly yellowing isn't on the decals but just the backing paper, so there is still hope left.
Also interesting: the fuselage halves aren't smooth, there's some kind of thingie (can't recall the correct word....) which wouldn't be too bad if only both halves would be the same. Which they are not.
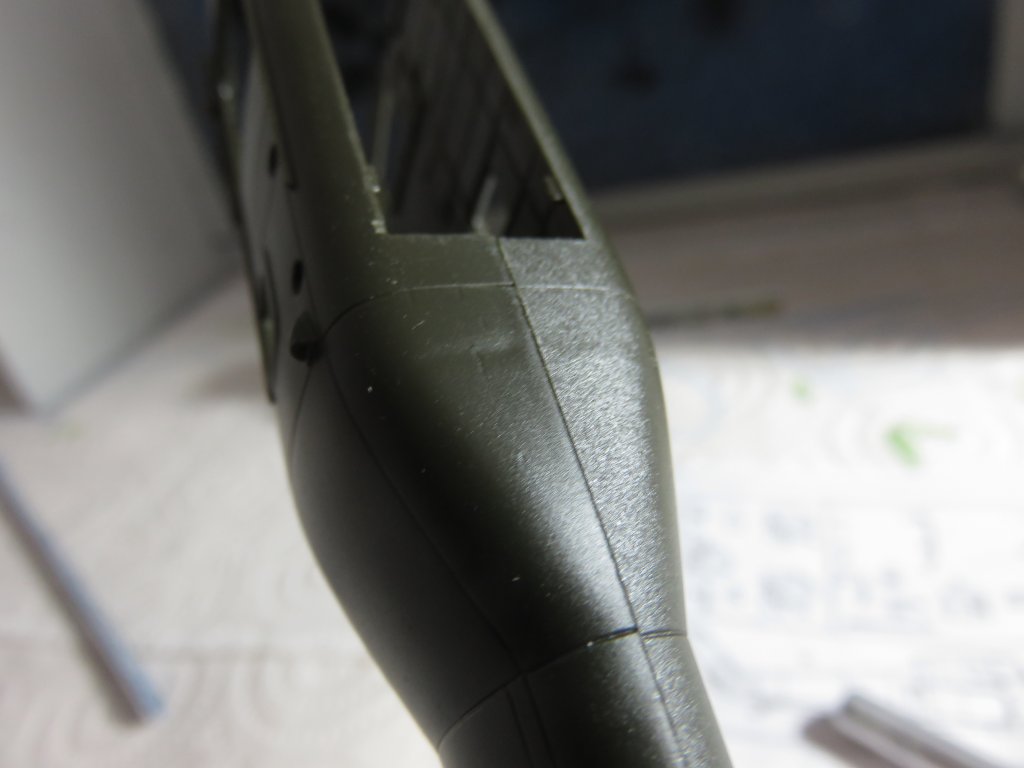
I'll have to put on some primer before the big work begins to see if the primer can hide it, or whether I'll have to get out the sanders.
So, let's start on the seats. Seat belts are molded in, and I'll be drilling out the holes in the sides.
Next up, paintwork....
| next page |