
 | Trabant 601 S "20 Jahre Mauerfall" Revell 1:24 kit no: 01989 build time: January 15 2017 - February 12 2017 |
Next up, this little thing:

Yup, it's the Trabant, the iconic car of Communist East-Germany. The Trabant was built between 1957 and 1990, East German auto maker VEB Sachsenring Automobilwerke Zwickau in Zwickau, Saxony. The car was known for being uncomfortable, slow, noisy, and dirty. Nevertheless, it was very sought after in East Germany before the fall of the Berlin Wall. It had a hard plastic body, mounted to a single-piece steel chassis (a so-called unibody or monocoque), front-wheel drive, a transversely-mounted engine, and independent suspension, features unusual for the era. Dubbed a "spark plug with a roof", the Trabant was produced for nearly 30 years with almost no significant changes to its design. 3,096,099 vehicles were produced in total.
"Trabant" means "companion" in German (or so I am told), and are often referred to as Trabi. It uses a two-stroke 2-cylinder 600 cc engine generating around 19 kW (26 hp) of power giving it an acceleration of 0 to 100 (kph) in 21 seconds. The Trabant weighs about 600 kg and has a top speed of 100 kph.
Now I've been unable to actually find of photograph of a Trabant in this scheme, although I have heard that Revell actually painted one up like this for charity. It was decorated by the Leipzig Graffiti Association.
Well, enough of that - on to some pictures. Revell has the sprues packed 2 at a time in a plastic bag, with the glass parts packed separately, and then all the plastic bags go into one big one. The body is packed separately. For such a small model (only 15 cm), plenty of parts.
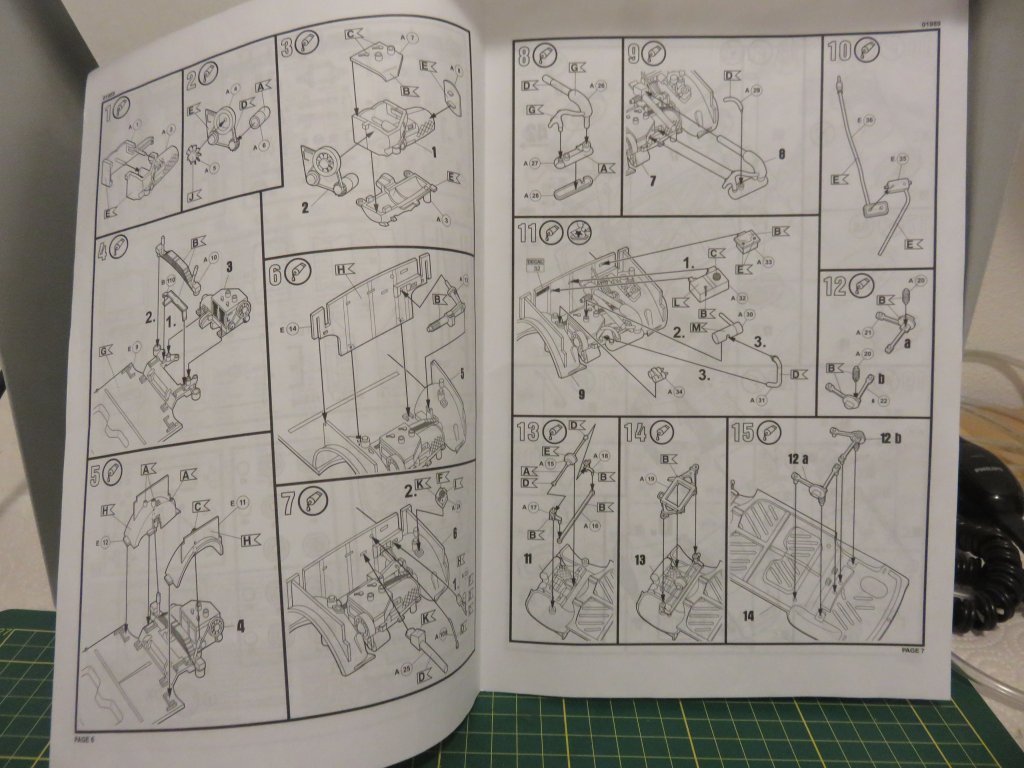
Typical Revell-style instructions
Large decalsheet - the whole outer body is to receive a decal....

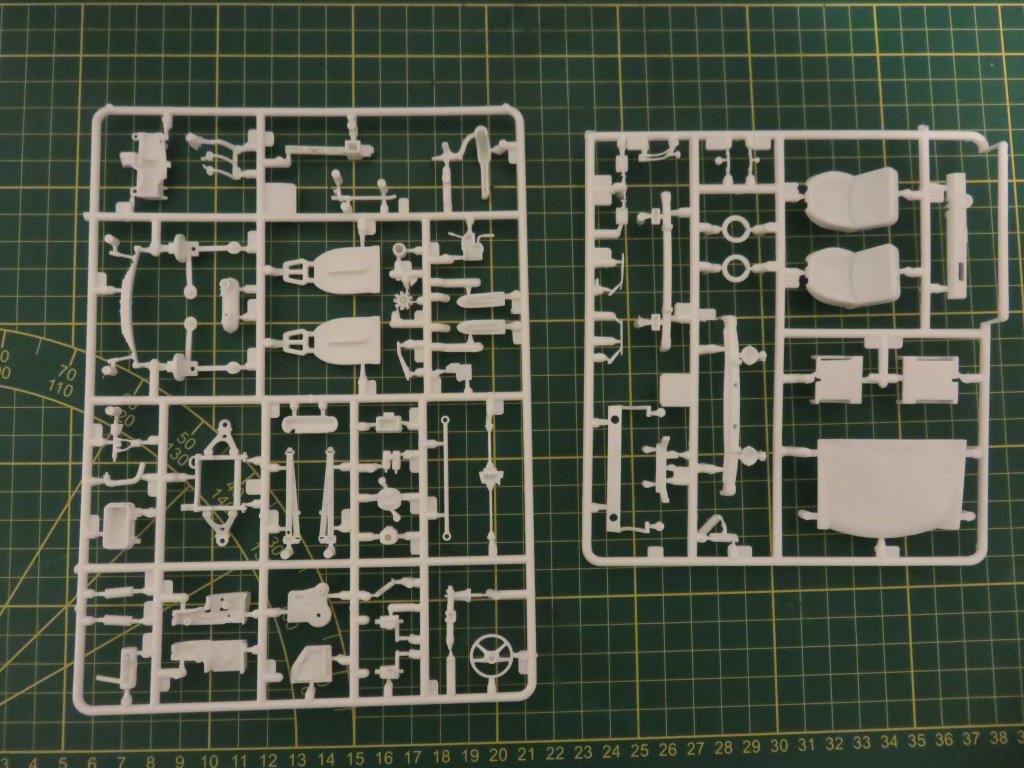
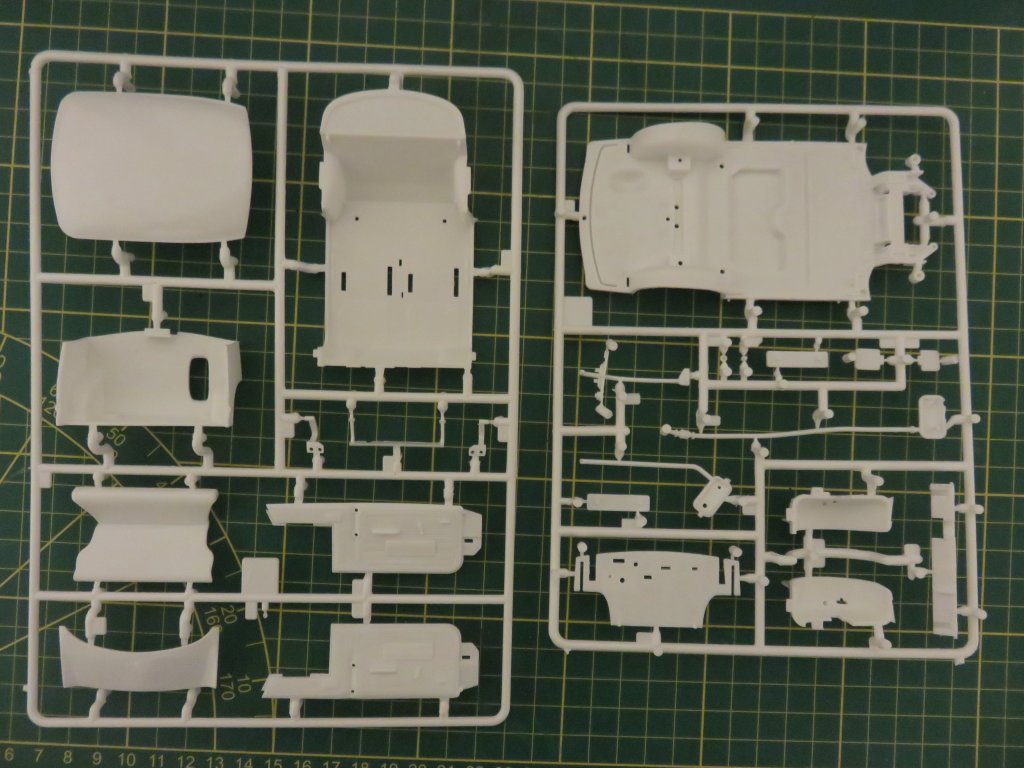

The hood (bonnet?) and rear lid (?) are moveable, and the roof is a separate part as well that according to Revell does not require glue so that you may remove it to see inside the car. It comes with 5 wheels and rubber tyres.... (4 wheels plus a spare...) and no chrome parts....

The glasswork appears to be excellent, woith no distortion that I can see.
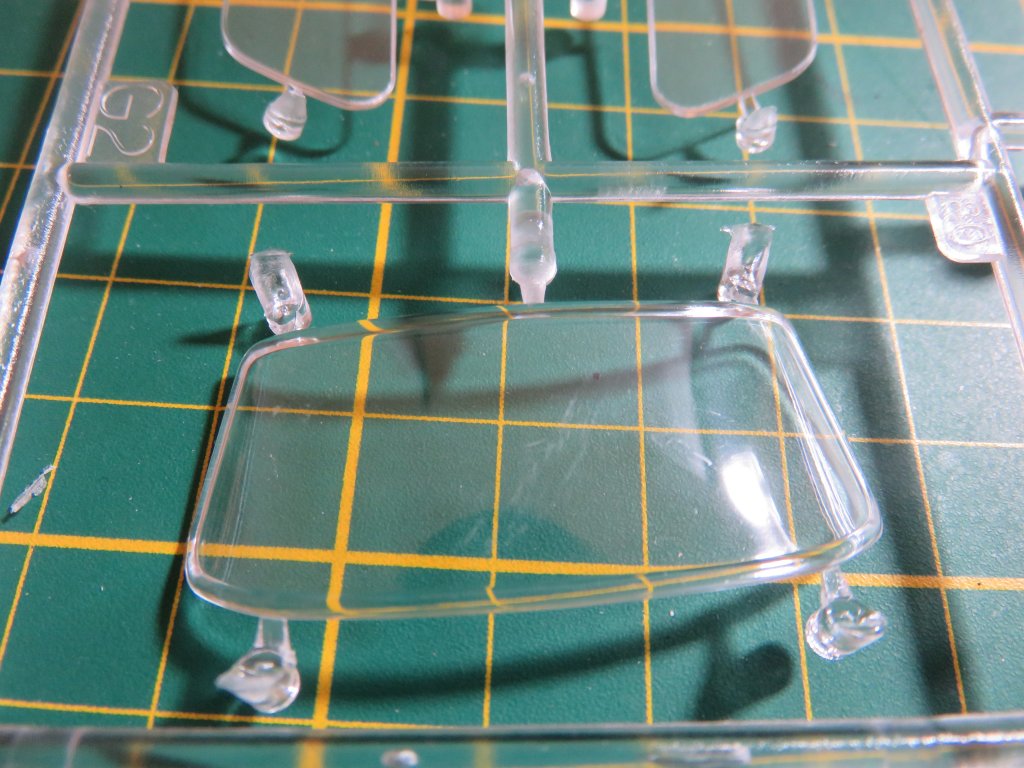

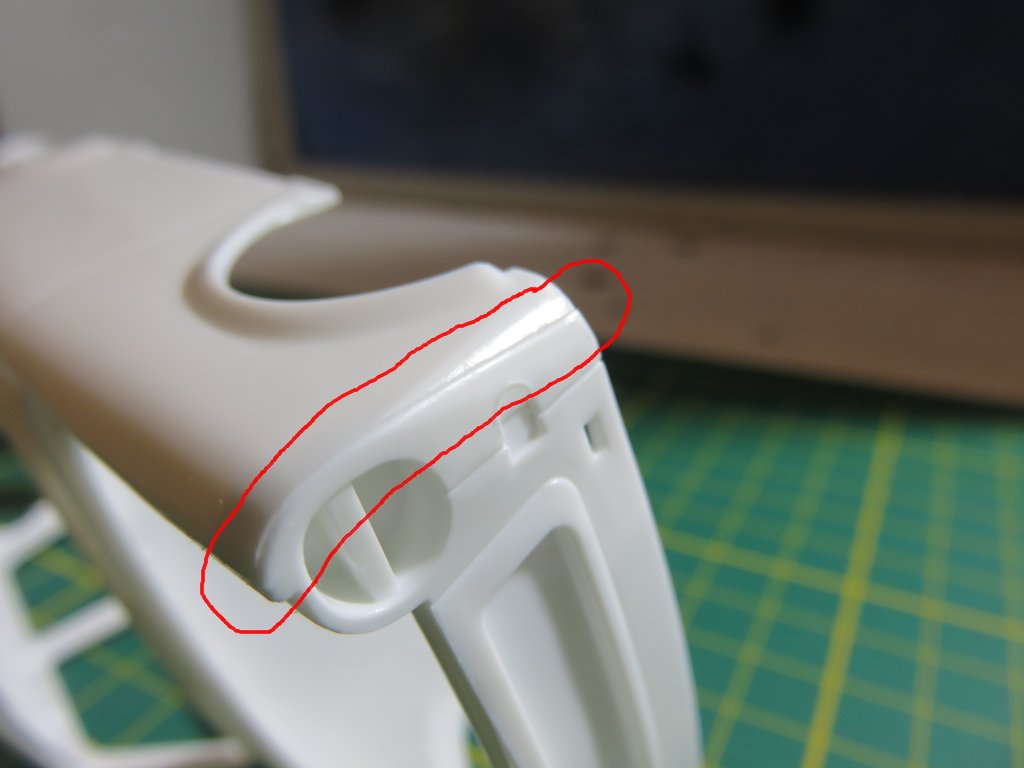
Although both poto's show something that I'll have to check. Not sure if it's the photo or the parts.
-------------------------------------------------------
As always with Revell kits, construction starts on the box. Cutting open the top cover, and using a stapler to keep the side-opening bits together, we go from a hoorrible and unusable box to something we can work with.

Then we check the body for mold seams, which were very sparse, fortunately, and deal with them.
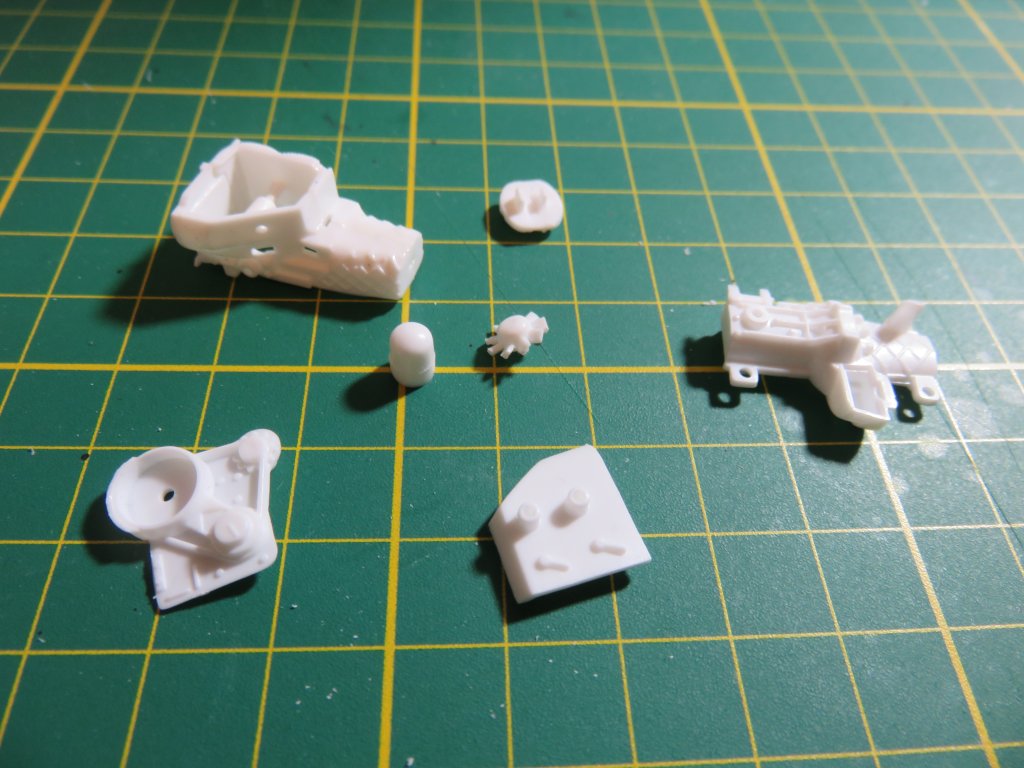
And then we move on to the engine

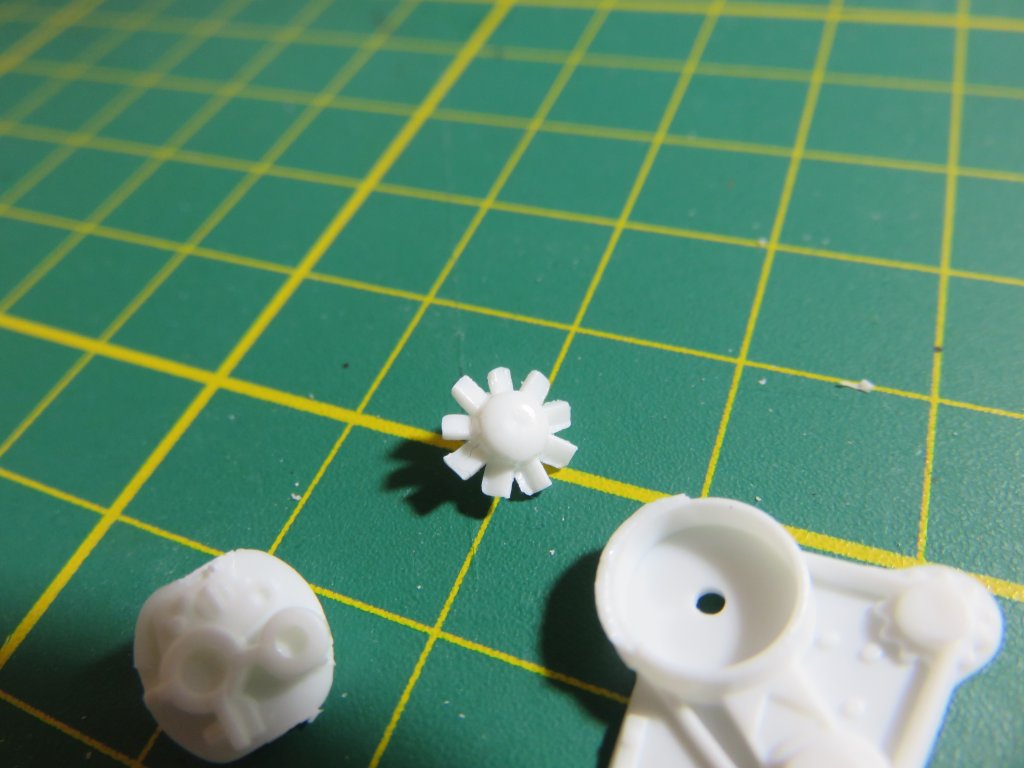
Pretty well detailed for something this simple, but unfortunately the fit could be better. I'd like to paint most of these parts separately because that will make it a bit easier, but I'll have to see about that. With the hood opened up, it's going to be very visible. The fan is nice though.
Until next time.
| next page |