
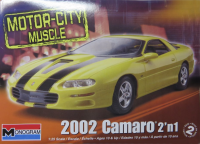
 | 2002 Camaro 2'n 1 Monogram 1:25 kit no: 85-4273 build time: February 19 2016 - February 27 2016 |
Yesterday was a rest day while the 2K clear cured. So today, we went on with the final details before final assembly. This kit hasn't been the disaster kit I had expected it to be after some comments on its quality I received. All the better.
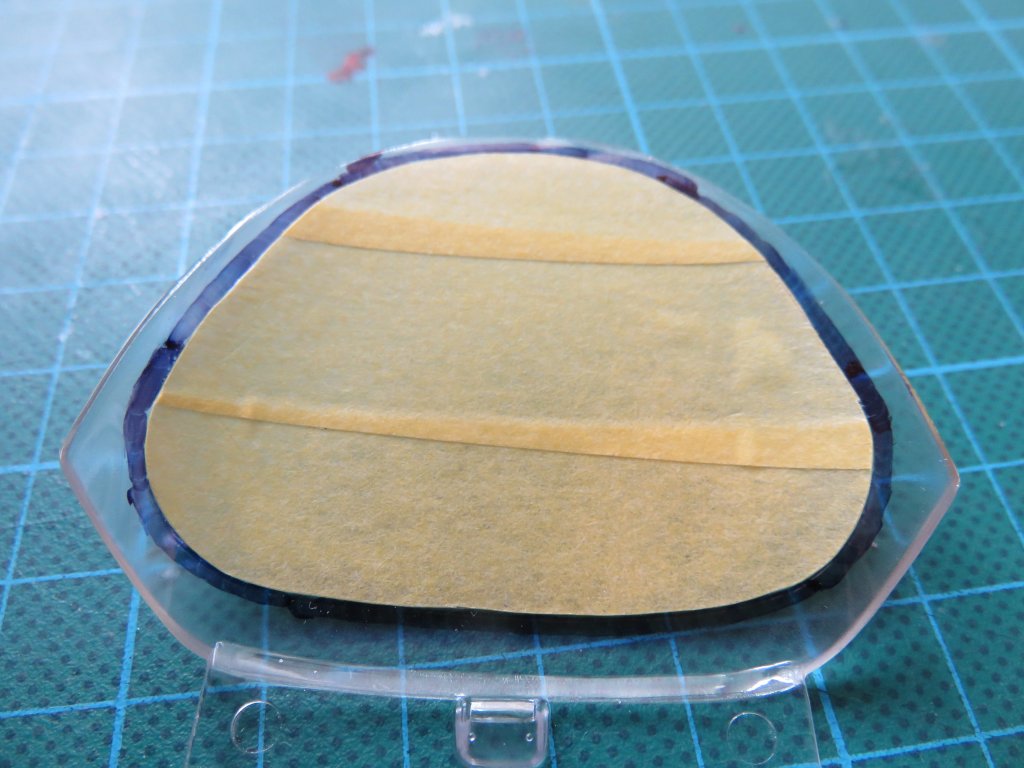
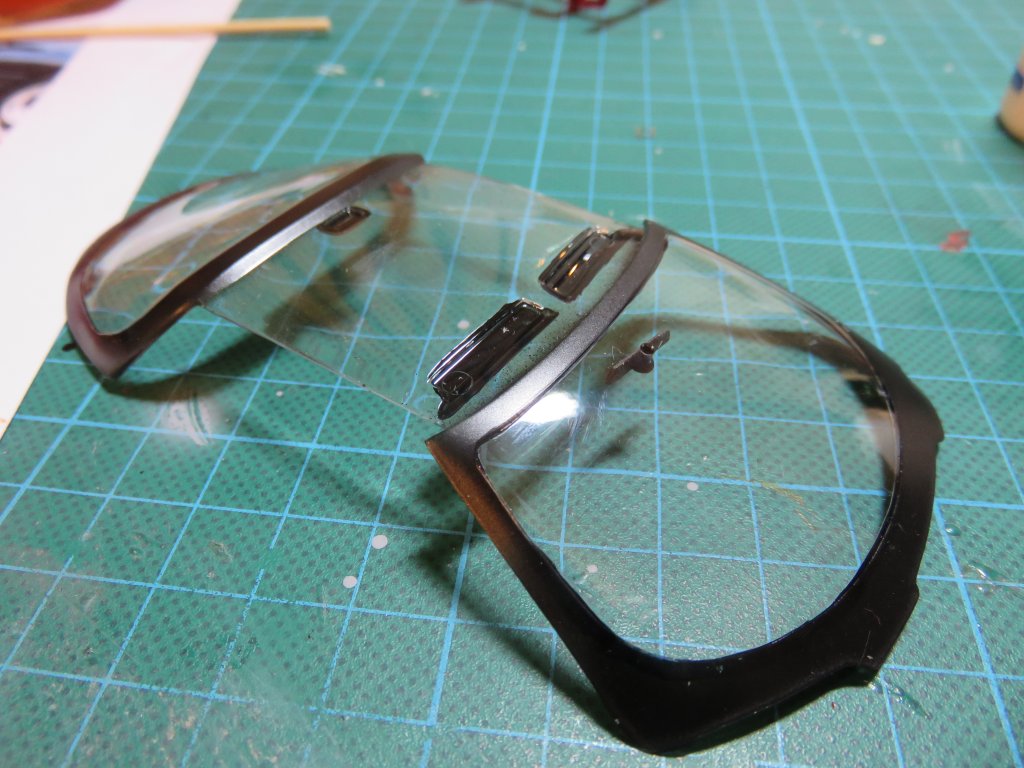
First off, clear parts. As in windows. As in always a problem for me. The outside needs to be painted black, and that's problematic - after applying masking tape, I couldn't see where to cut it. After applying clear Scotch tape, I couldn't remove it without tearing it all to bits. Pencil didn't hold on the plastic, and so finally I went for a permanent marker:

Add masking tape and cut:
Tape up the outside just in case, and airbrush to your heart's delight:
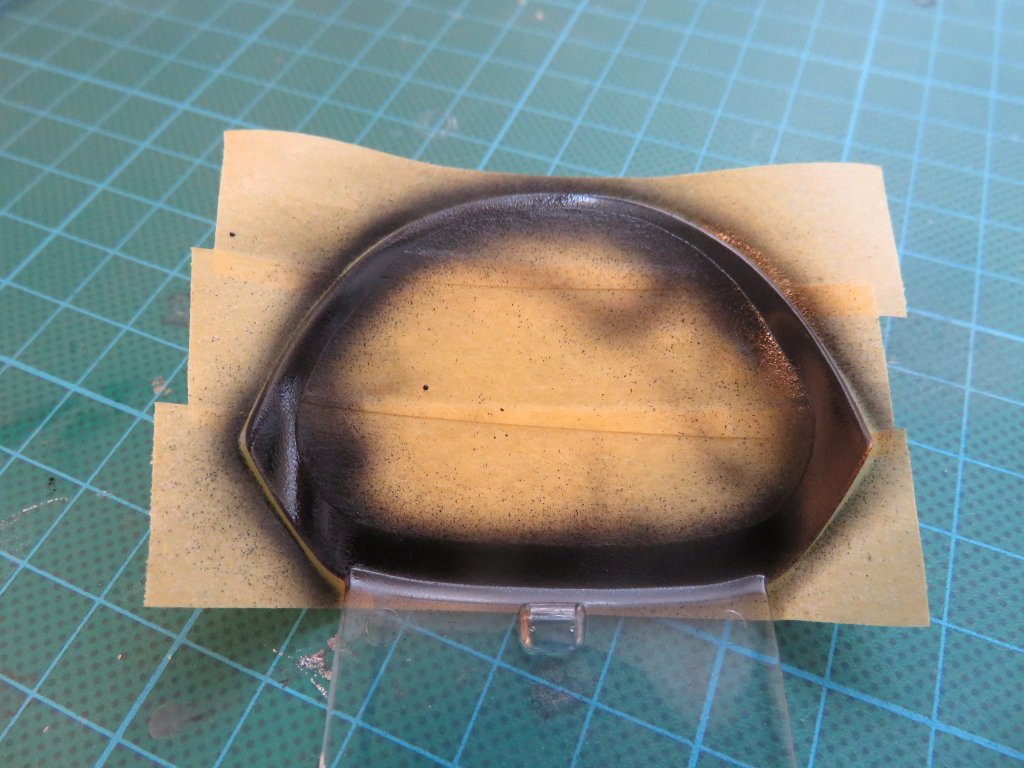
Looks pretty good from this angle.
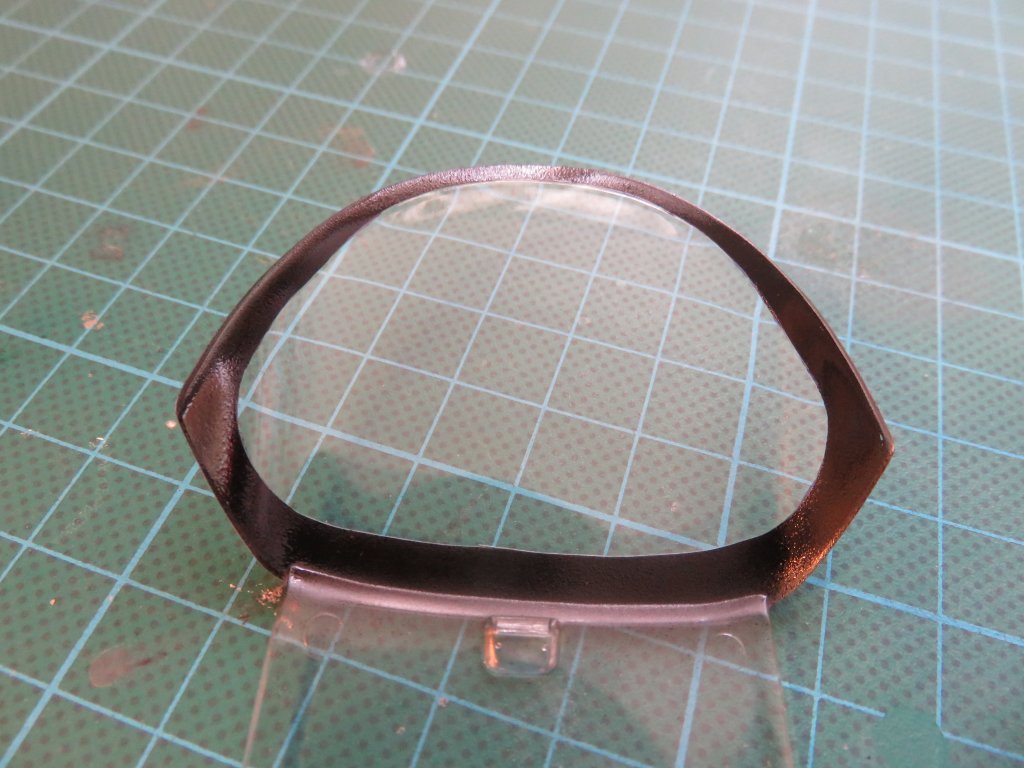
Sunscreens (?) and rearview mirror also got a coat of black.
And then it was time to do some work under the hood/bonnet. I found a reference shot of an Orange Camaro and replicated some of it. The black pieces, the metal colored pipes, some white.

The same shot also showed that a piece of the front fender needed to be black.
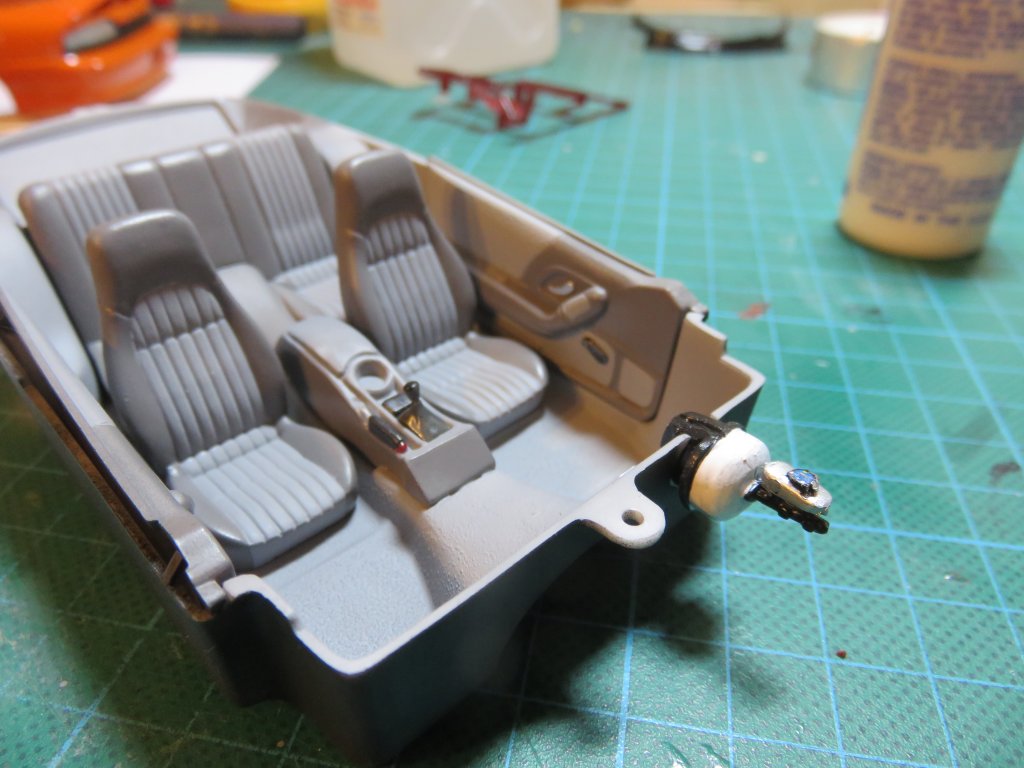
I am getting to like this Vallejo Model Air when it comes to brush painting...
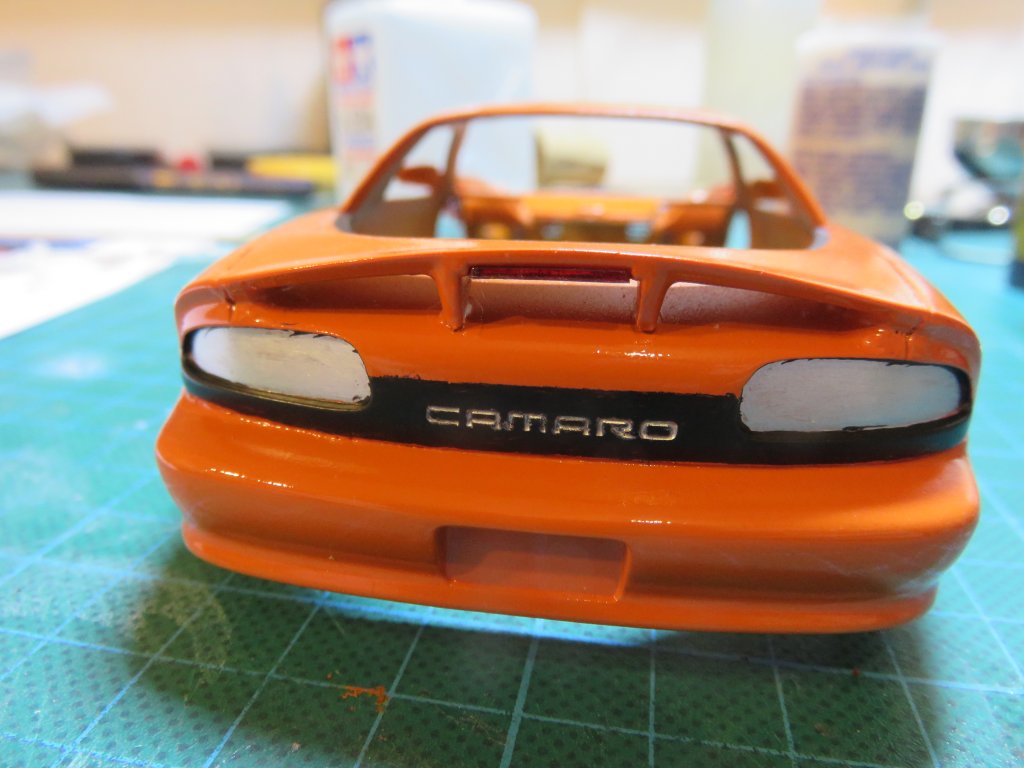
A photo of the rear also showed where I need to put in some black. The letters CAMARO are raised detail on the real thing and in a metal color - on the kit the letters are recessed which made painting them very easy: thing down Vallejo Model Air "Steel" to about 60% water, and apply as if it's a pinwash. Now to do the same to the front side tomorrow.

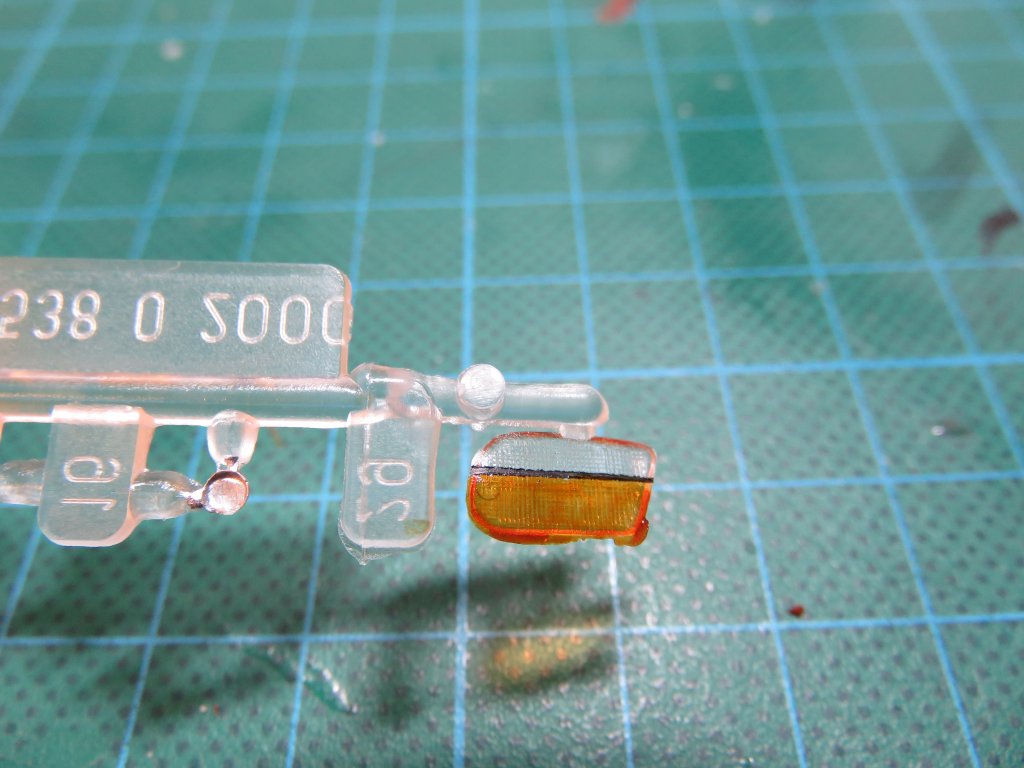
The clear parts that represent the lights on the back come in two pieces: red for the rear and brake lights, colorless for the rest. Which is wrong since there should be blinkers there.
As showed the same refrerence shot I used for the rest. So I added a thin black stripe to separate the two, and brought in the Clear Orange.
And lastly, some black around the window frames.

With any luck, we can finish this one off tomorrow, and then the first kit of the year will be done. yay.
| previous page | next page |