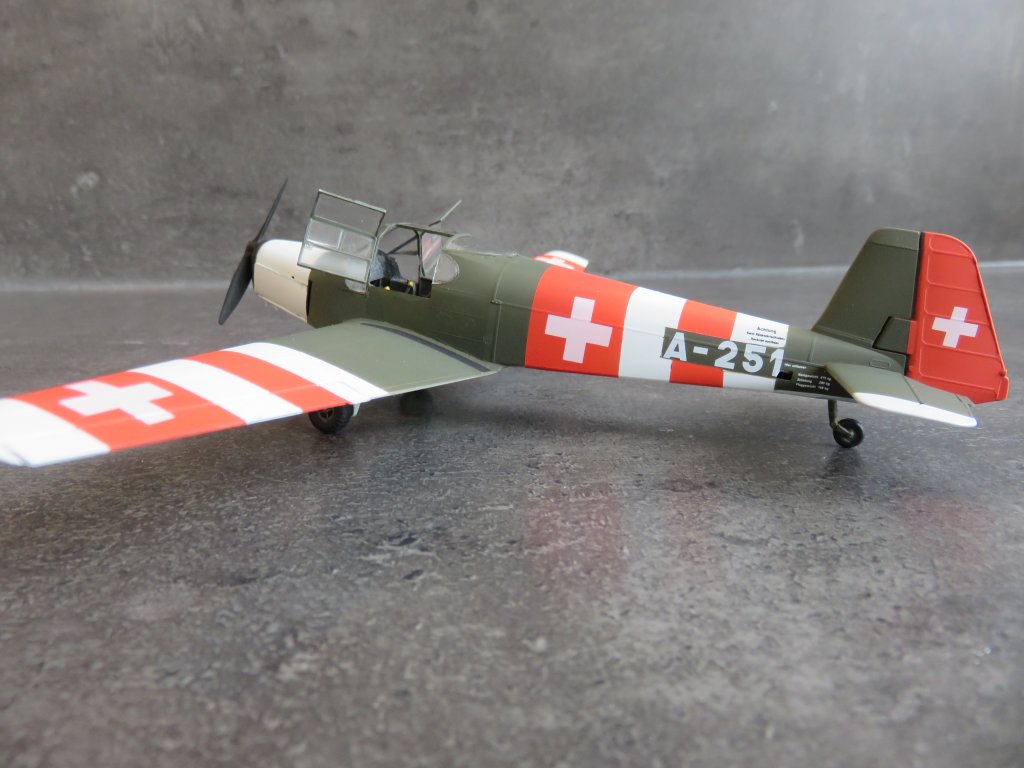
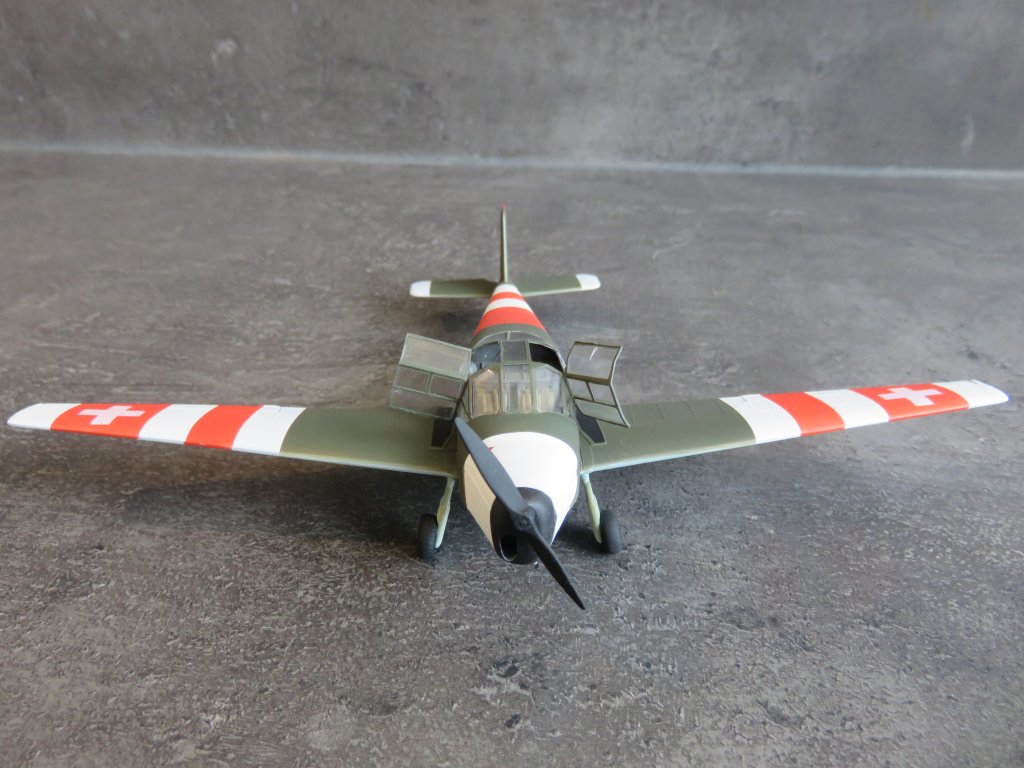
 | Bücker Bü-181 Bestmann Stransky 1:48 kit no: ST 42016 build time: November 3 2016 - November 3 2016 |
Well, technically not a WIP since it's already finished as I post this, but still with plenty of in-progress pics. Plus something extra at the end.
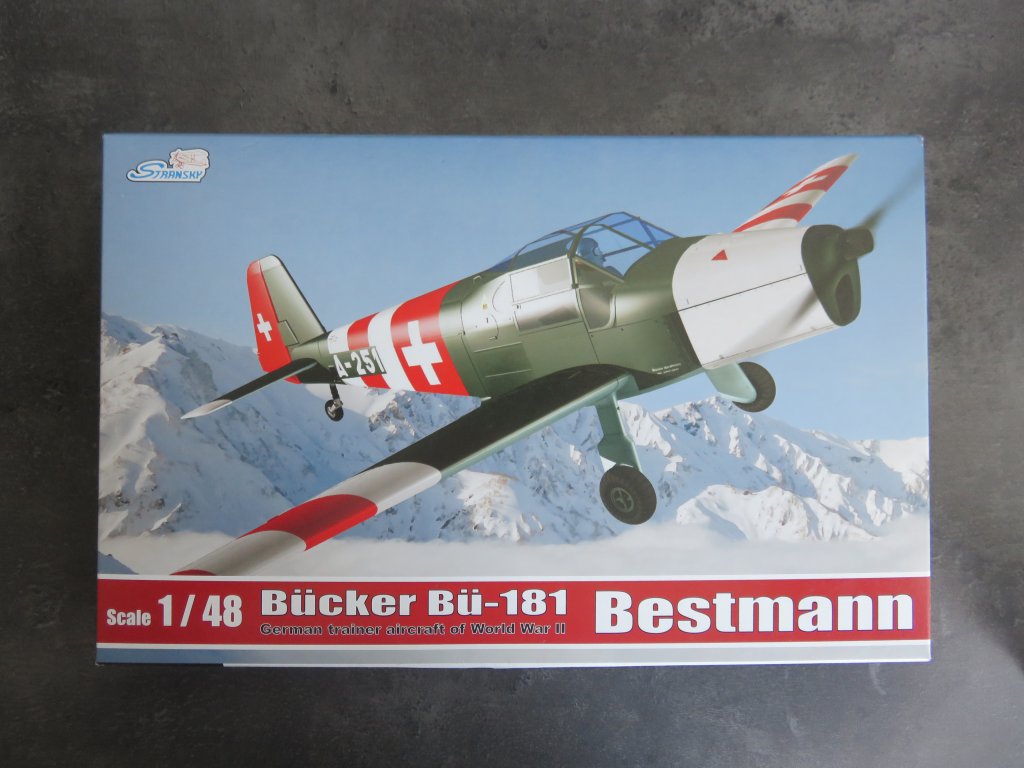
I ran into this kit at a convention about a month ago. It immediately caught my eye, but then you stand there thinking "Stransky.... what in blazes, never heard of them" So what do you do - let it go and regret it maybe, or get it and regret it because it's crap.
I decided to take a chance and get it. Good choice....
The Bü-181 was a single-engine low-wing monoplane with fixed undercarriage, split flap, twin controls and two adjustable seats arranged side by side. The cabin section was made of a tubular steel frame. The Bü-181 Bestmann was designed for training flights, pleasure trips, and limited aerobatics. Although primarily built as a trainer for the Luftwaffe, it has also performed other duties such as courier and liaison. In March 1945, all Bestmanns were to be converted to tank busters, carrying two panzerfausts on wing-mounted launchers, or to night-attack fighters carrying 3 50 kg bombs. They saw very limited action in the final days of World War II. One restored Bestmann is on display in Berlin's Deutches Technikmuseum. Most Bestmanns were built by the Bücker factory at Rangsdorf, but they were forced to license the design to several other factories such as Fokker and Hägglund & Söner.
In all, 3400 Bestmanns were built but only a handful survive today.
Crew: 2
Length: 7.85 m
Wingspan: 10.6 m
Max. takeoff weight: 750 kg
Powerplant: Hirth HM 500A 78 kW engine
Max. speed: 215 km/h
Range: 800 km
Service ceiling: 5000 m
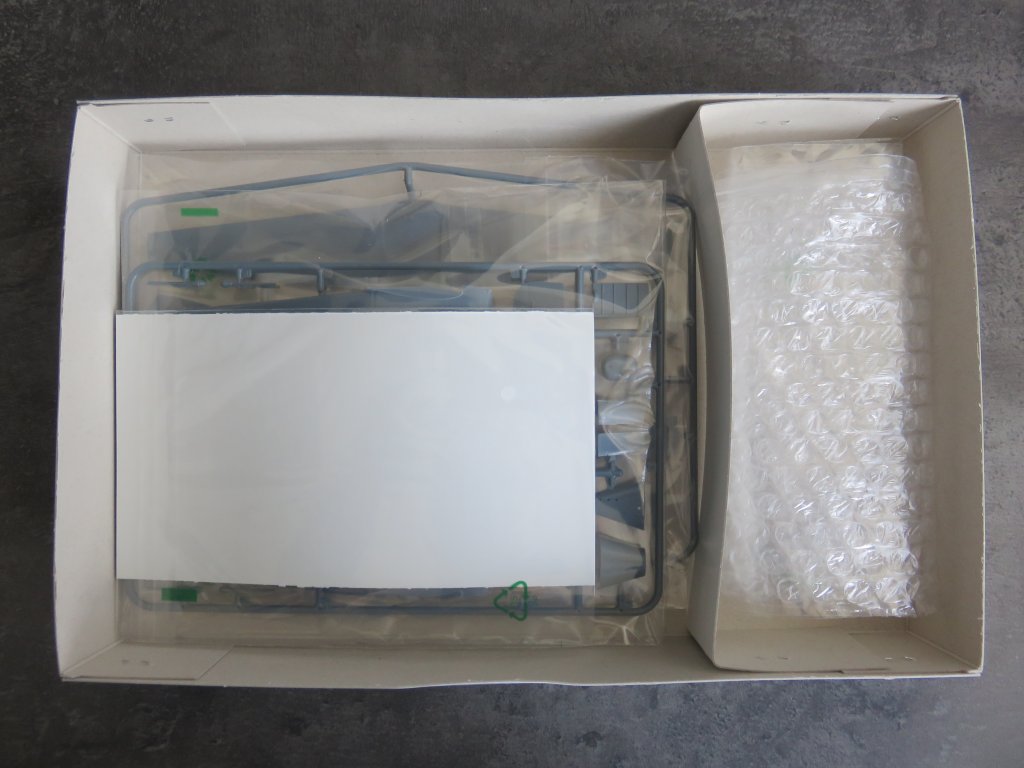
The box has a lot of air in it, but also 3 plastic bags containing one sprue each, with the clear parts sprue safely tucked away in the right hand side compart and stuffed in bubble wrap.
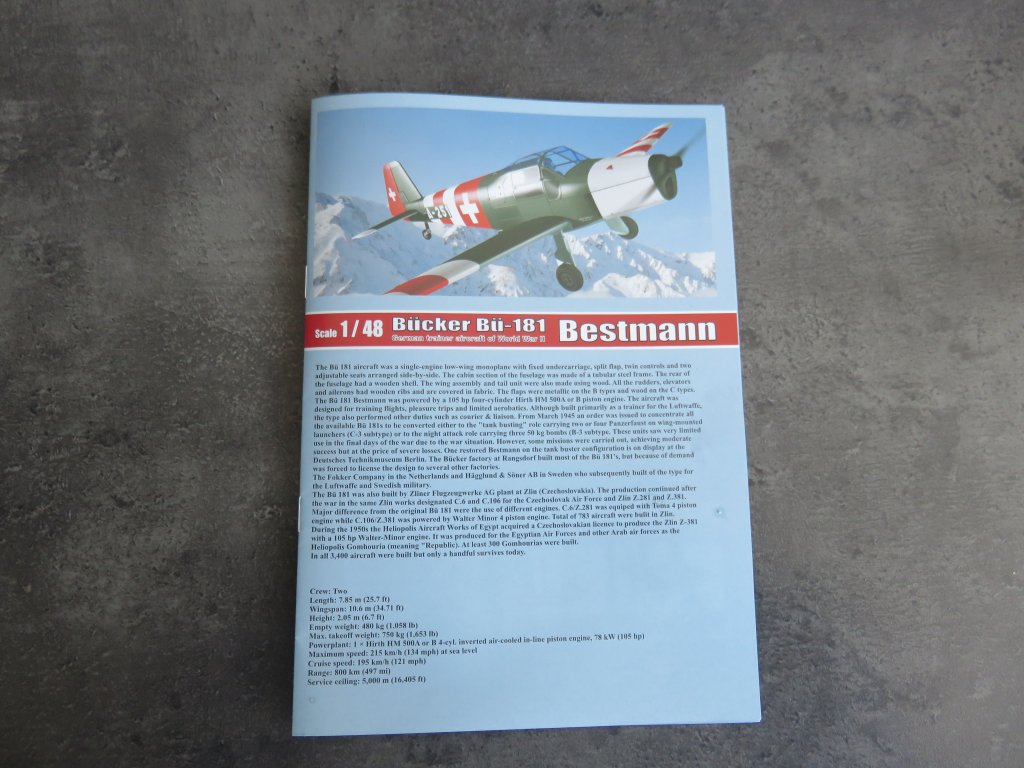
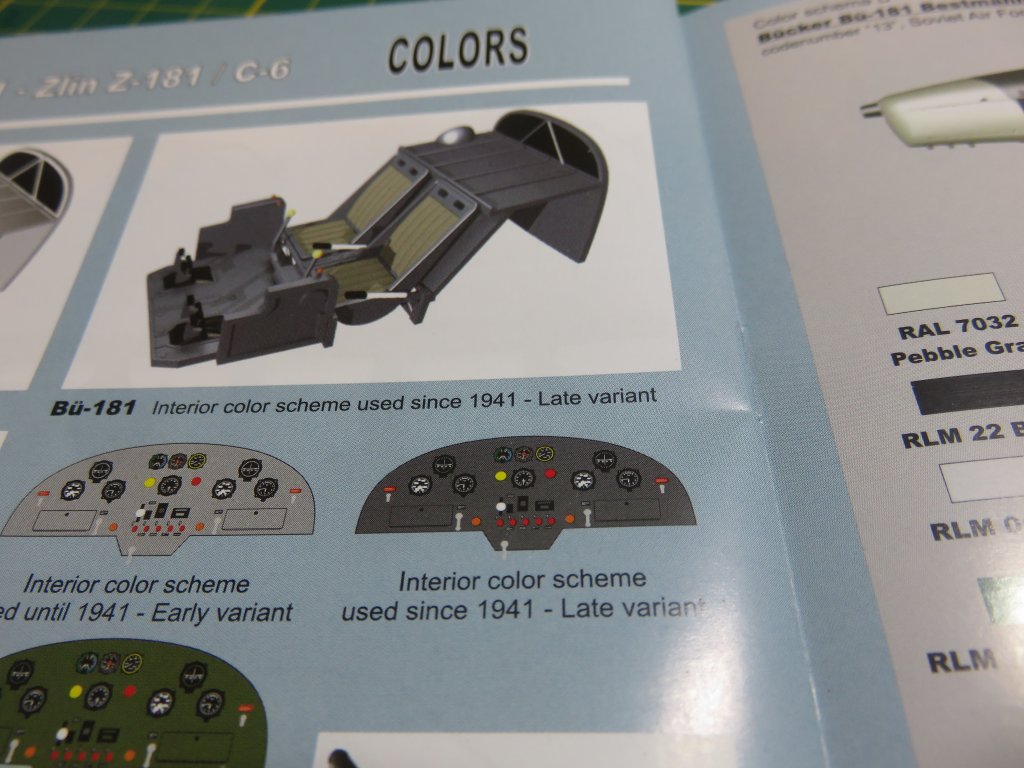
The booklet is more than just the usual blurb and instructions. It also contains detail photographs of a museum model, as well as very detailed painting instructions (see photo's at a later stage).


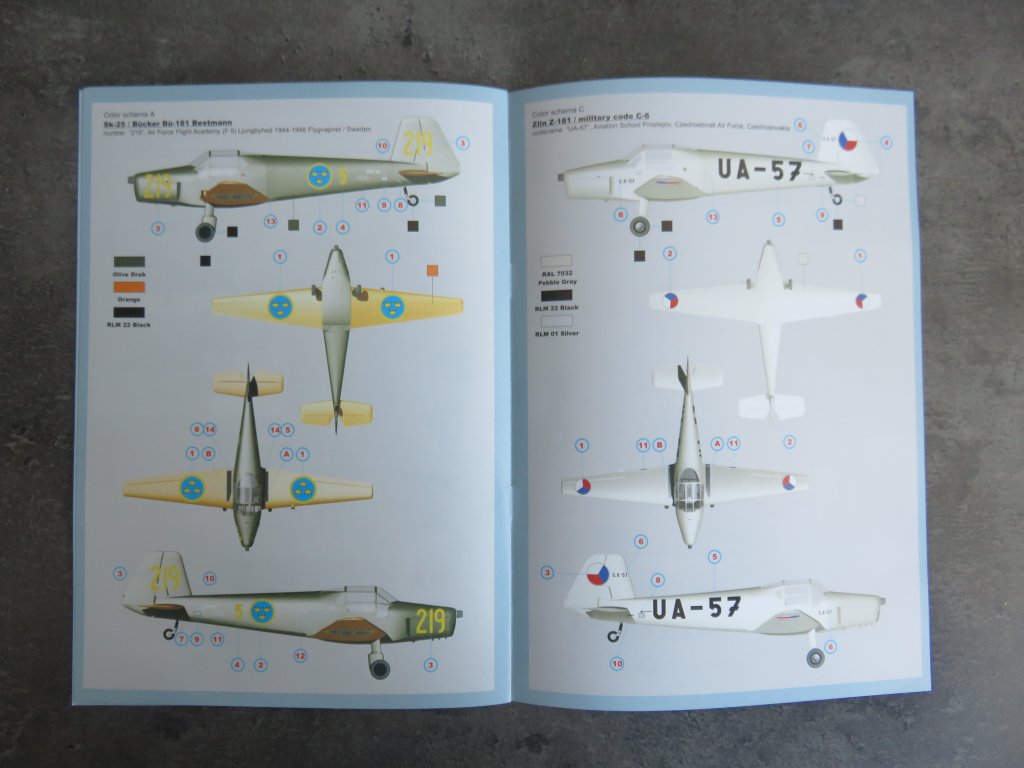
They don't provide color numbers for one or more brands of paint, but since they do supply the RLM numbers I doubt anyone will complain too much. Certainly not me, since MRP sells RLM colors and I really wanted to try them out.
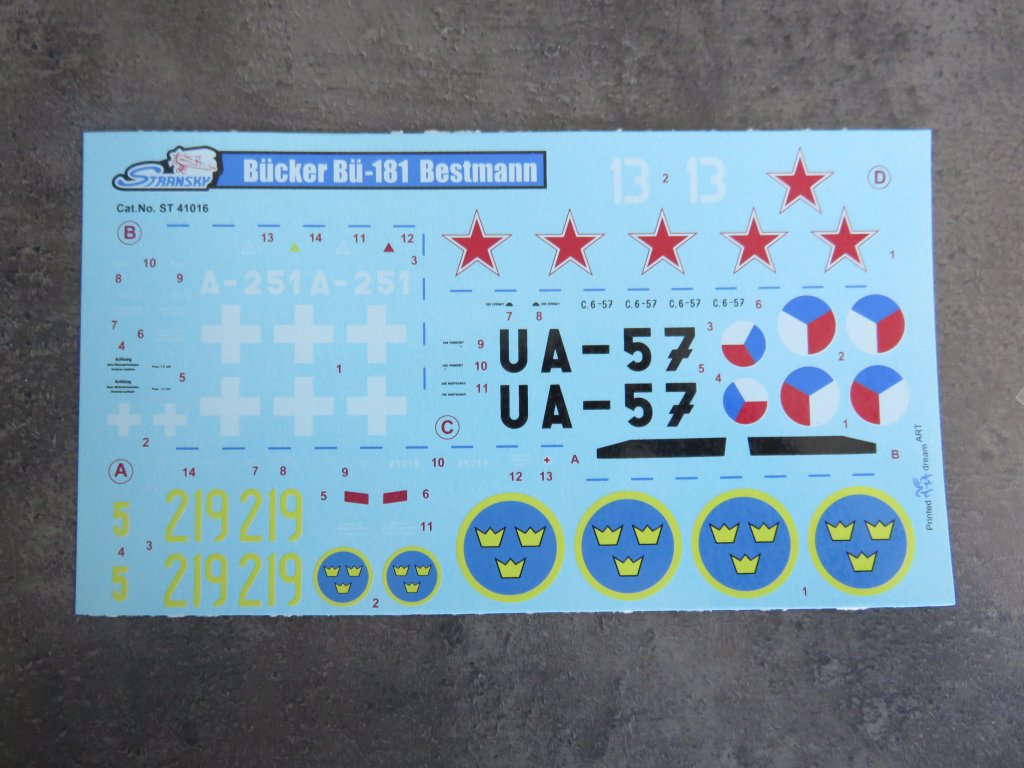
Decals are pruinted by dreamART. Never heard of them, but they look good and in register. Just not too sure about the white....
Not a whole lot of parts for a 1/48 scale kit, but that won't stop me from having a blast.
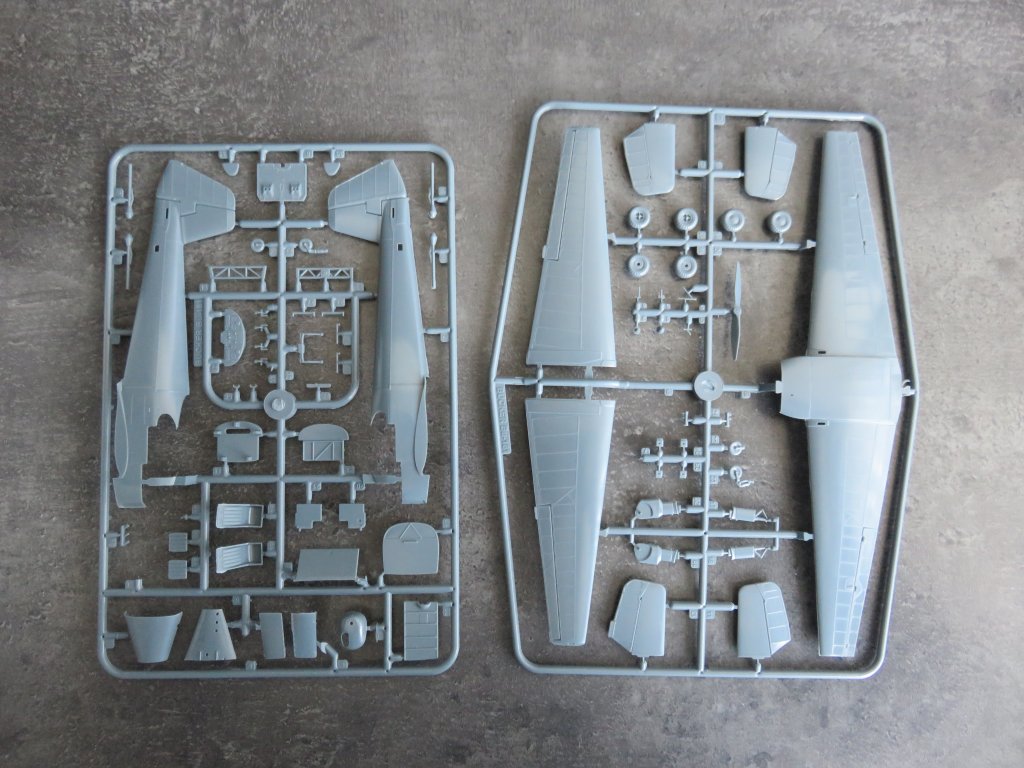
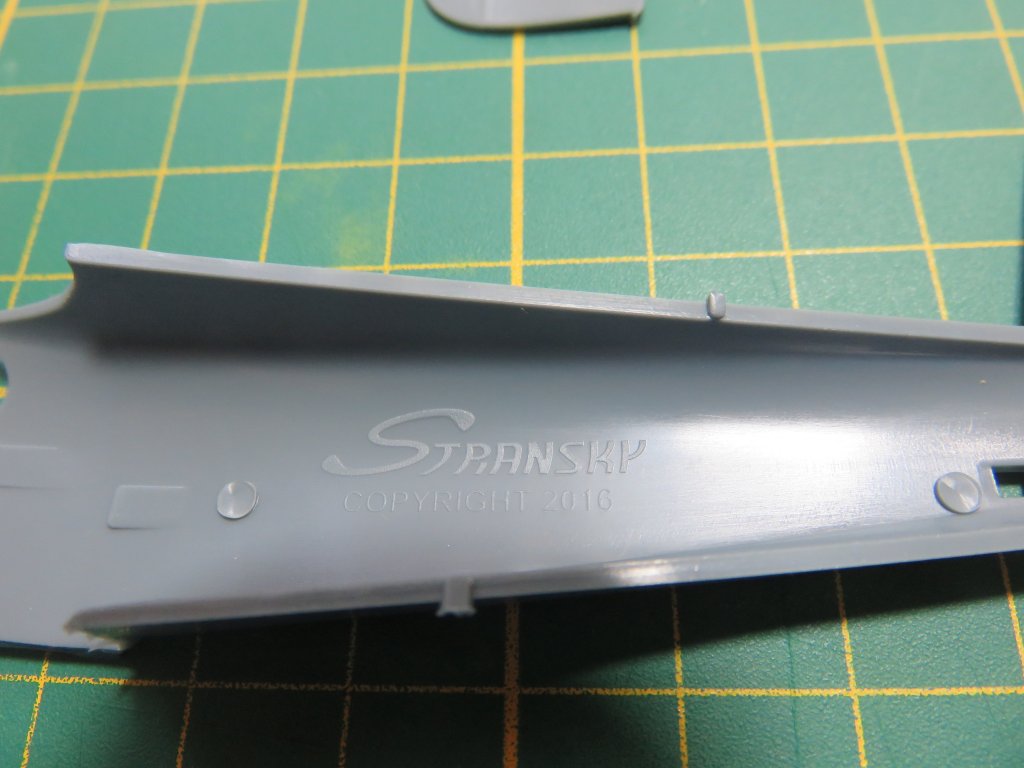
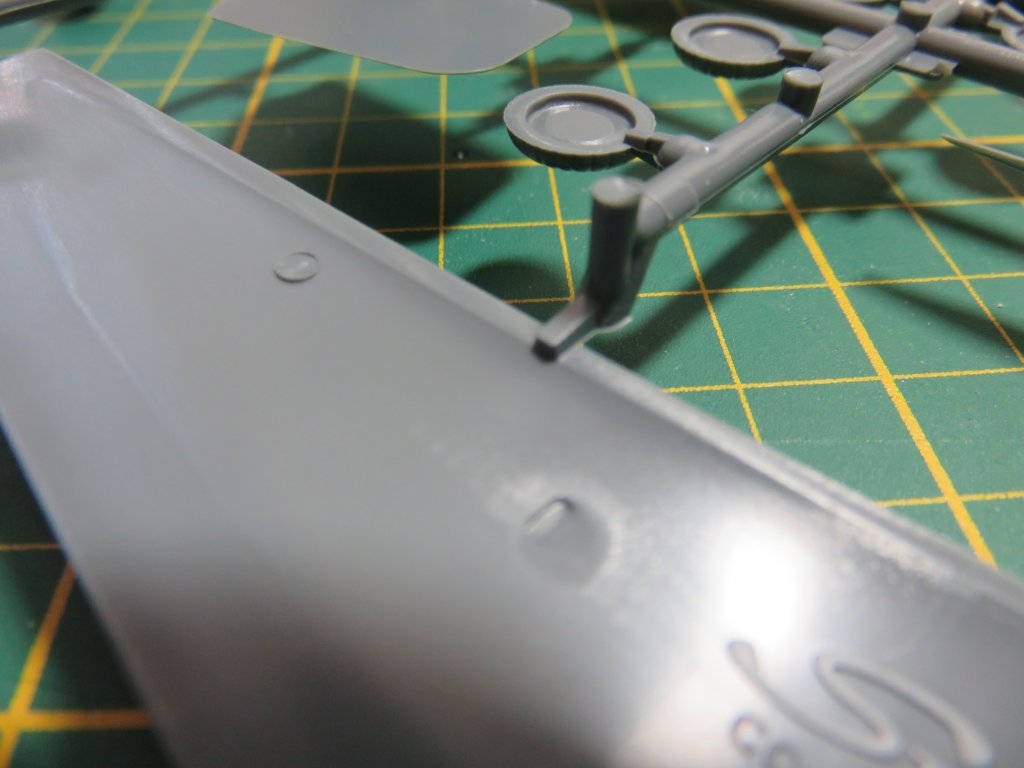
The few parts do have crisply raised and recessed surface details.

Wheels.

Nicely detailed IP.

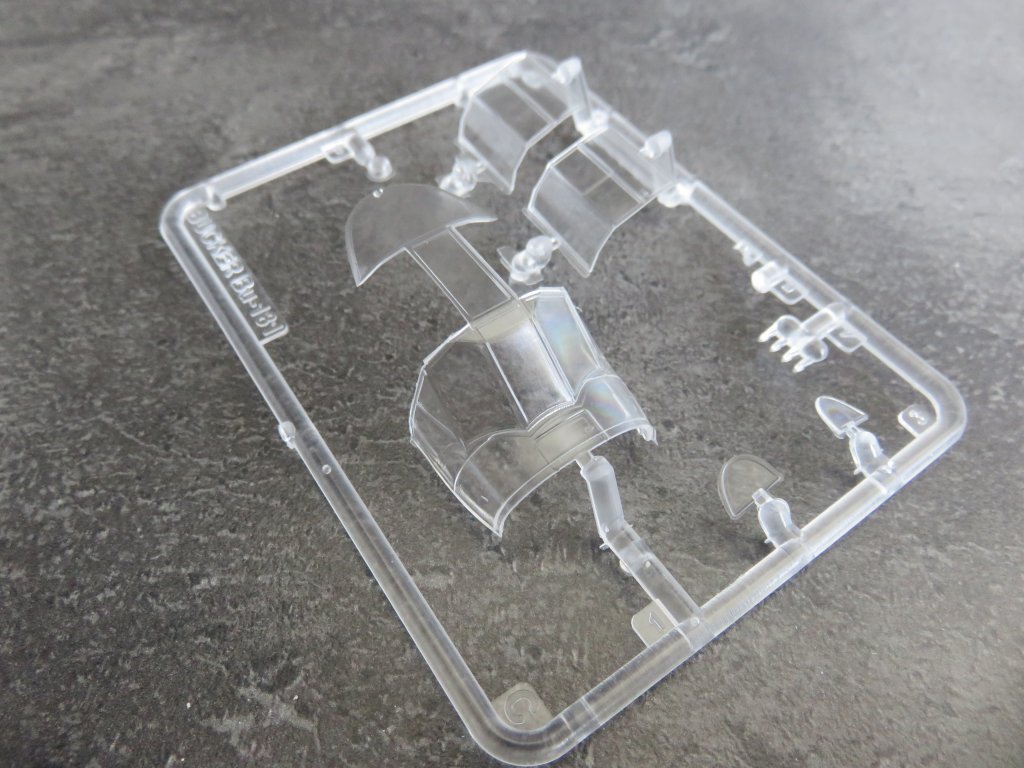
And clear glass parts.
They do supply a die cut masking set )sold separately) which I bought at Stransky's website, but since the kit was already painted by the time it arrived, I'll use that on the other kit I bought. Their site is good though. Taught me why I never heard of Stransky - this is their first ever kit. If you're interested: the die cut masking set was only €3,50 including shipping....
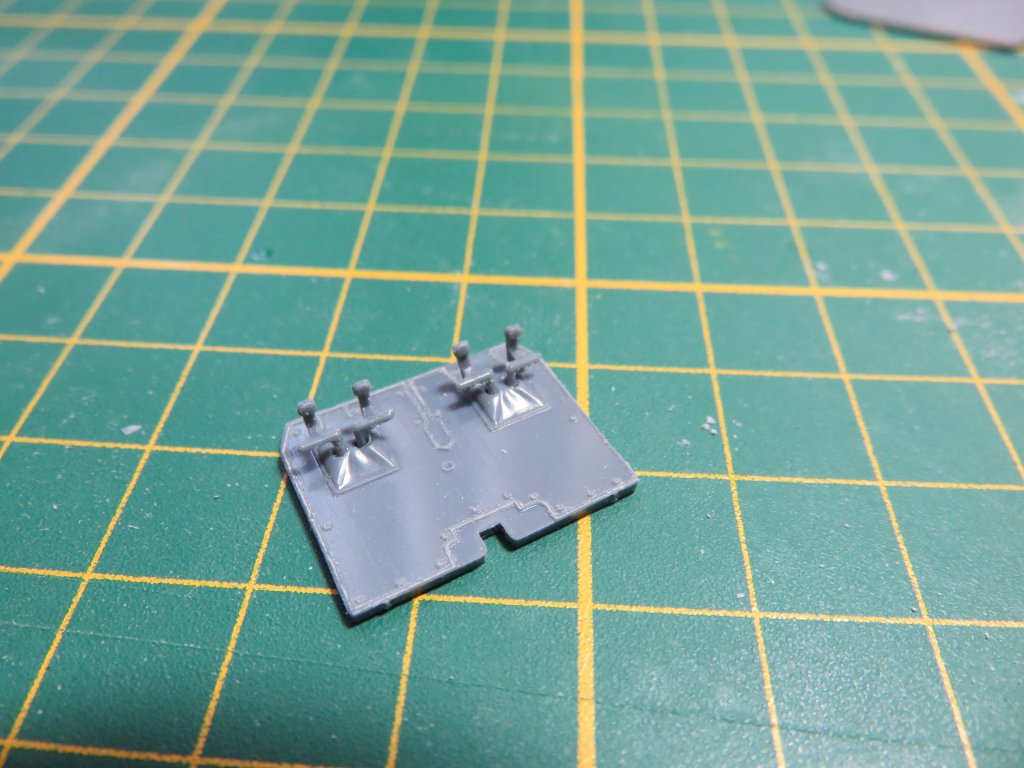
You'll need to work carefully though - all sprue attachment gates are on the mating surfaces, but that shouldn't be a problem.
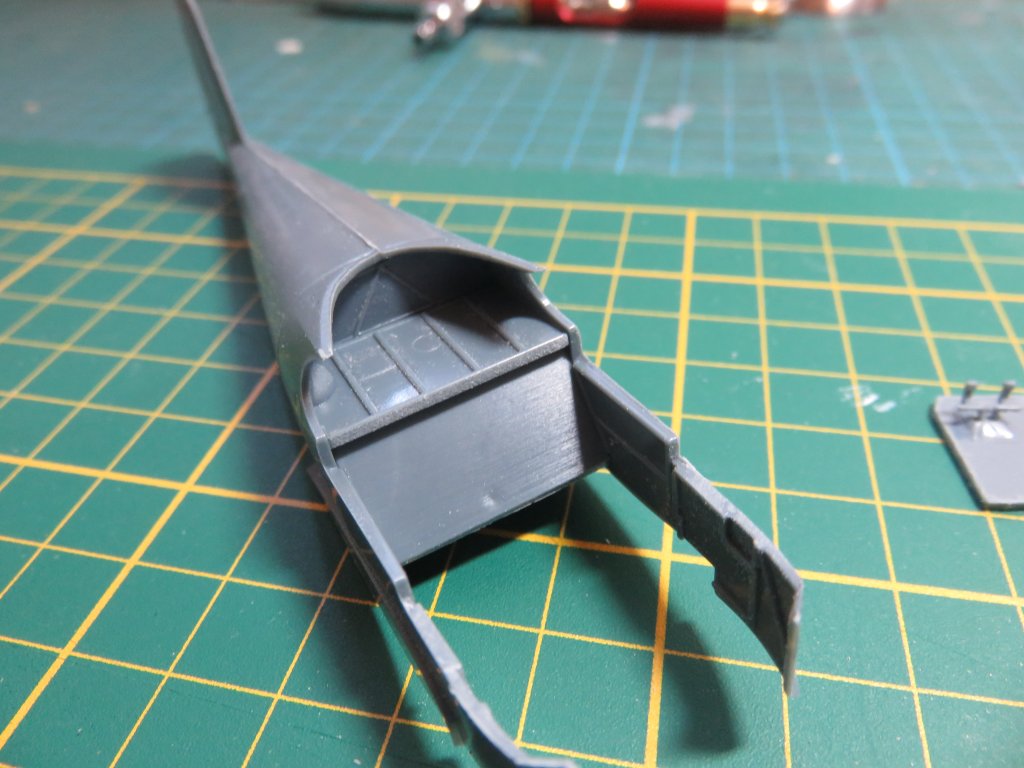
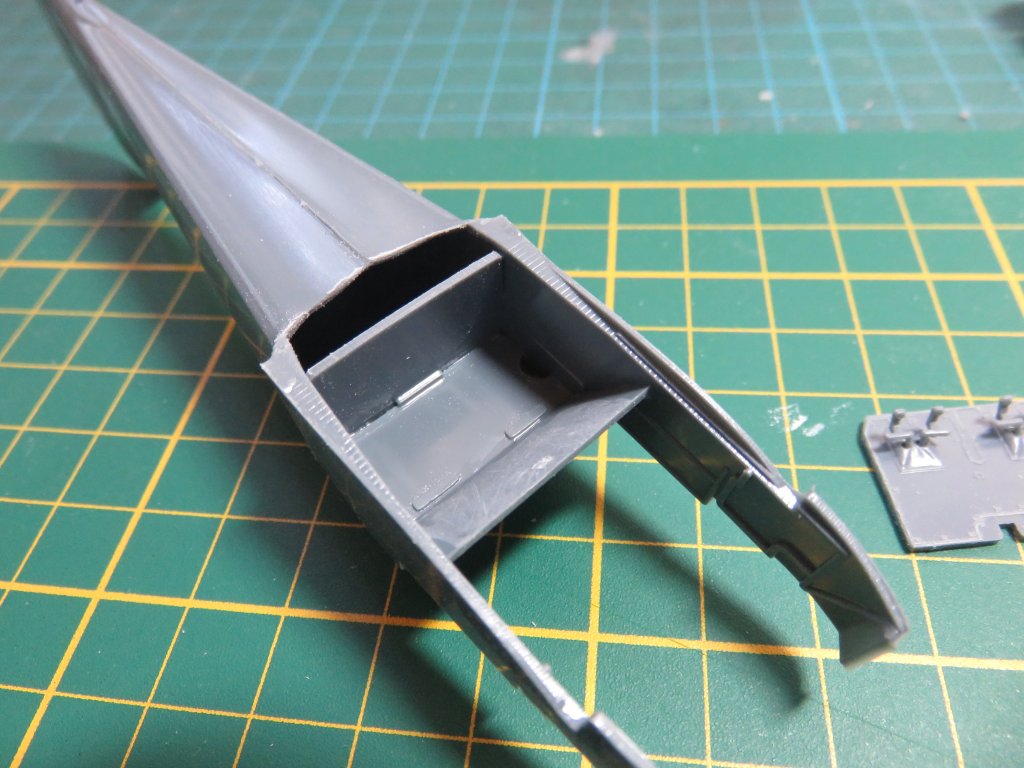
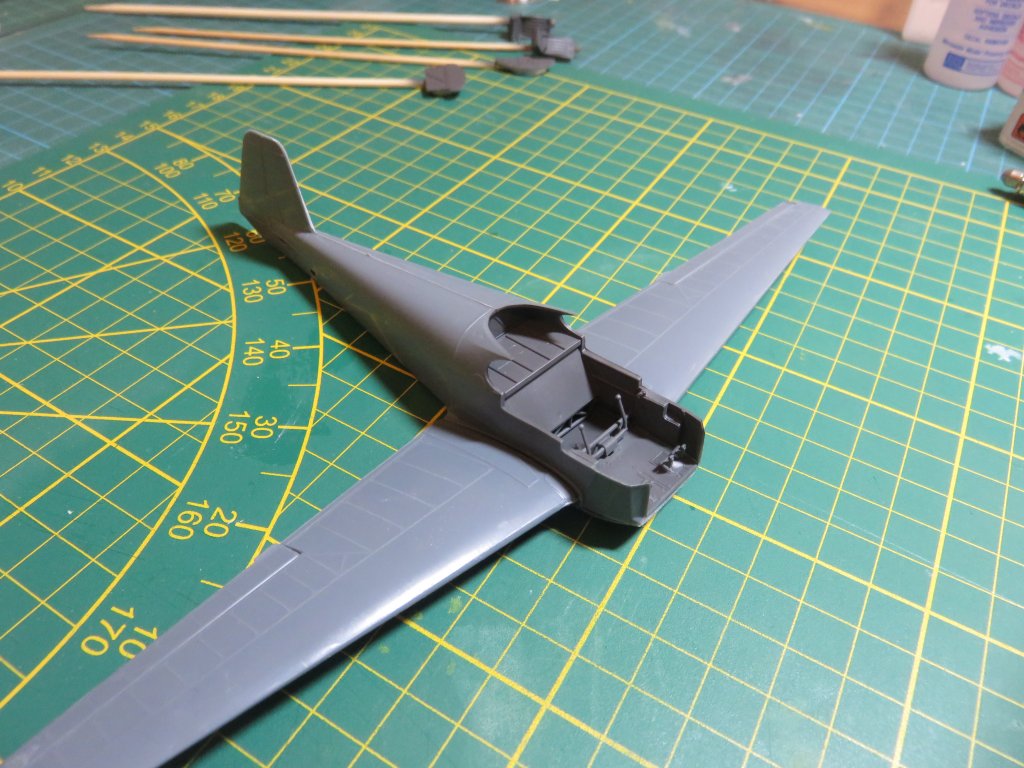
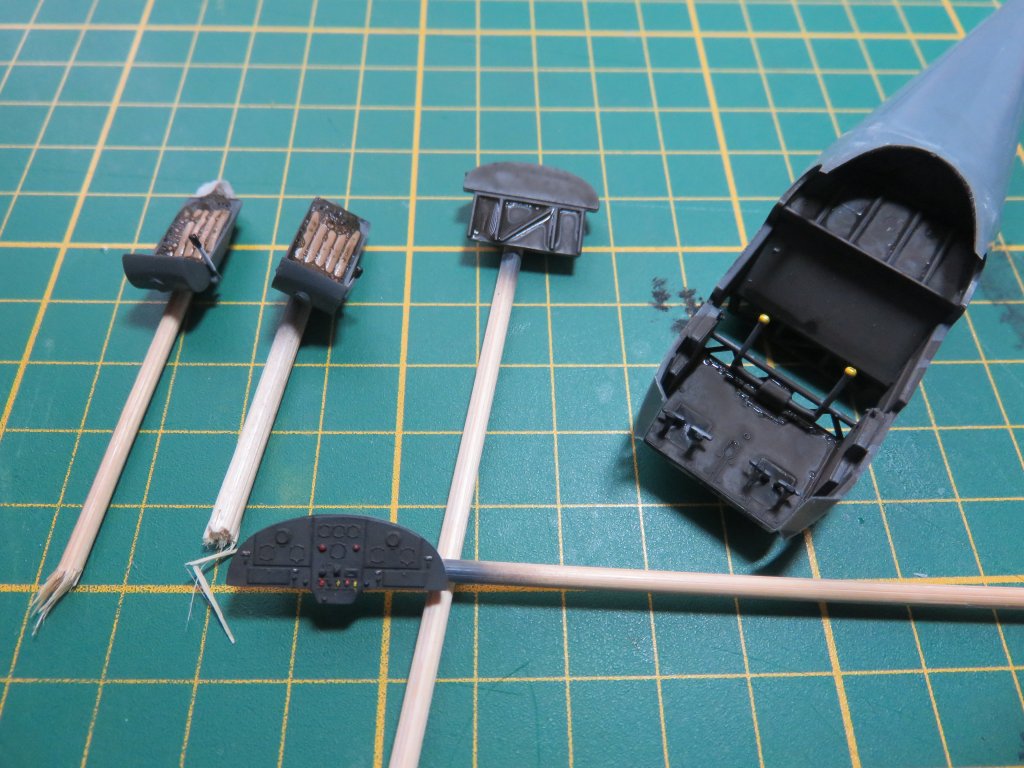
Step 1 is a bit unusual: glue the fuselage halves together.... After that, you can start work on the cockpit, which goes into the fuselage halves one part at a time. Interesting way of doing things, but it definitely works.
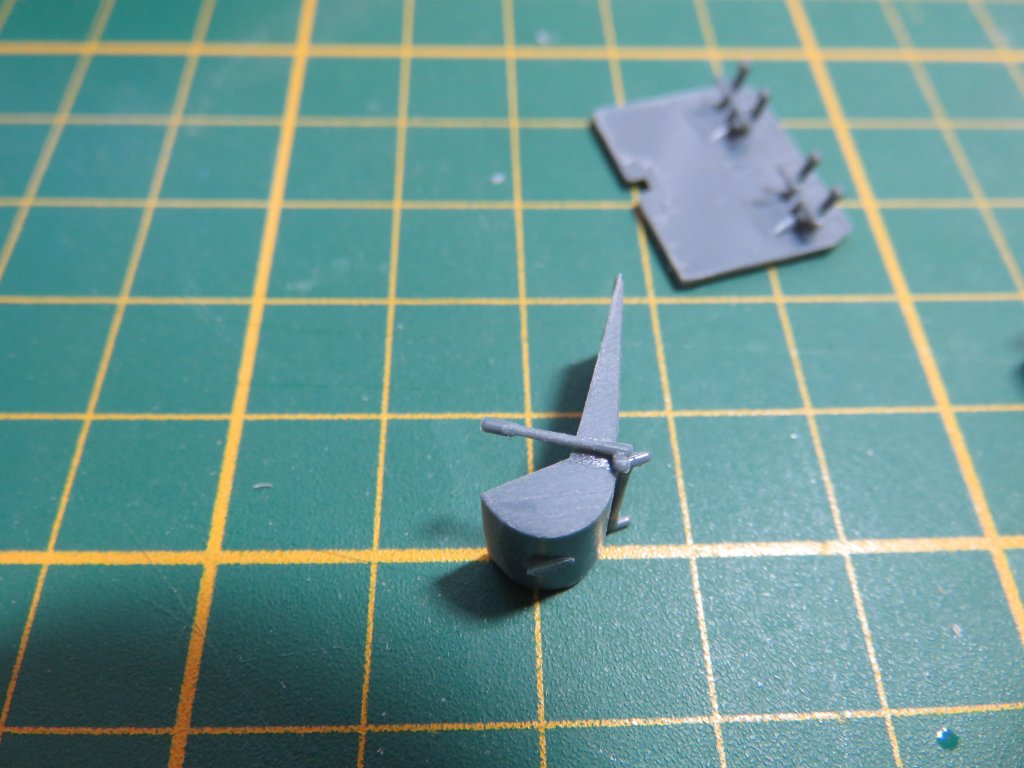
Seats.
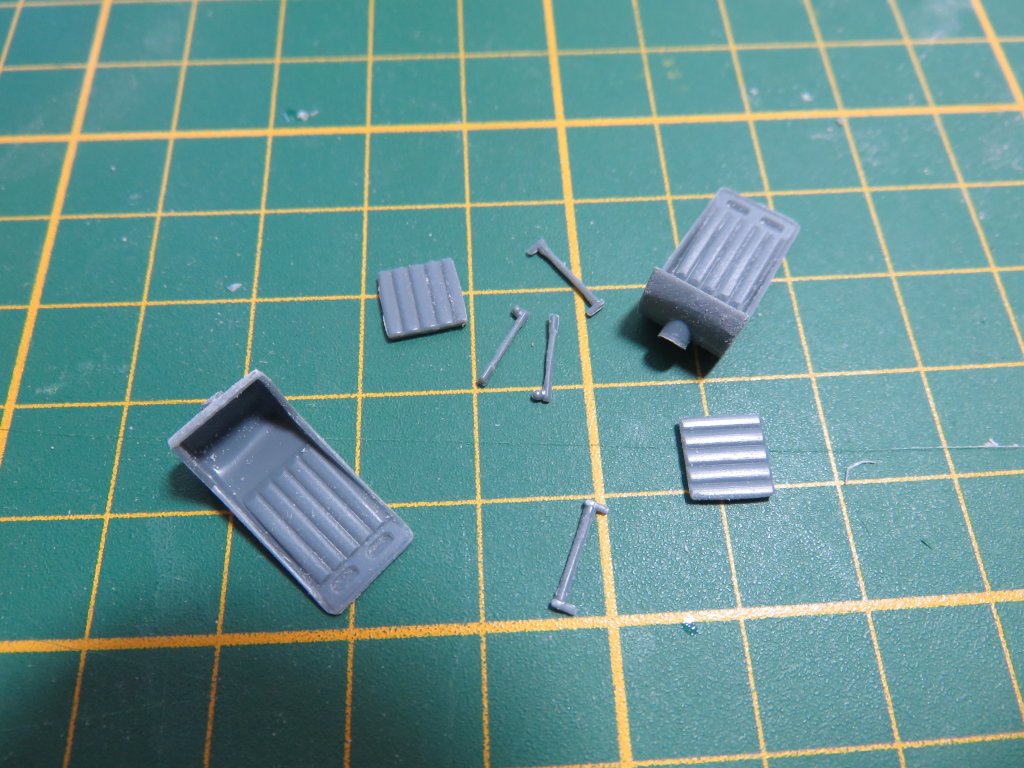
Interior construction: first the bulkhead to the back, then the horizontal bit, then the lower bit. Flawless fit, even without locating pins. Then again, there's no locating pins anywhere in this kit. But, with a fit as good and simple as this, who needs them....
Control sticks.

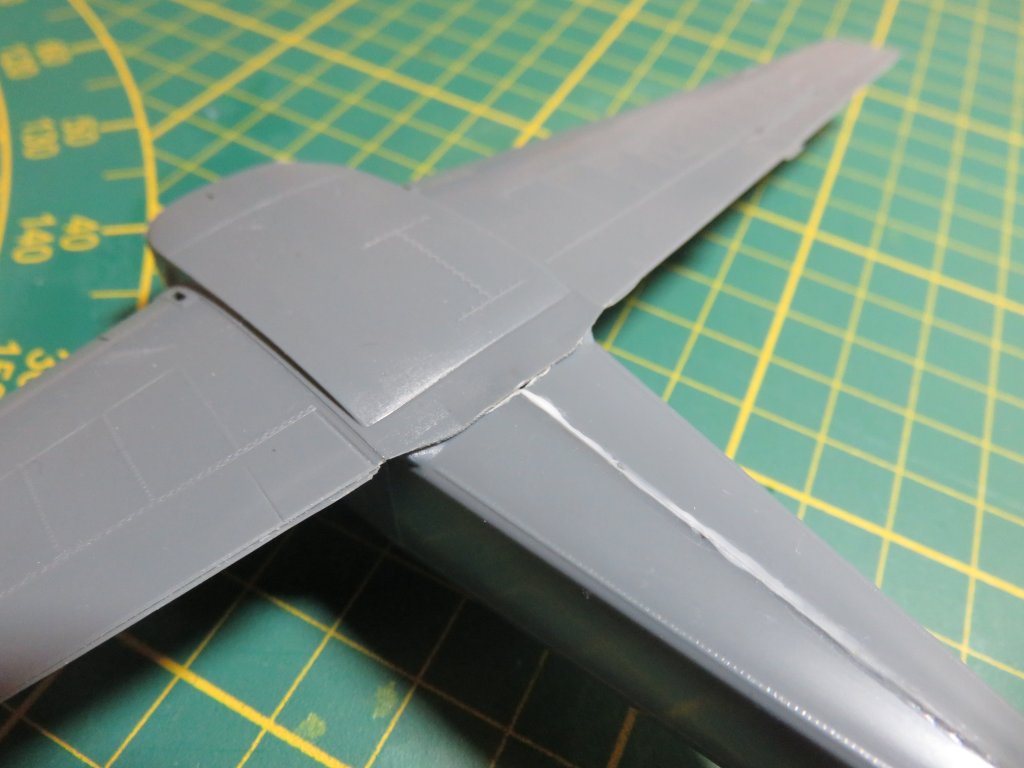
Minor issue #1: one wing needs some filler.
The other wing doesn't.
Both fuselage halves have a raised edge. It helps to glue them together, but at first I thought there was supposed to be a raised edge on the fuselage considering how big it was. Turns out I was wrong, it's all smooth. Still, it's easily sanded away and does help creating a seamless join. Another poibnt for Stransky's designers!
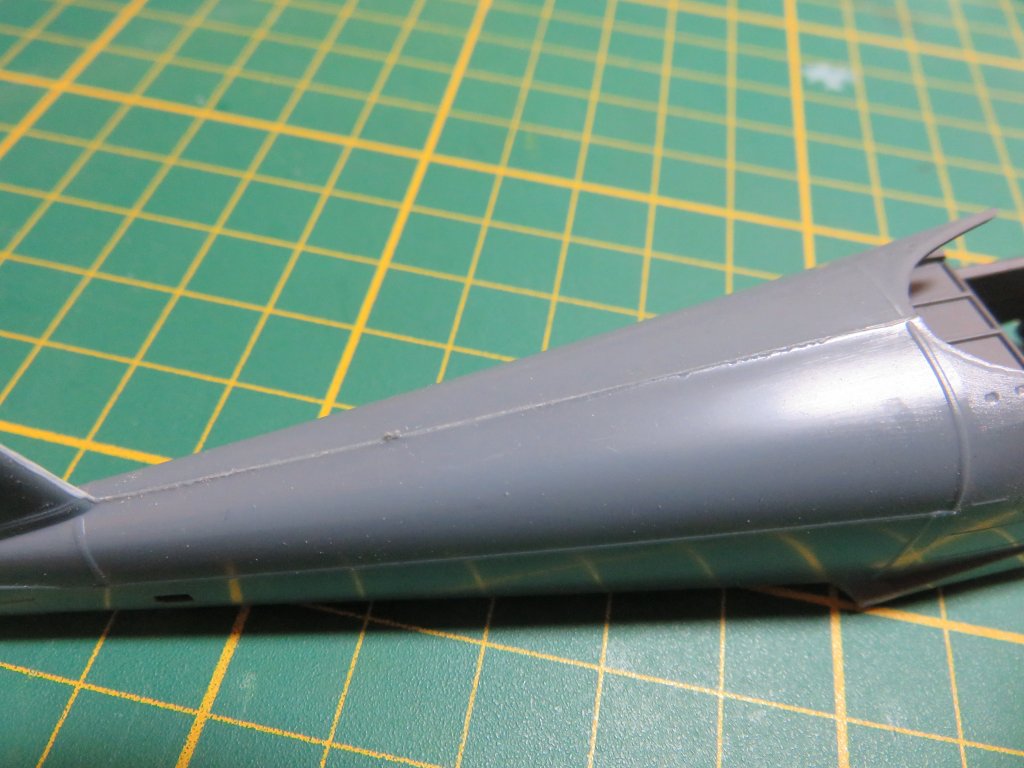
Break out the filler. Still, one cannot complain.... I've seen 1/72 scale kits with bigger holes than this.
And then it's time for paint. I had planned on using only the MRP paints, but I forgot to order the RLM 66 for the interior, so I had to go back to Gunze for that.
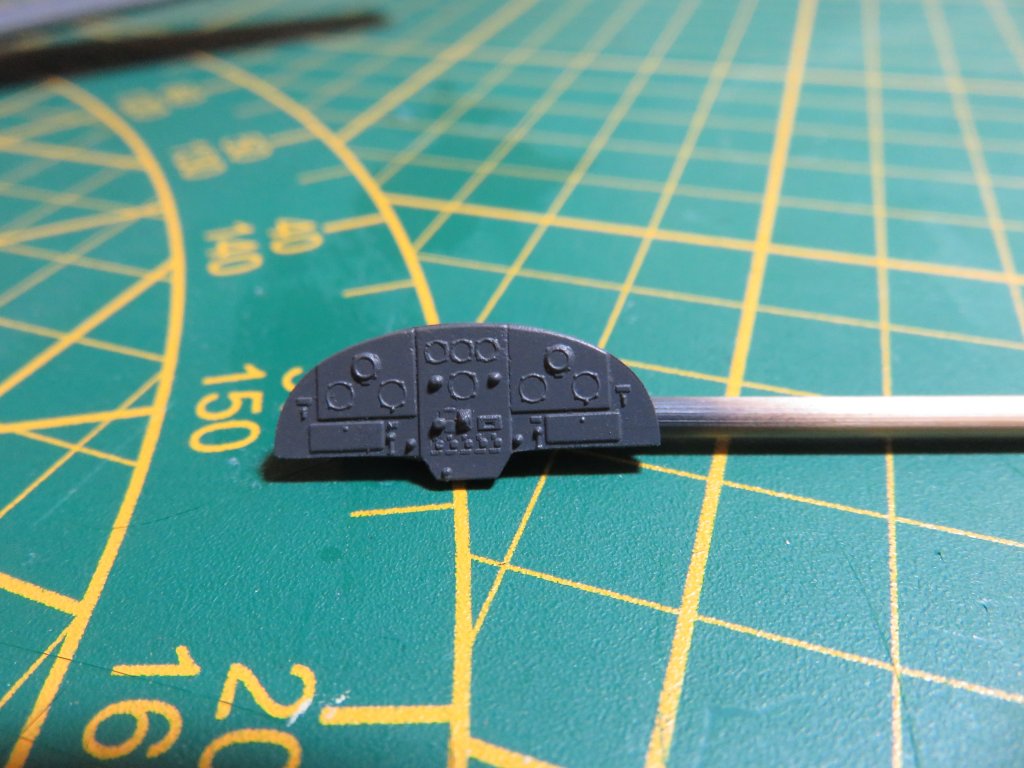
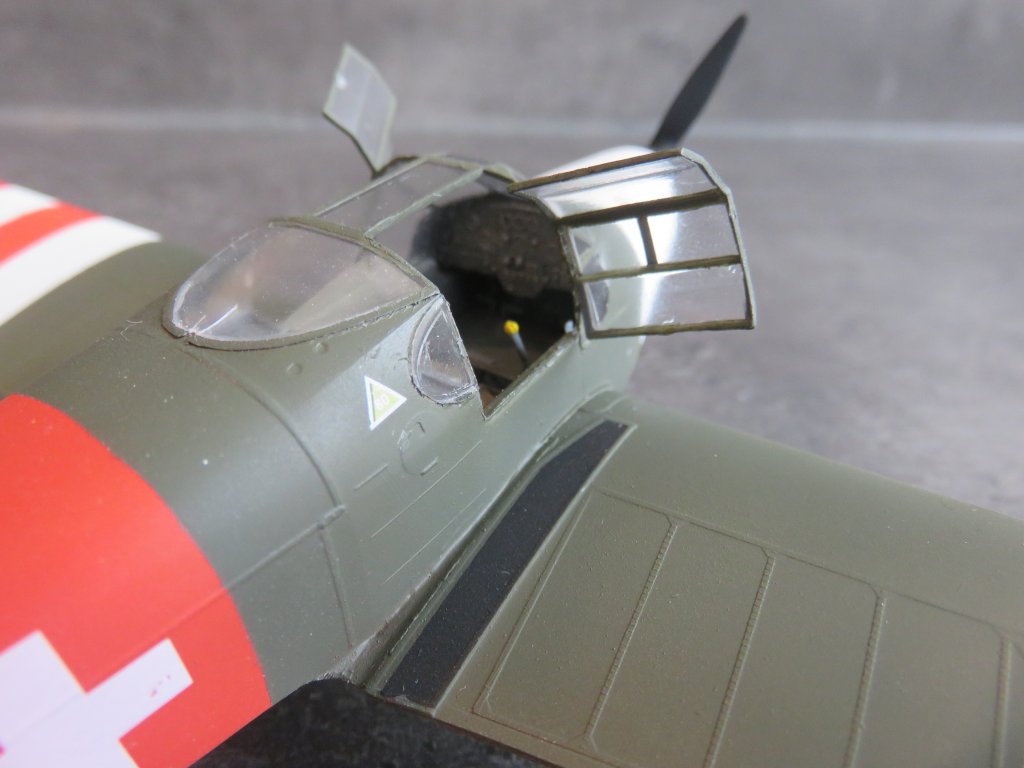
In hindsight, I should probably have paid a little more attention to the IP and make it look better. So much potential....
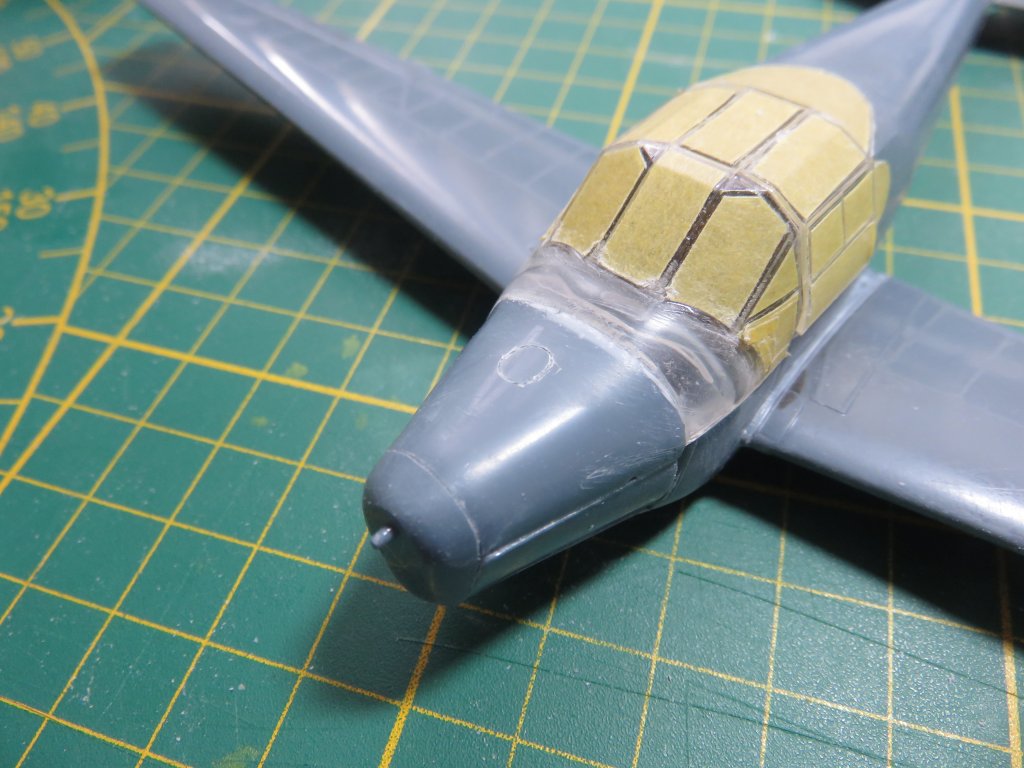
And after masking off the canopy, it was time to fit it. One side fits fine...
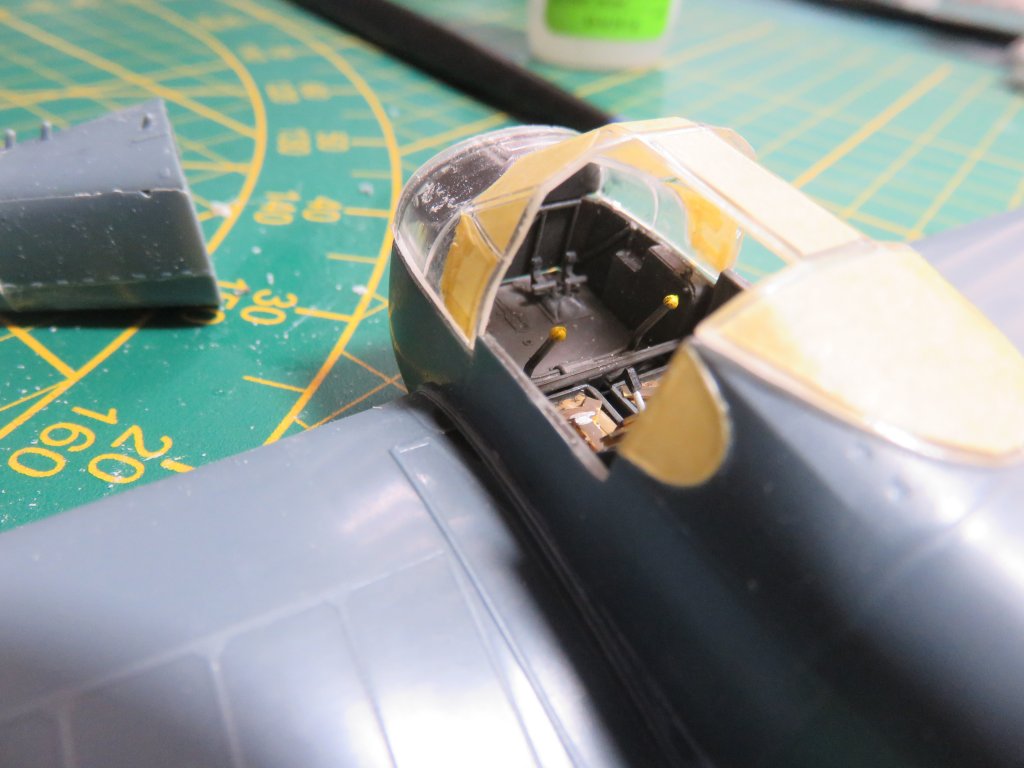
...the other not so much. But I'm kinda thinkin that's my own mistake.

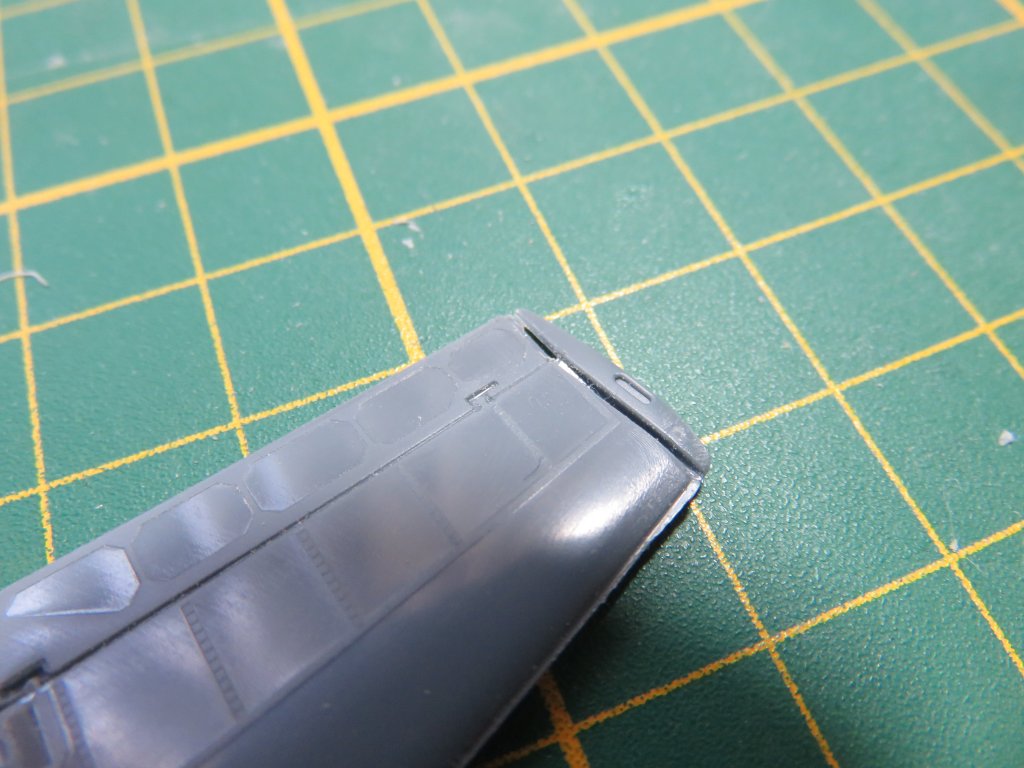
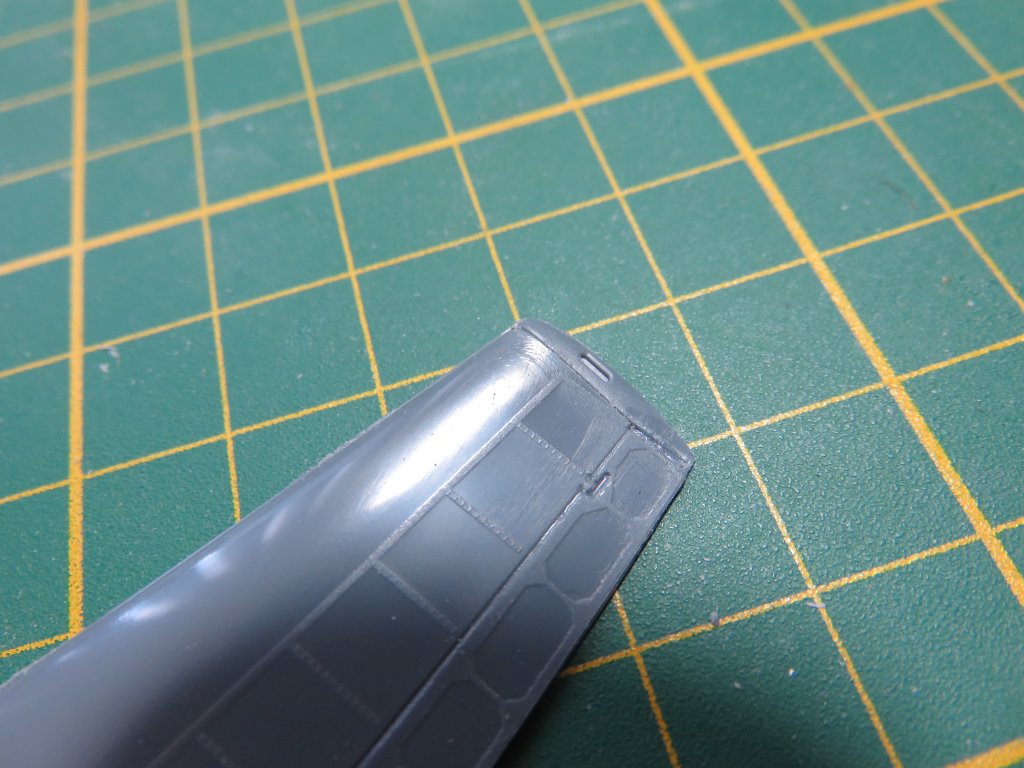
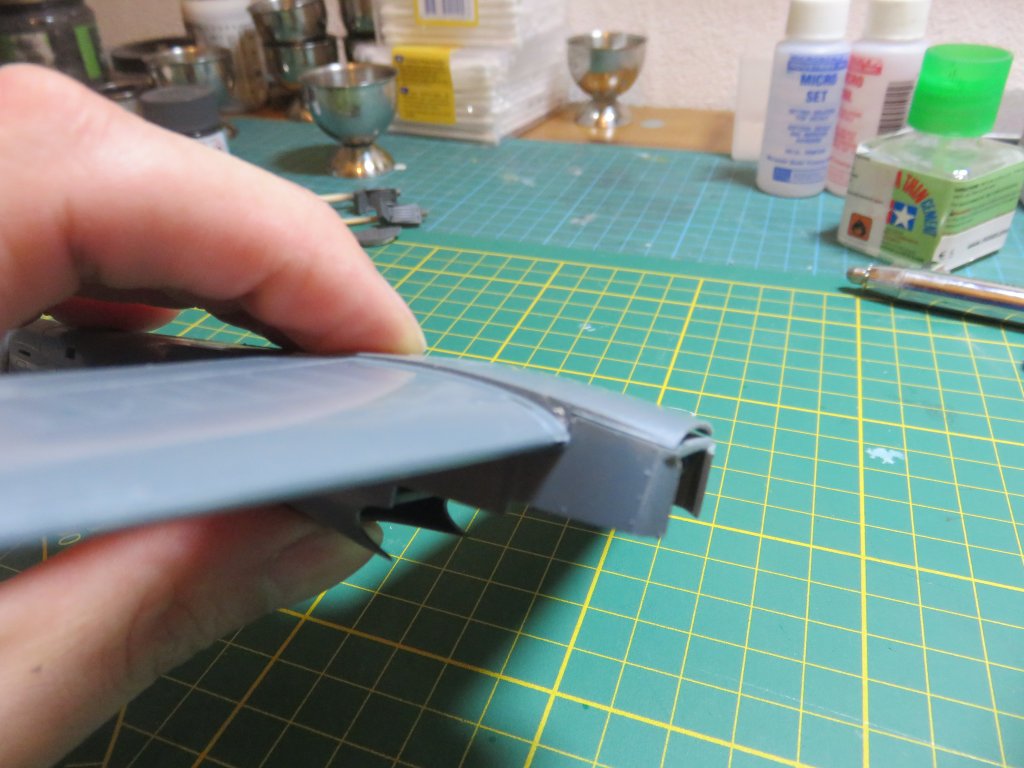
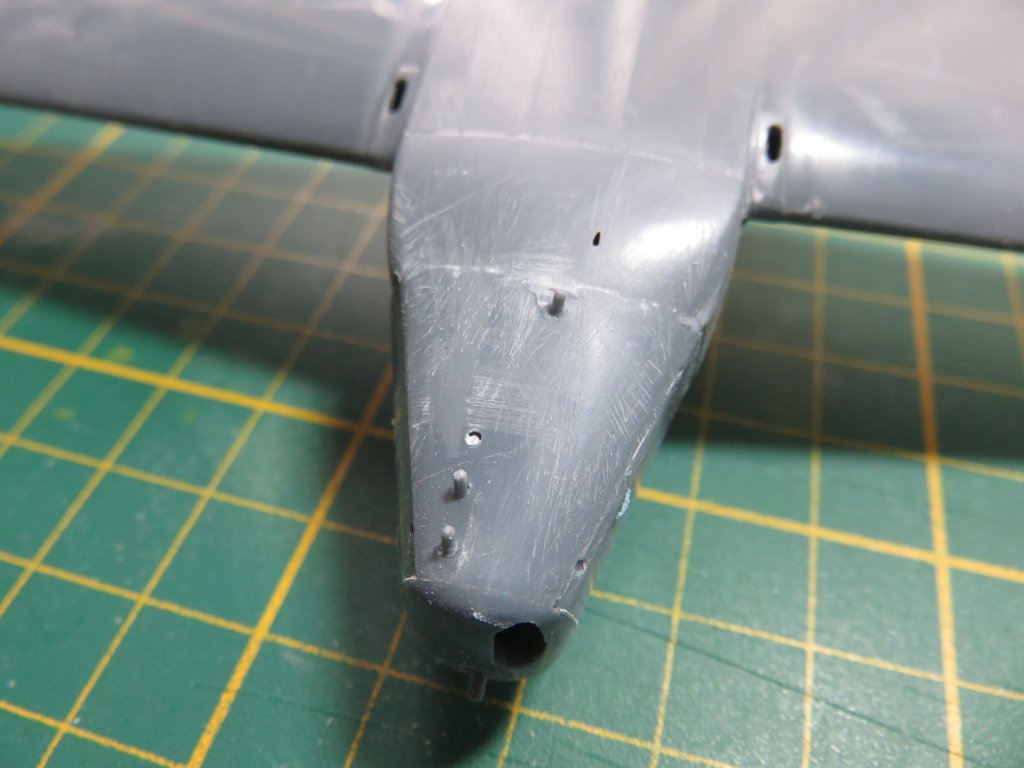
Just like this. Fitting the nose turned out to be problematic. If the top side is mated to the fuselage...
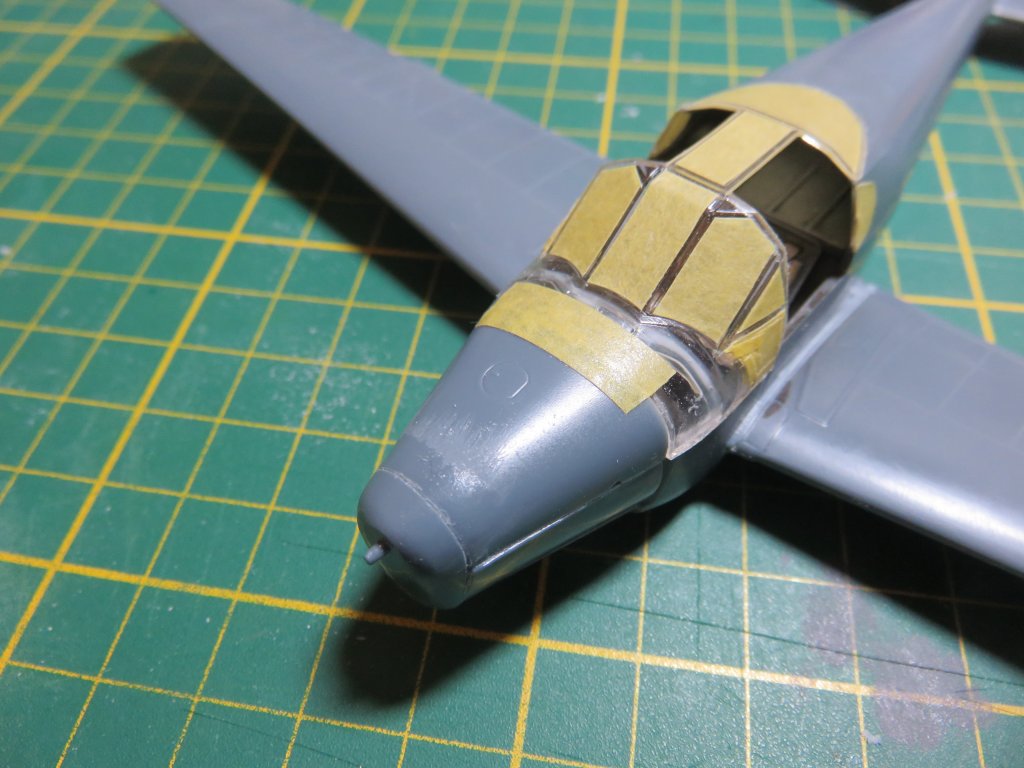
...the bottomside is a disaster...

...and vice versa
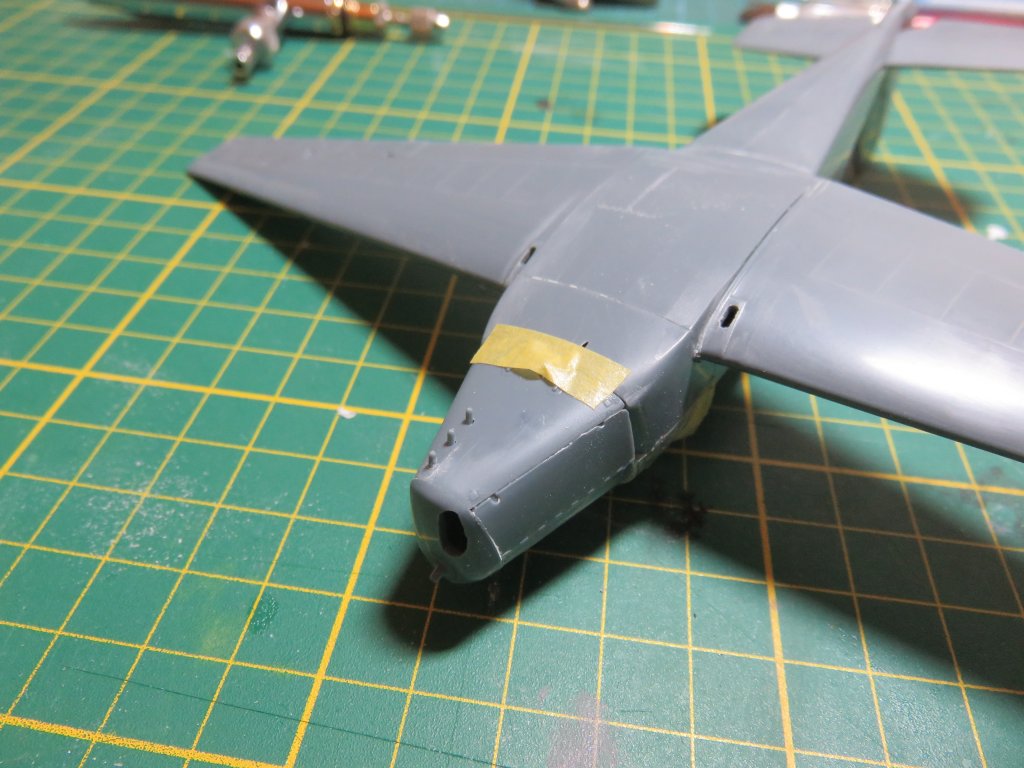

Research seems to indicate this is completely my fault and not Stransky's. Oh well.
After some debate I decided to mate up the bottom side and sand away the difference on top. That way, there'd be the least amount of damage to detail, and the topside was ticker plastic. Maybe the wrong call, the shape of the nose is not what it should be now.

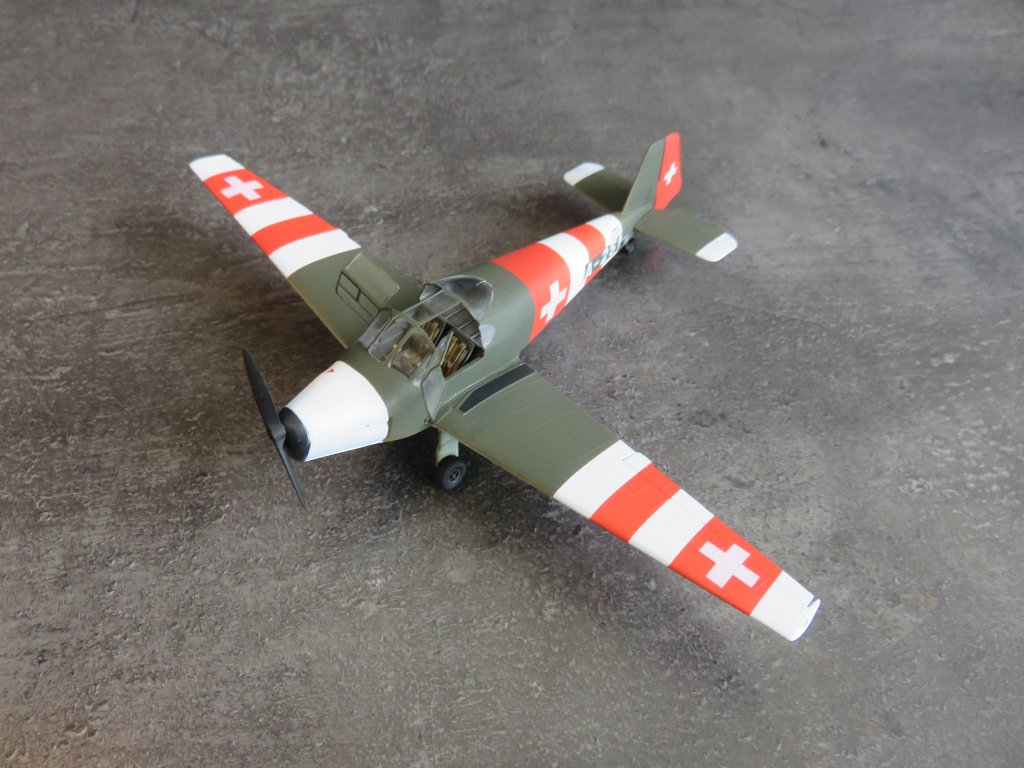
Painting instructions are a dream: they even tell you exactly how wide the different colored bands are for easy masking!

Primercoat on (AK grey primer & microfiller) followed by MRP's white. It covers pretty good, no problem there. And no problem spraying it, which is pretty new for me.

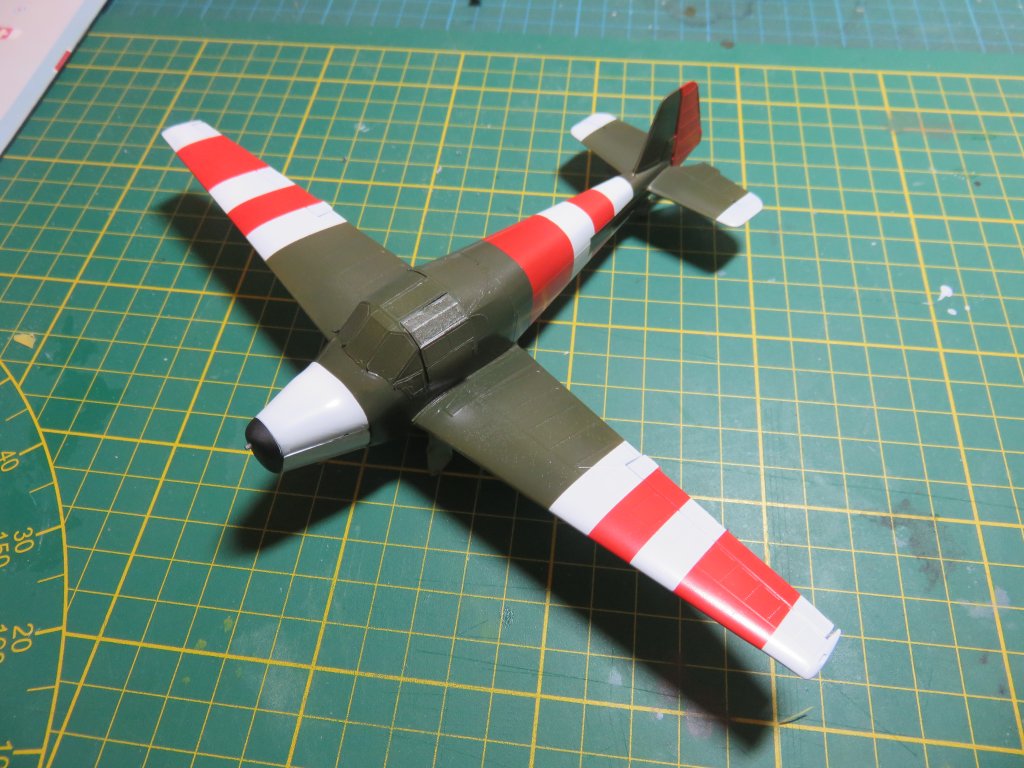
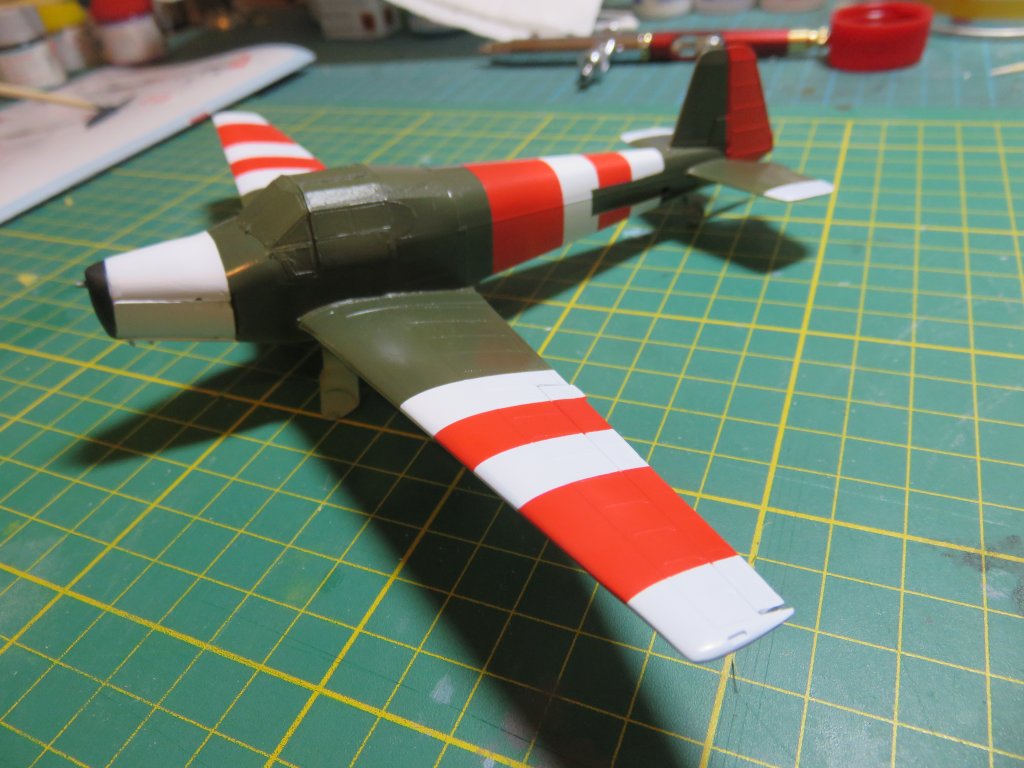
Masking some more, and then the red paint.
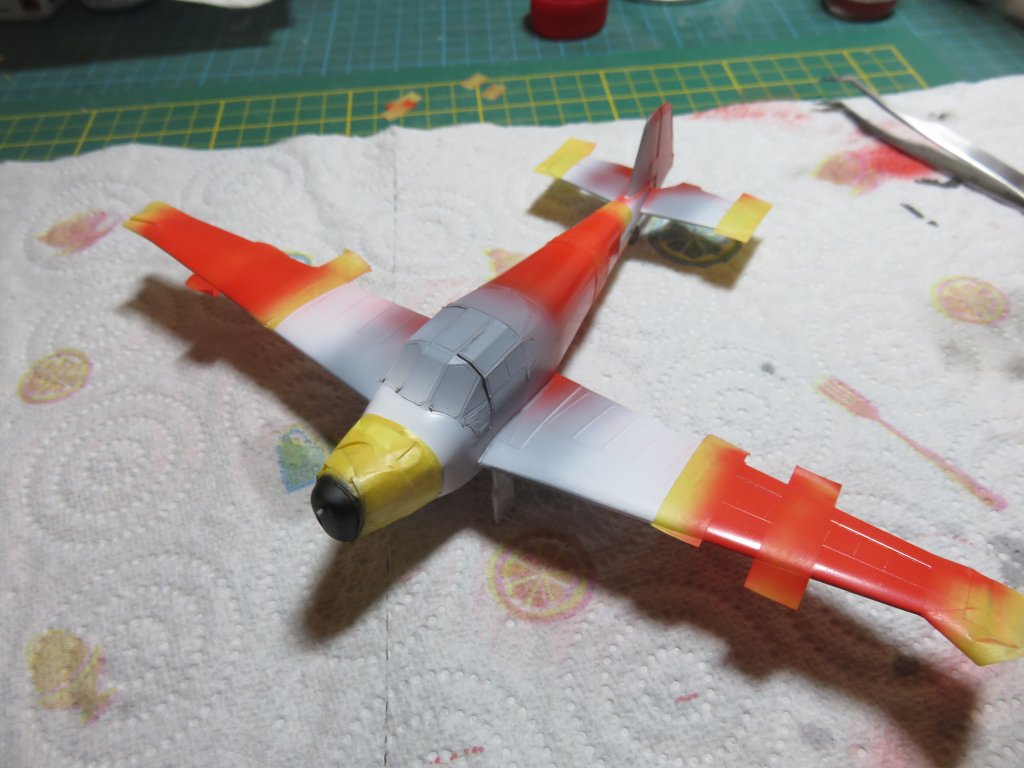

Looking back, the white should have been covering the whole model, as now the front side of the red band and the red tail were covering the grey primer. There's a difference between the red-on-white and red-on-grey. But then you apply a few more coats, and nothing left of that.
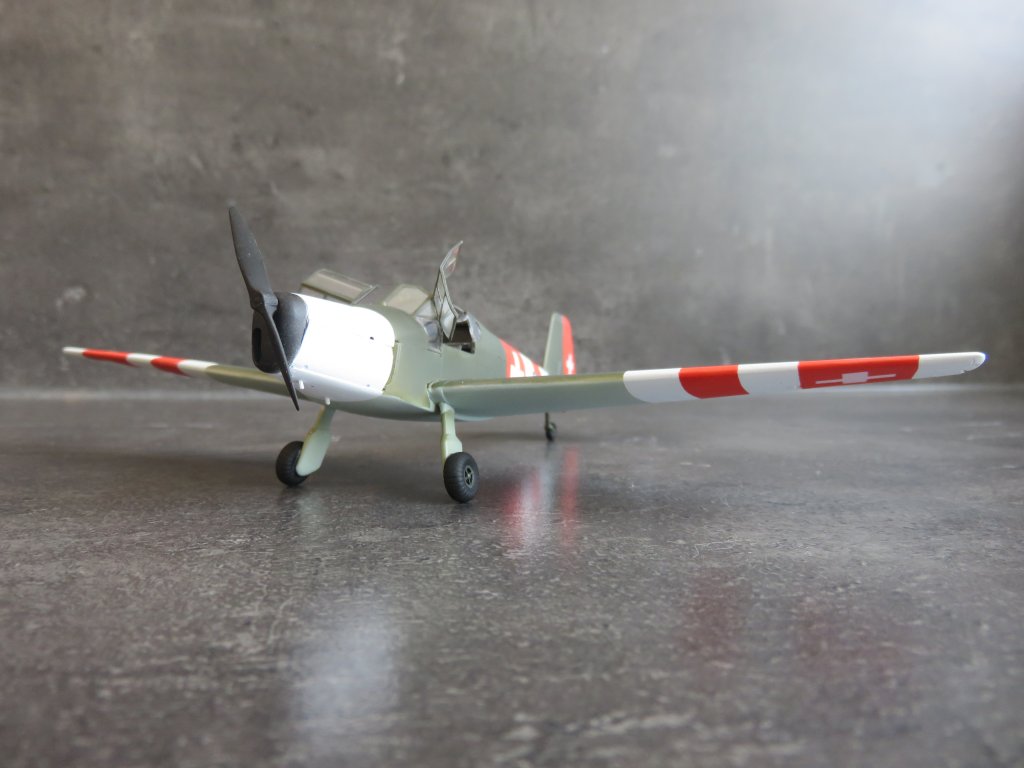
And lastly, MRP's RLM 71.
I have to admit, I'm hooked on MRP. Guess what I'll be shopping for come Telford....
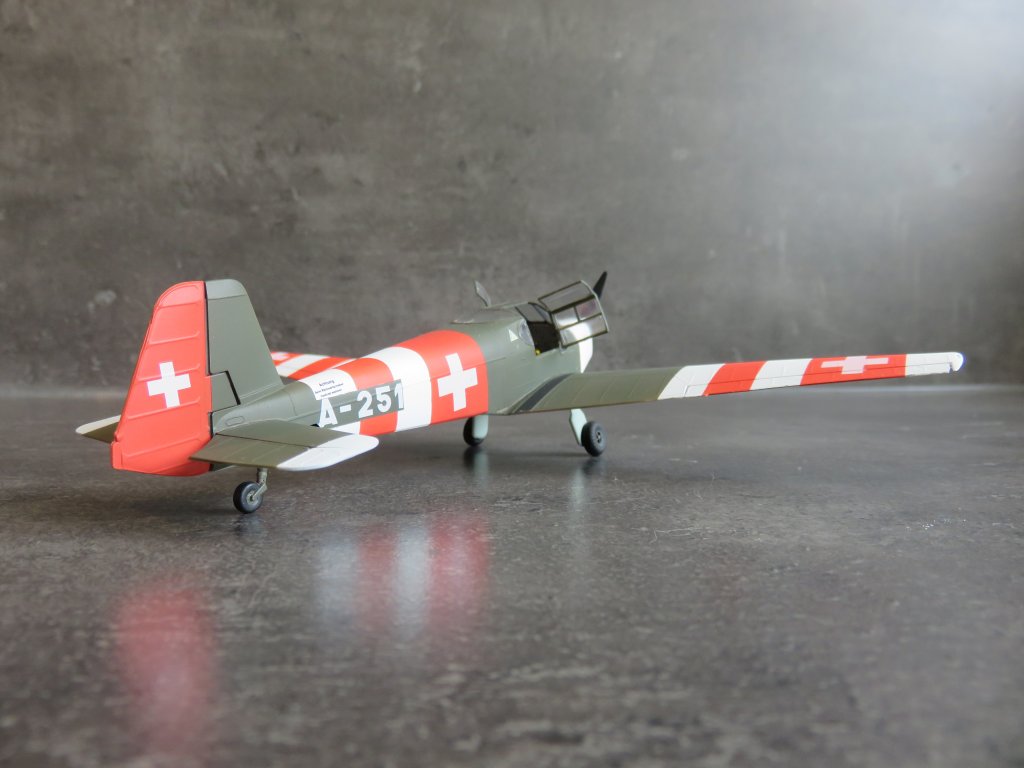
Time for decals.
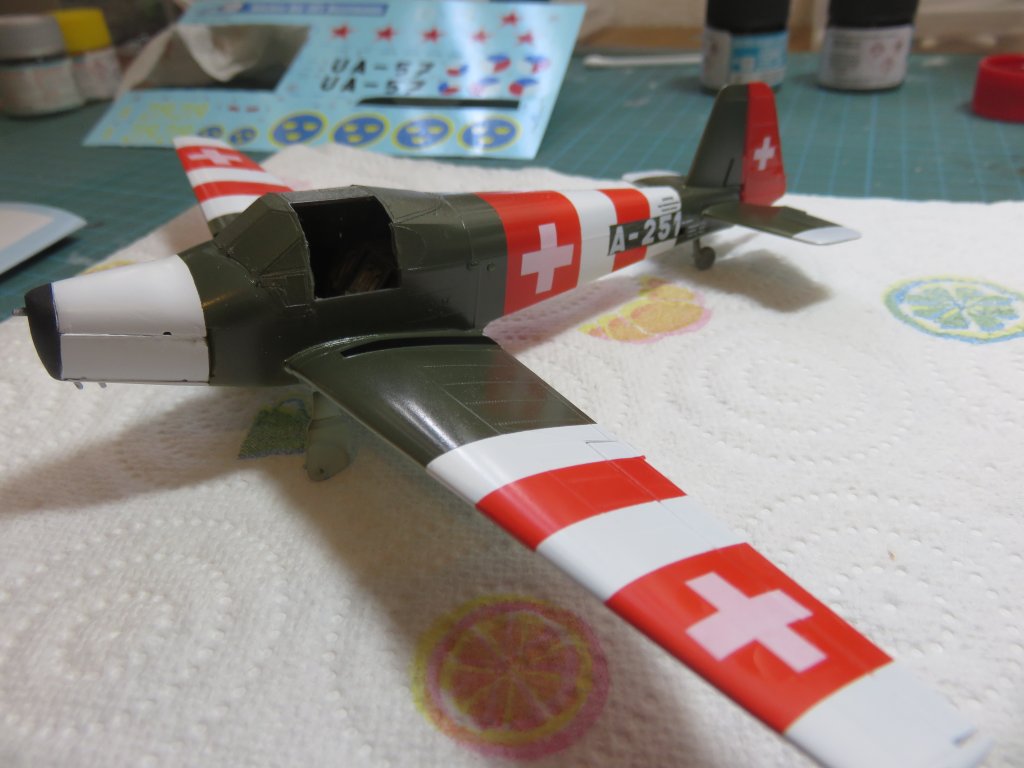
And as feared: the white decals are not opaque enough. If possible, have a set of extras printed on white decal paper and apply those as well.... As for the rest - the decals are thin, perfectly in register, and go on extremely well, even without the use of setting solutions. They fold around both raised and recessed detail without a hitch. I didn't even bother with a gloss coat because the MRP finish was so good.
And after a matt coat, unmasking and final details, we're done. If you're there, I'm taking it with me to Telford. me and a buddy have a table in the foreigners section.